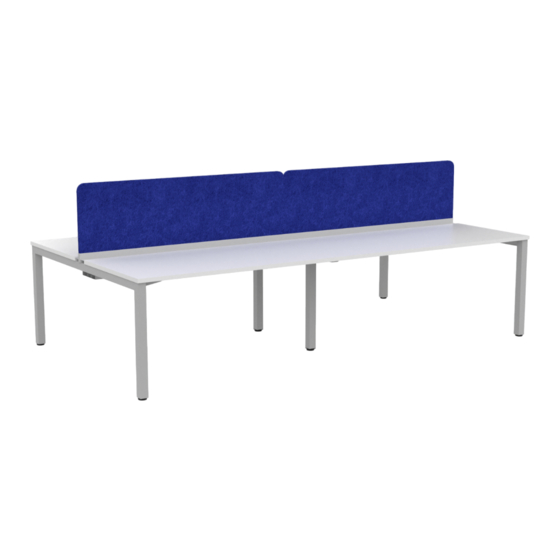
Summary of Contents for Workspace48 Axis
- Page 1 Axis or Anvil Shared desk, Doublesided, with Devise Screens Installation Guide www.workspace48.com Axis or Anvil Installation Guide...
- Page 2 Axis or Anvil Shared desk, Doublesided, with Devise Screens Installation Guide Recommended 2 persons for install DEVISE SPINE SCREEN DATA/POWER PLATE DEVISE SPINE END CAP WORKSURFACE DEVISE RETURN SCREEN CHANNEL EXTRUSION ECLIPSE TRAY TIDY RAIL DEVISE END SUPPORT SHARED MID LEG (KNOCKDOWN)
- Page 3 Axis or Anvil Shared desk, Doublesided, with Devise Screens Installation Guide Power Option Assemble the frames and rails together. Leave the bolts of the frame If using our desk power, install the power/data plates, outlets, and loose, one turn from tight. Frame bolts are tightened at step 8. Holes wiring.
- Page 4 Axis or Anvil Shared desk, Doublesided, with Devise Screens Installation Guide Devise Screen Option Devise Screen Option Fasten the screen extrusion to the supporting brackets using the bolts Insert the spine screen fully down into the extrusion, keeping the provided. Adjust the screen extrusions along the desks to eliminate ends of the screen flush with the end of the extrusion.
- Page 5 Axis or Anvil Shared desk, Doublesided, with Devise Screens Installation Guide Eclipse Tray Tidy Option Eclipse Tray Tidy - side with no power/data plate If using our Eclipse Tray Tidy covers, first place the Tray Tidy along the For a side with no power/data plate, use one full length of Tray Tidy. The extrusion to check for length and position before exposing the adhesive.
- Page 6 Axis or Anvil Shared desk, Doublesided, with Devise Screens Installation Guide Devise Return Screen Option If using our Devise return screens, install them now. Follow the Devise Return Screen Installation Guide. www.workspace48.com Axis or Anvil Installation Guide...


Need help?
Do you have a question about the Axis and is the answer not in the manual?
Questions and answers