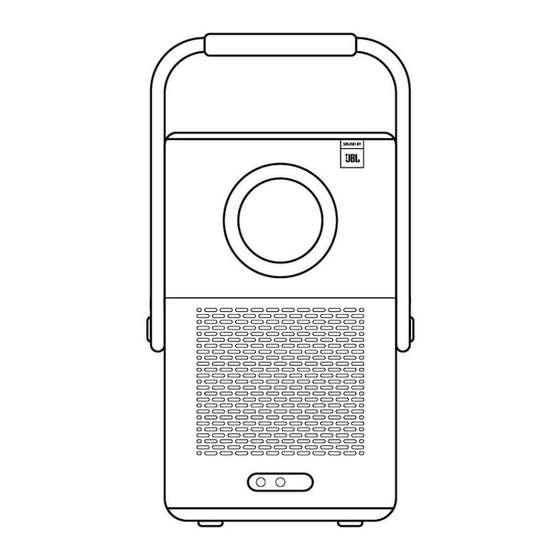
Yaber T2 User Manual
Smart projector
Hide thumbs
Also See for T2:
- User manual (128 pages) ,
- Quick start manual (14 pages) ,
- Manual (108 pages)
Table of Contents
Advertisement
Quick Links
Advertisement
Table of Contents

Subscribe to Our Youtube Channel
Summary of Contents for Yaber T2
- Page 1 T2 User Manual. EN Catalog 1 / 1 8...
- Page 2 (e.g. US+T2+000-0000000-0000000+Issues) Rest assured, our service team will offer a solution to you within 24 hours. Your satisfaction is our top priority. If you encounter any issues, we sincerely hope you can give us an opportunity to make things right. ...
-
Page 3: Warranty
• Do not throw, strike, or sharply vibrate the device to avoid damage to the internal circuit board • Do not try to disassemble and assemble the device yourself. If any issue occurs, please contact the after-sales service of Yaber. - Page 4 . If you don't have batteries for the remote control, please contact Projector Interface Notice: Press power button 2s-5s to boot the projector 4 / 1 8...
-
Page 5: Remote Contol
Notice: Please ensure that the area in front of the [Focus receiver] is not blocked, otherwise the focus function will be affected. Remote Contol 5. Specification Model No. T2 Native Resolution 1920*1080 Light Source Video Playtime 2.5h Battery Lifespan Aspect Ratio 16:9/4:3 Music Playtime 18h Focus Auto/Eletric Keystone Correction Auto/Eletric Screen Alignment Auto Obstacle Avoidance Auto USB 2.0*1 165*140*290 mm HDMI 1.4*1 Interface... -
Page 6: About Battery
6. About Battery The Yaber T2 is equipped with a battery that will give you 2.5 hours of use in battery mode Brightness in 60 . In battery mode, the brightness of the screen will be reduced, thus extending a longer battery life. You can also adjust the settings to increase the brightness of the screen, but the duration will be shortened. -
Page 7: Installation
When the Power light is Blue, it means the battery is completely charged. When the Power light is Red, the battery is charging. Low Power Notification When the battery power is lower than 20%, the system will pop up a window to prompt you to charge the Projector. The battery icon on the projector screen will change to If the battery is about to run out, the system will push a shutdown countdown pop-up. -
Page 8: Ceiling Mounting
Step 2: Use the stand with M5*5mm screw to fix the projector on the bracket to complete the installation. Stand Mounting Note: T2 does not support four-corner mount installation. Step 1: Make sure you have a universal mounting bracket that can fit the projector. -
Page 9: Projection Distance
8. Projection Settings You can select [Settings]- [Image Settings] or [Projection Settings] in to adjust the projector image. Projection Distance �� Tips Actual projection size and distance may deviate slightly from laboratory data. Auto Focus Auto focus will be activated after each shift. You can also turn off the auto focus function through [Settings]-[Projection Settings]-[Auto Focus]. 9 / 1 8... -
Page 10: Auto Keystone Correction
Auto Keystone Correction As you move the machine, the T2 automatically performs trapezoidal correction, depending on the target wall. Attention: The angle of the auto keystone cannot exceed 15 degrees up, down, left, and right. -
Page 11: Manual Keystone Correction
Manual Keystone Correction If you need to adjust the screen further, you can adjust the screen by dragging the arrows by selecting "Manual Keystone"in the settings. Projection Zoom After auto-focusing, the zoom effect will be reset. If you want to save the zoom, please try to turn off the auto focus when the picture is clear. -
Page 12: Brightness Settings
Attention: The Image color setting will only take effect when playing pictures or videos. 10. Connectivity 10.1 HDMI, USB, Lan Port The T2 has an HDMI 1.4 port and a USB 2.0 port. Before using these ports, make sure your external devices are compatible with this format. 1 2 / 1 8... -
Page 13: Wireless Connections
10.1.3 The Lan interface of T2 is an RJ45 interface. If you encounter lag when using the same screen with your phone, you can try to use this interface to connect to the network and use the same screen. -
Page 14: Phone Control
10.5 NFC Settings Tip: If you need to use NFC for screen mirroring, download the [Yaber] app from the Apple App Store or Google Play Store to synchronize your screen. When using NFC, ensure your phone and the projector are connected to the same Wi-Fi network. - Page 15 11. T2 Dongle Special for T2 Plus or Purchase separately Online If you want to use and browse streaming content such as Netflix, YouTube, Prime Video, please contact the support team at service@yaber.com to purchase the corresponding Dongle. 11.1 Dongle Overview Remote Contol Attention: When using Google TV for the first time, follow the screen prompts for remote control pairing and other settings.
- Page 16 Dongle Installation Notice: When using Dongle on the T2/T2 Plus, it must be connected via the Yaber Adapter. The Yaber adapter combines power and video source function. Step1: Connect the dongle with the adapter Step2: Connect the adapter with the HDMI port of the projector...
-
Page 17: Bluetooth Settings
You can connect your phone to the projector via Bluetooth and enter Bluetooth speaker mode anytime after confirmation. Please pair the device named [Yaber_T2series_xxxx]. In Bluetooth Speaker mode, you can also turn off the screen and use the T2 as an outdoor stereo. 13. System Upgrade Tips: You can check the system status of your device in [Settings]-[About]-[Upgrade] ��... -
Page 18: Quiet Mode
14. Quiet Mode Notice: After turning on Quiet Mode, the noise of the machine will slowly decrease within 5 minutes. 1 8 / 1 8...


Need help?
Do you have a question about the T2 and is the answer not in the manual?
Questions and answers