Advertisement
I N S T A L L A T I O N I N S T R U C T I O N S
PSMO2168
[Landscape example]
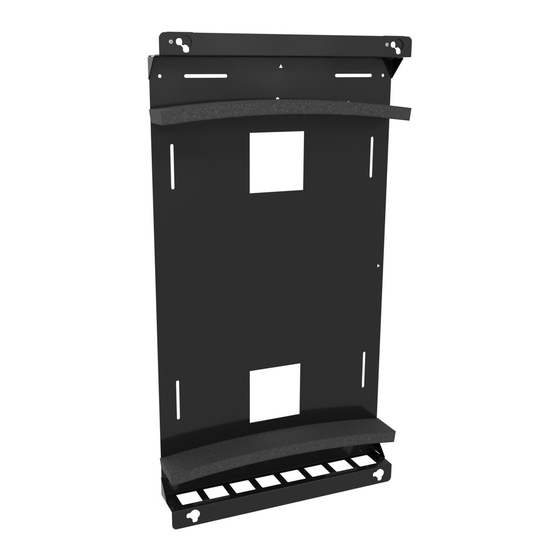
Outdoor Large Flat Panel Static Wall Mount
PSMO2168
[Portrait example]
Spanish Product Description
German Product Description
Portuguese Product Description
Italian Product Description
Dutch Product Description
French Product Description
PSMO2168
Advertisement
Table of Contents

Related Manuals for LEGRAND Chief PSMO2168


Summary of Contents for LEGRAND Chief PSMO2168
- Page 1 I N S T A L L A T I O N I N S T R U C T I O N S PSMO2168 [Landscape example] PSMO2168 [Portrait example] Outdoor Large Flat Panel Static Wall Mount Spanish Product Description German Product Description Portuguese Product Description Italian Product Description...
-
Page 2: Important Safety Instructions
The information contained in this document is subject WARNING: Use this mounting system only for its intended to change without notice or obligation of any kind. Legrand use as described in these instructions. Do not use makes no representation of warranty, expressed or implied, attachments not recommended by the manufacturer. -
Page 3: Landscape Orientation
Installation Instructions PSMO2168 DIMENSIONS LANDSCAPE ORIENTATION PORTRAIT ORIENTATION DIMENSIONS: INCHES [MILLIMETERS]... - Page 4 PSMO2168 Installation Instructions LEGEND Tighten Fastener Pencil Mark Apretar elemento de fijación Marcar con lápiz Befestigungsteil festziehen Stiftmarkierung Apertar fixador Marcar com lápis Serrare il fissaggio Segno a matita Bevestiging vastdraaien Potloodmerkteken Serrez les fixations Marquage au crayon Loosen Fastener Drill Hole Aflojar elemento de fijación Perforar...
-
Page 5: Tools Required For Installation
Installation Instructions PSMO2168 TOOLS REQUIRED FOR INSTALLATION 1/2" 3/8" PARTS B (1) [M5 hex key] D (4) C (4) [M8 x 25] [Mounting button] E (8) [5/16"] A (1) [Wall mount] G (8) F (8) [UX10x60R] [5/16 x 3-1/2"]... -
Page 6: Assembly And Installation
PSMO2168 Installation Instructions ASSEMBLY AND INSTALLATION Mark the location of eight mounting holes onto wall. The four corner hole locations must be used first. (See Figure 2) Installing Mounting Buttons Attach four mounting buttons (C) to back of display using Table 1: Fastener Information four M8 x 25mm button head cap screws (D). - Page 7 Installation Instructions PSMO2168 Move latching flags to CLOSED position. (See Figure 6) OPTIONAL: Lock latching flags in place, if desired. (See Figure 6) OPEN OPEN Latching flags Latching flags CLOSED OPTIONAL Figure 4 Padlock (not included) Lift display following lifting instructions provided by display added here CLOSED manufacturer.
- Page 8 PSMO2168 Installation Instructions USA/International A 6436 City West Parkway, Eden Prairie, MN 55344 P 800.582.6480 / 952.225.6000 F 877.894.6918 / 952.894.6918 Europe A Franklinstraat 14, 6003 DK Weert, Netherlands P +31 (0) 495 580 852 F +31 (0) 495 580 845 Asia Pacific A Office No.
Need help?
Do you have a question about the Chief PSMO2168 and is the answer not in the manual?
Questions and answers