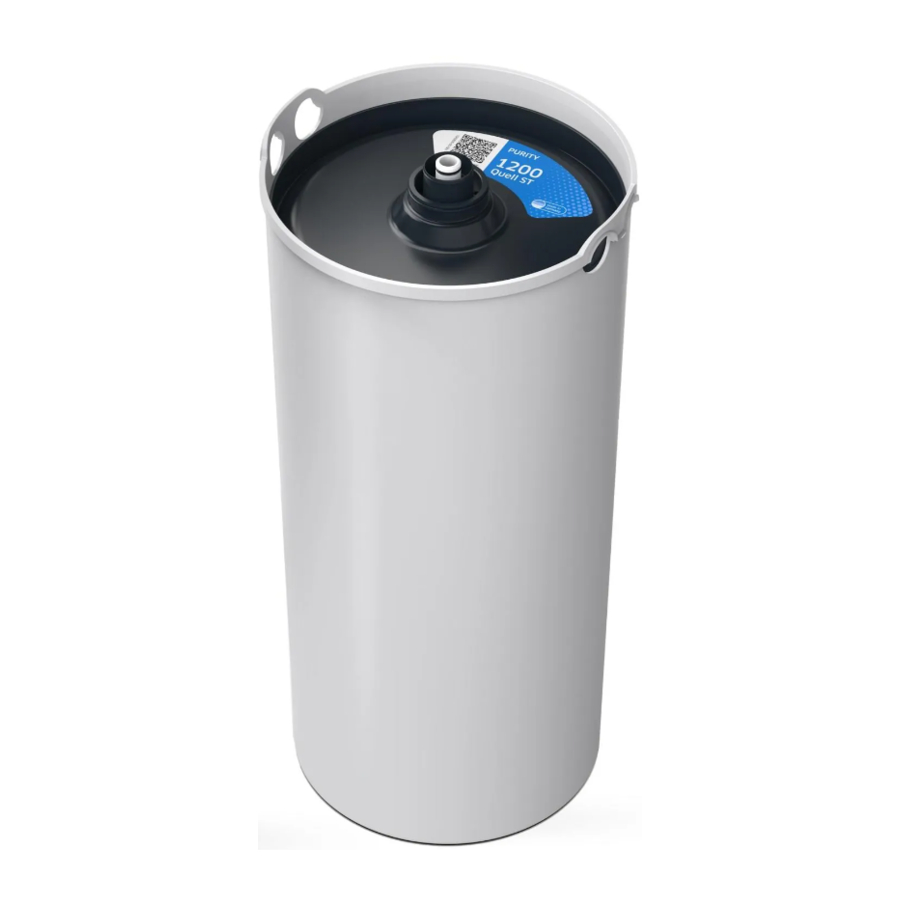
Brita PURITY 1200 Clean / Extra - Water Filter System Manual
- Manual (94 pages) ,
- Handbook (87 pages) ,
- Replacement instructions manual (25 pages)
- Also fits for
- Purity 1200 clean extra
Advertisement
Overview

Cartridge Replacement Instructions
Before replacing the filter, read the manual on the PURITY 1200 Clean/PURITY 1200 Clean Extra filter system. There, you will find detailed information on operating and safety notes, filter capacity, maintenance, troubleshooting and technical data.
Liability exclusion
The filter must be replaced exactly in accordance with the information in these replacement instructions. BRITA shall not be liable for any damage, including consequential damage, that may occur as a result of not observing these replacement instructions or carrying them out incorrectly.
Replacing the filter Cartridge

Filter replacement and maintenance of the filter system may be carried out only by specialist staff.
The PURITY replacement cartridge may only be used in combination with the pressure vessel that has been specifically designed for its size.
The filter cartridge must be replaced after 6–12 months, subject to a usage intensity customary in the industry, at the latest 12 months after commissioning, irrespective of the level of exhaustion of the filter system. If the capacity of the filter cartridge has already been exhausted, it must be replaced earlier.
During the exchange, carefully examine all dismantled parts! Faulty parts must be exchanged, dirty parts cleaned! Before replacing, read the Operating and Safety Instructions of the manual. After the product has been stored at tempera tures below 0°C, it must be stored with the original packaging open at the ambient temperature of the place of installation for at least 24 hours before entering use.
Removing the filter cartridge
- Switch off the electrical power supply of the terminal equipment.
- Close the inlet valve
![]() at the inlet hose
at the inlet hose ![]() .
. - Place the flush hose in a bucket and remove pressure from the filter system by open ing the flush valve
![]() . Collect waste water in a bucket.
. Collect waste water in a bucket. - Note: If the waste water is more than 1 litre, the inlet value
![]() is not completely closed or is blocked with scale.
is not completely closed or is blocked with scale. - Stand on the kick loops
![]() with both feet while opening the pressure vessel lid 3 by pressing the lock
with both feet while opening the pressure vessel lid 3 by pressing the lock ![]() and turning it anti-clockwise as far as it will go.
and turning it anti-clockwise as far as it will go.
![]()
- Place the pressure vessel lid
![]() vertically on the lid handle
vertically on the lid handle ![]() .
. - Stand on the kick loops
![]() with both feet while turning the pressure vessel
with both feet while turning the pressure vessel ![]() anti-clockwise by the mantle handles
anti-clockwise by the mantle handles ![]() as far as it will go.
as far as it will go. - Take your feet off the kick loops
![]() and press the pressure vessel
and press the pressure vessel ![]() down with both hands on the mantle handles
down with both hands on the mantle handles ![]() .
. - Remove used filter cartridge
![]() from the pressure vessel
from the pressure vessel ![]() .
. - Place the used filter cartridge
![]() in the sink with the connection facing down for d rainage (> 5 min).
in the sink with the connection facing down for d rainage (> 5 min). - Lock the used filter cartridge
![]() with the transport protection cap
with the transport protection cap ![]() of the new filter cartridge and return in the original packaging to the appropriate BRITA address listed on the back of the cover.
of the new filter cartridge and return in the original packaging to the appropriate BRITA address listed on the back of the cover.
 at the inlet hose
  .
. . Collect waste water in a bucket.
 with both feet while opening the pressure vessel lid 3 by pressing the lock
  and turning it anti-clockwise as far as it will go.
 vertically on the lid handle
  .
. anti-clockwise by the mantle handles
  as far as it will go.
 of the new filter cartridge and return in the original packaging to the appropriate BRITA address listed on the back of the cover.
Inserting the filter cartridge
Check the O-ring seal of the new filter cartridge  for correct seat in the groove, dirt and damage.
Note: The cartridge seat has been lubricated with food-safe lubricant at the factory. The PURITY 1200 Clean filter cartridge is identified with a blue sticker, the PURITY 1200 Clean Extra filter cartridge with a red sticker.
- Check the connector seat of the filter cartridge O-ring
![]() in the pressure vessel lid
in the pressure vessel lid ![]() for dirt and damage.
for dirt and damage. - Place new filter cartridge
![]() in the pressure vessel
in the pressure vessel ![]() .
. - Stand on the kick loops
![]() with both feet; lift the pressure vessel
with both feet; lift the pressure vessel![]() whole turning clockwise until the mantle handles
whole turning clockwise until the mantle handles ![]() are over the kick loops
are over the kick loops ![]() .
. - Stand on the kick loops
![]() with both feet and place the pressure vessel lid
with both feet and place the pressure vessel lid ![]() on the pressure vessel
on the pressure vessel ![]() . The positioning of the arrow marking on the lid handle
. The positioning of the arrow marking on the lid handle ![]() must line up with the "INSERT" groove.
must line up with the "INSERT" groove. - Press the pressure vessel lid
![]() down and turn clockwise until the lock engages
down and turn clockwise until the lock engages ![]() .
.
 must line up with the "INSERT" groove.
 .
.Commissioning
Note: A bucket with a minimum capacity of 10 litres is needed for flushing/bleeding.
- Place the bucket under the flush hose and open the flush valve
![]() .
. - Open the inlet valve
![]() on inlet hose
on inlet hose ![]() while holding the flush hose in the bucket. Flush with at least 10 litres.
while holding the flush hose in the bucket. Flush with at least 10 litres. - Close the flush valve
![]() and empty the bucket.
and empty the bucket. - Check system for any leaks.
- Note the next exchange date on the enclosed sticker (PURITY 1200 Clean: light blue sticker, PURITY 1200 Clean Extra: red sticker) and attach it to the Service Pass on the pressure vessel
![]() .
.
Note: Do not stick over the top sticker with the installation date. - Switch the power supply to the appliance on.
Technical Data
| Operating pressure | 2 bar to max. 6 bar |
| Water intake temperature | 4°C to 60°C |
| Ambient temperature for storage/transport | –20°C to 50°C |
Order numbers
| Article number | |
| PURITY 1200 Clean filter cartridge | 315645 |
| PURITY 1200 Clean Extra filter cartridge | 1008197 |
Documents / ResourcesDownload manual
Here you can download full pdf version of manual, it may contain additional safety instructions, warranty information, FCC rules, etc.
Download Brita PURITY 1200 Clean / Extra - Water Filter System Manual
Advertisement


Need help?
Do you have a question about the PURITY 1200 Clean and is the answer not in the manual?
Questions and answers