Advertisement
Quick Links
INdbb084_EN_IT
INdbb084_EN_IT_D06-113
EN_These doors are simple to install by any handy man with common DIY power tools.
Or you can employ the services of a professional should you feel the installation may be
beyond your experience.
IT_Queste porte sono semplici da installare da qualsiasi uomo pratico con i comuni utensili
elettrici fai-da-te.
Oppure puoi utilizzare un servizio da un professionista se ritieni che l'installazione possa
andare oltre l'esperienza.
IMPORTANT, RETAIN FOR FUTURE REFERENCE: READ CAREFULLY
ASSEMBLY & INSTRUCTION MANUAL
Advertisement

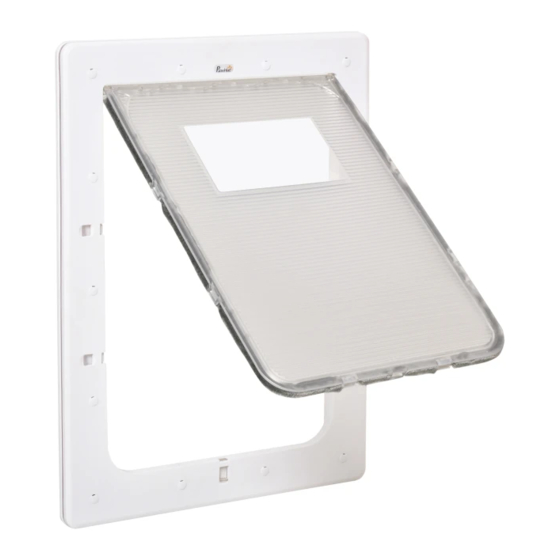
Summary of Contents for PawHut D06-113
- Page 1 INdbb084_EN_IT INdbb084_EN_IT_D06-113 EN_These doors are simple to install by any handy man with common DIY power tools. Or you can employ the services of a professional should you feel the installation may be beyond your experience. IT_Queste porte sono semplici da installare da qualsiasi uomo pratico con i comuni utensili elettrici fai-da-te.
- Page 2 EN_Tools required: Drill, level, clamp, square, pencil, reciprocating saw, tape and pop rivet gun. Important: Please read the instructions carefully prior to installing the pet door. Ensure that your pet will fit through the pet door prior to Installation. Should you decide to install the door by yourself, it is important that the appropriate safety gear is worn such as protective eye wear.
- Page 3 4*15 EN_Perforated ScreenTemplate sizes:332mm(w) x 470mm(h) IT_Dimensioni modello dello schermo perforato: 332mm(larghezza) x 470mm(altezza) EN_Cutout Template IT_Modello di ritaglio EN_Cut supplied template for mesh screen door out of the box your door was packaged in IT_Tagliare il modello fornito per la porta allo schermo di rete dalla confezione in cui è stata confezionata la porta...
- Page 4 EN_Template Position IT_Posizione del modello EN_Tape template in desired corner with 25mm side offset and 24mm base offset. IT_Attaccare il modello con il nastro adesivo nell'angolo desiderato con distanza dal bordo laterale di 25 mm e distanza dal bordo inferiore di 24 mm. EN_Cutout Template IT_Modello di ritaglio EN_Mark outline of template onto the perforated metal security grill with marker pen...
- Page 5 EN_Drill a hole in each of the 4 inside corners with a minimum of 10mm (3/8”) drill bit IT_Praticare un foro in ciascuno dei 4 angoli interni con una punta da trapano di almeno 10 mm (3/8") EN_Using a reciprocating jigsaw, cut out the opening, cutting along the template outline IT_Usando un seghetto alternativo, taglia l'apertura, tagliando lungo il contorno del modello...
- Page 6 EN_Place frames & seal (A, B) into opening, secure with provided screws (F) and caps (G) IT_Posizionare i telai e la guarnizione (A, B) nell'apertura, fissare con le viti (F) e i cappucci (G) forniti...


Need help?
Do you have a question about the D06-113 and is the answer not in the manual?
Questions and answers