Advertisement
Quick Links
EN_IMPORTANT, RETAIN FOR FUTURE REFERENCE: READ CAREFULLY.
FR_IMPORTANT:A LIRE ATTENTIVEMENT ET À CONSERVER POUR CONSULTATION
ULTÉRIEURE.
ES_IMPORTANTE, LEA Y GUARDE PARA FUTURAS REFERENCIAS.
DE_WICHTIG! SORGFÄLTIG LESEN UND FÜR SPÄTER NACHSCHLAGEN AUFBEWAHREN.
IT _ IMPORTANTE! CONSERVARE IL PRESENTE MANUALE PER FUTURO RIFERIMENTO E
LEGGERLO ATTENTAMENTE.
INdbb101_UK_FR
D06-161V00
Advertisement

Related Manuals for PawHut D06-161V00


Summary of Contents for PawHut D06-161V00
- Page 1 INdbb101_UK_FR D06-161V00 EN_IMPORTANT, RETAIN FOR FUTURE REFERENCE: READ CAREFULLY. FR_IMPORTANT:A LIRE ATTENTIVEMENT ET À CONSERVER POUR CONSULTATION ULTÉRIEURE. ES_IMPORTANTE, LEA Y GUARDE PARA FUTURAS REFERENCIAS. DE_WICHTIG! SORGFÄLTIG LESEN UND FÜR SPÄTER NACHSCHLAGEN AUFBEWAHREN. IT _ IMPORTANTE! CONSERVARE IL PRESENTE MANUALE PER FUTURO RIFERIMENTO E...
- Page 2 PART EN_Note: Thank you very much for purchasing this product. The entire installation process takes about 20 minutes. Please read the installation manual patiently, find the corresponding components and select the right location to be installed. Please prepare an electric screwdriver、scissors and marker pen before installation. FR_Note : Merci beaucoup d'avoir acheté...
- Page 3 EN_1.Main body Gate FR_1.Porte du corps principal EN_2.Install Upper Bracket on the Gate FR_2. Installez le support supérieur sur la porte...
- Page 4 EN_3.Install Lower Bracket on the Gate FR_3. Installez le support inférieur sur la porte EN_4.Select the installation location, make sure the bottom of the main body door Gate is on the ground, and then mark the holes position of the Upper Bracket with a pen.
- Page 5 EN_5.If there are without baseboard on the wall :Mark the holes position of the Lower Bracketwith a pen and please keep the gate vertical. FR_5. S'il n'y a pas de plinthe sur le mur : Marquez la position des trous du support inférieur à...
- Page 6 EN_7.Take out Upper Bracket from Gate according to the arrow FR_7.Retirez le support supérieur de la Porte selon la flèche EN_8. Take out Lower Bracket from Gate according to the arrow FR_8. Retirez le support inférieur de la porte selon la flèche...
- Page 7 EN_9. Drill Upper Bracket to wall as the marks FR_9. Percez le support supérieur au mur comme les marques EN_10.Drill Lower Bracket to wall as the marks FR_10. Percez le support inférieur au mur comme les marques...
- Page 8 EN_11.Install Gate to Upper Bracket as the arrow FR_11. Installez la porte sur le support supérieur comme la flèche EN_12.Install Gate to Lower Bracket as the arrow ,please make sure install Gate to Upper Bracket at first then install Gate to Lower Bracket . FR_12.
- Page 9 EN_13.Pull the cloth horizontally to the opposite door frame to find the installation position of Latches FR_13. Tirez le tissu horizontalement vers le le cadre de la porte opposée pour trouver la la position d'installation des loquets EN_14.Press the button to lock. FR_14.Appuyez sur le bouton pour verrouiller.
- Page 10 EN_15. Hook the upper Latches and mark the holes position of the upper Latches with a pen and make sure the gate is Vertical. FR_15. Accrochez les loquets supérieurs et marquez la position des trous des loquets supérieurs avec un stylo et assurez-vous que la porte soit verticale. EN_16.Hook the lower Latches and mark the holes position of the lower Latches with a pen and make sure the gate is Vertical FR_16.
- Page 11 EN_17.Pull the cloth,then press the button to unlock,Let the cloth roll back. FR_17. Tirez sur le tissu, puis appuyez sur le bouton pour déverrouiller, laissez le tissu s'enrouler. EN_18.Drill the upper Latches to wall as the marks FR_18. Fixez les loquets supérieurs au mur comme les marques...
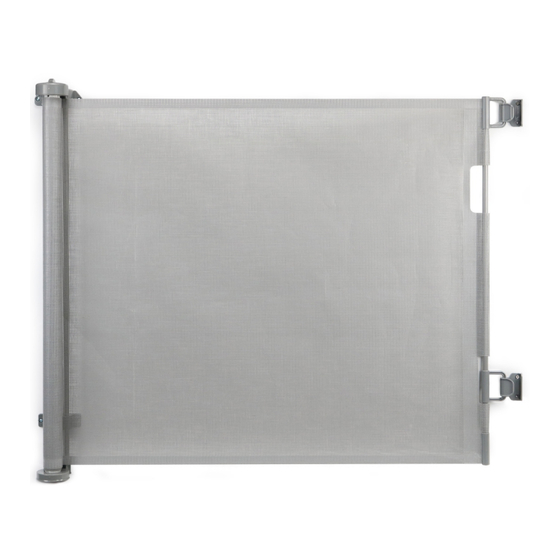
- Page 12 EN_19.The installation is complete,Enjoy your gate! FR_19.L'installation est terminée,Profitez de votre porte !
Need help?
Do you have a question about the D06-161V00 and is the answer not in the manual?
Questions and answers