
Related Manuals for NEFF D99W45N0GB


Summary of Contents for NEFF D99W45N0GB
- Page 1 Installation instructions and how to use and look after your built-in cooker hoods D99W5 NEFF (UK) Ltd...
- Page 2 Fig. 1 Abb. 1 ELECTRO...
-
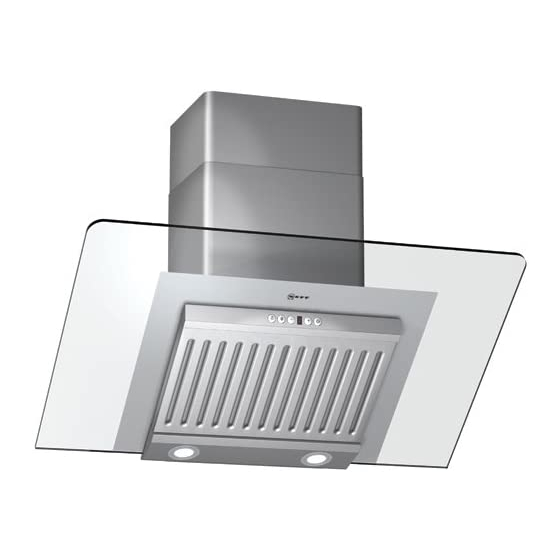
Page 3: Appliance Description
If the air intake is inadequate, there is a risk of poisoning from combustion gases which are drawn back into the room. An air-intake/exhaust-air wall box by itself is no guarantee that the limiting value will not be exceeded. -
Page 4: Before Using For The First Time
Use carefully. They contain important by young children or infirmed persons information concerning your personal without supervision. safety as well as on use and care of the Young children should be supervised to appliance. ensure they do not play with the appliance. -
Page 5: Operating Procedure
Intensive setting: The most effective method of removing vapours produced during cooking is to: Maximum power is obtained at the intensive setting. It is only required for short Switch the ventilator ON intervals. as soon as you begin cooking. ç... -
Page 6: Filters And Maintenance
Filters and maintenance Removing the grease filter: Ausbauen der Fettfilter: 1. Pull the bottom of the most outer filter 3. Detach the safety cord behind the filter. until it comes away from the magnets. 2. Unhook the filter in a vertical position 4. - Page 7 Filters and maintenance Inserting the grease filter: Ausbauen der Fettfilter: 1. Insert the inner filter at the back and fold 3. Hook in the outer filter in a vertical the filter upwards. position. 2. Attach the safety cord behind the filter.
- Page 8 Important: By cleaning the metal grease filters at appropriate intervals, the possibility of them catching fire as a result of a build-up of heat such as occurs when deep-fat frying or roasting is taking place, is reduced. Saturation indicator: When the grease filters reach saturation...
-
Page 9: Cleaning And Care
Cleaning and care Isolate the extractor hood by pulling out Stainless steel surfaces: the mains plug or switching off the fuse. Use a mild non-abrasive stainless steel cleaner. Do not clean the extractor hood with Clean the surface in the same direction abrasive sponges or with cleaning agents as it has been ground and polished. -
Page 10: Replacing The Light Bulbs
20 Watt, G4 cap). Caution: Refer to for plug-in lampholder. Take hold of the bulb with a clean cloth.. 4. Re-insert the bulb ring. 5. Plug the appliance into the mains or switch it on at the fuse box. -
Page 11: Installation Instructions
Only one side of the extractor hood Please ask your dealer or inquire at your may be installed next to a high-sided unit local authority about current means of or high wall. Gap at least 50 mm. -
Page 12: Prior To Installation
flue that is currently used for other purposes, nor into An air-intake/exhaust-air wall box by itself a shaft that is used for ventilating rooms in is no guarantee that the limiting value will which stoves or fireplaces are also located. -
Page 13: Electrical Connection
Prior to installation Electrical connection Round pipes: If you fit your own plug, the colours of these wires may not correspond with the We recommend identifying marks on the plug terminals. Internal diameter: 150 mm (at least This is what you have to do: 120 mm). -
Page 14: Installation
(glass screen). 04. Drill 3 x l 8 mm holes for the extractor hood and 2 x l 8 mm holes for the chimney panelling. Insert plugs into the holes so that they are flush with the wall. - Page 15 Installation 07. Screw in the lower bolt (hex bolt). 13. Carefully pull the upper flue duct upwards and screw the sides to the fixing bracket with 2 screws. 14. Fitting the glass panel: Hold the glass panel with both 08. Connect up the air outlet pipe.
- Page 16 NEFF (UK) Ltd. Grand Union House, Old Wolverton Road, Old Wolverton Milton Keynes, MK12 5PT Tel: 01908 328300 9000 161 454 Fax: 01908 328399 Printed in Germany 0306 Es.
Need help?
Do you have a question about the D99W45N0GB and is the answer not in the manual?
Questions and answers