Advertisement
Quick Links
Advertisement

Related Manuals for Mocka Aspen Classic Cot


Summary of Contents for Mocka Aspen Classic Cot
- Page 1 Hello, I’ve arrived! Now that I’m here you are only one flat-pack away from transforming your home.
- Page 2 Thank you for supporting us. We believe design belongs to everyone. From materials and processes to safety testing, production and delivery, we are passionate and committed to bringing you the best possible product so you can create beautifully functional spaces to feel comfortably you. Here are a few assembly tips before you get started: Make Time...
- Page 3 Aspen Classic Cot Toddler Bed Half Frame Thank you for your purchase. Please follow the instructions for correct assembly. While we took great effort to ensure these assembly instructions were correct at the time of printing, sometimes updates are required post production. For the most up to date versions please refer to the product page on our website. mocka.com.au/mocka.co.nz...
-
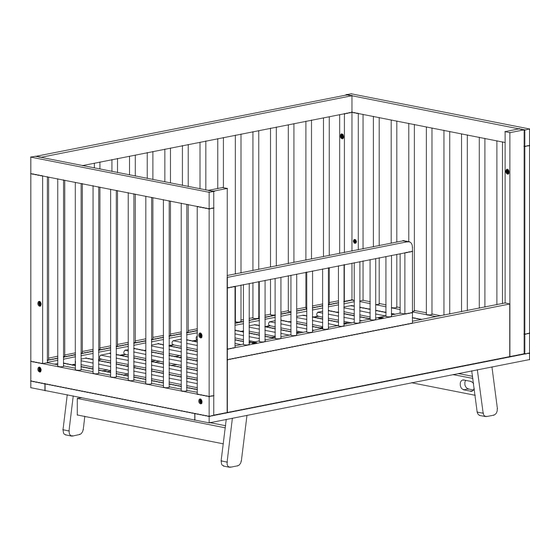
Page 4: Panel Layout
Aspen Classic Cot Toddler Bed Half Frame Panel Layout Partlist Left Short Panel Right Short Panel Long Panel Guard Hardware Supplied allen key bolt bolt dowel mocka.co.nz I mocka.com.au... - Page 5 Aspen Classic Cot Toddler Bed Half Frame Remove the X and Y screws already installed in the cot with an Allen Key (C). Please hold onto the X screws as you will need these to install the conversion. Hardware Needed...
- Page 6 Aspen Classic Cot Toddler Bed Half Frame Hardware Needed Hardware Needed Tighten all bolts with an Allen key (C). You're done, enjoy! mocka.co.nz I mocka.com.au...
Need help?
Do you have a question about the Aspen Classic Cot and is the answer not in the manual?
Questions and answers