Advertisement
Quick Links
Advertisement

Subscribe to Our Youtube Channel
Related Manuals for Mocka Archie Cot


Summary of Contents for Mocka Archie Cot
- Page 1 Hello, I’ve arrived! Now that I’m here you are only one flat-pack away from transforming your home.
- Page 2 Thank you for supporting us. We believe design belongs to everyone. From materials and processes to safety testing, production and delivery, we are passionate and committed to bringing you the best possible product so you can create beautifully functional spaces to feel comfortably you. Here are a few assembly tips before you get started: Make Time Set The Mood...
- Page 3 BE ADJUSTED TO THE LOWEST POSITION BEFORE THE CHILD CAN SIT UP Mocka Products Pty Ltd. PO Box 18, Pinkenba, QLD 4008, AU Mocka Limited, PO Box 29355, Riccarton, Christchurch 8440, NZ. mocka.co.nz I mocka.com.au...
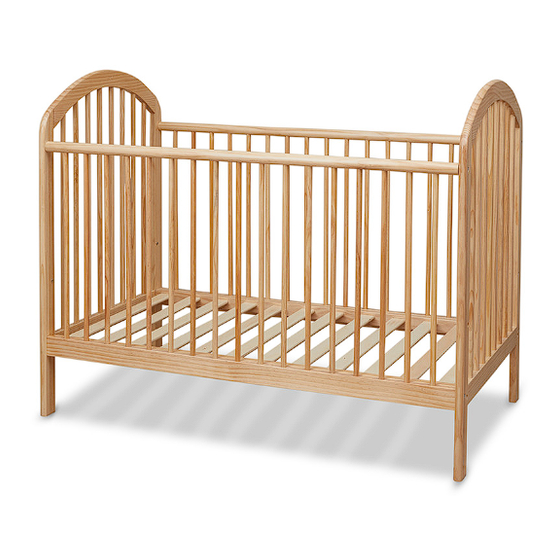
- Page 4 Archie Cot Panel Layout 1. Cot End x 2 2. Side Panel x 2 3. Support x 1 mocka.co.nz I mocka.com.au...
- Page 5 Archie Cot Attach panels (1) and (2) together as shown and secure with 4 x bolts (A). Attach panel (3) to assembled frame as shown and secure with 4 x bolts (A), Tighten with an Allen Key (D). mocka.co.nz I mocka.com.au...
- Page 6 Archie Cot Attach panel (2) to assembled frame and secure with 4 x bolts (A). Tighten with an Allen Key (D). Once assembled lift furniture into place, do not drag. Ensure unit is balanced and steady before use. You’re done, enjoy! Attach panel (3) to assembled frame as shown and secure with 4 x bolts (A), 4 x bolts (B) and 4 x nuts (C).
- Page 7 Love it for longer. Remove all liquid and food spills immediately ONLY with a clean, damp, undyed white cloth. Do NOT use abrasives or common household detergents. Caring for our world. In the interest of our environment, please dispose of all packaging thoughtfully. Good news, you’re all done! Love it and share it on Instagram by tagging @mockaaustralia | @mockanz...
Need help?
Do you have a question about the Archie Cot and is the answer not in the manual?
Questions and answers