Table of Contents
Advertisement
Quick Links
od-q27 VESA adapter
Assembly
instructions
The VESA adapter is compatible with the following monitors from ODYS (odys.de):
Q27, Q27 Pro
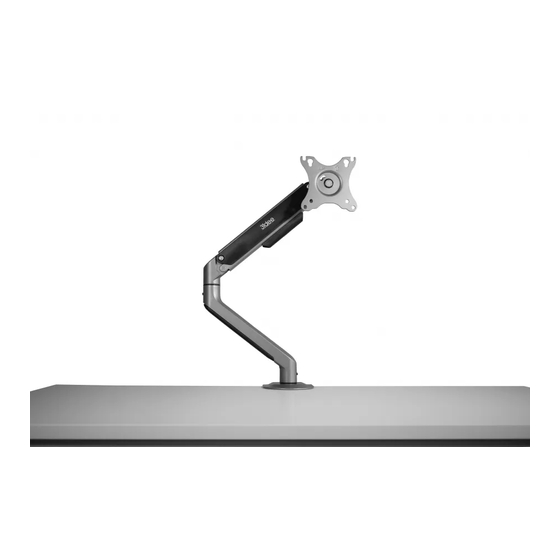
With the VESA adapter, you can easily attach your ODYS monitor to a monitor arm
with a VESA hole pattern (75 x 75mm). Use the supplied screws and nuts for this.
Direct wall mounting is NOT possible, as the VESA adapter already contains metric
threads through which no screws can be inserted for mounting to the wall.
www.3idee.eu
Advertisement
Table of Contents

Related Manuals for 3idee od-q27


Summary of Contents for 3idee od-q27
- Page 1 VESA adapter Assembly instructions The VESA adapter is compatible with the following monitors from ODYS (odys.de): Q27, Q27 Pro With the VESA adapter, you can easily attach your ODYS monitor to a monitor arm with a VESA hole pattern (75 x 75mm). Use the supplied screws and nuts for this.
-
Page 2: Important Safeguards
Assembly instructions Important Safeguards Please read these instructions carefully and keep them for future reference. If you pass the product on to third parties, these instructions should always be included. Failure to follow these instructions may result in injury or damage to persons or the product, for which we cannot accept any liability. -
Page 3: Waste Disposal
For the disposal of this product we recommend to contact the responsible local authorities or disposal services. They can provide you with detailed information on available disposal options and recycling centers in your area. 4. Manufacturer Information 3idee Technologies S.à r.l. 5 Um Lenster Bierg L-6125 Junglinster Luxembourg 5. -
Page 4: Scope Of Delivery Accessories
Assembly instructions Scope of Delivery Accessories 4x M4x14 screw with cross recess 2x M4x40 screw with cross recess (SP2) (SP35) -
Page 5: Horizontal Mounting
Assembly instructions Horizontal / Vertical Alignment Please note: Not all VESA adapters and monitors are designed for vertical (upright) orientation. This limitation is often due to the specific geometry of the adapter or monitor. Do not ignore this information, as the load limit of the adapter can quickly be exceeded if not installed properly. We are continuously working on developing monitors and adapters that are also suitable for vertical orientation. -
Page 6: Assembly Instruction
Assembly instructions Assembly Instruction Step 1 (Preparations before assembly) Place your monitor on a safe, soft surface. To remove your stand, loosen the screw on the side with a Phillips screwdriver. (Figure 1) Figure 1 Step 2 (Preparations before assembly) Now remove the stand as shown. - Page 7 Now remove the fastening as shown (Figure 5). Figure 5 Step 6 Now attach the 3idee VESA adapter to the previously prepared mounting as shown. Make sure that the "Up" mark is aligned with the top edge of the screen.
- Page 8 Assembly instructions ATTENTION: Make sure you use the right screws! (Figure 8) Step 9 Now check that you have tightened all screws properly. (Figure 9) Figure 9...
Need help?
Do you have a question about the od-q27 and is the answer not in the manual?
Questions and answers