Table of Contents
Advertisement
Quick Links
Advertisement
Table of Contents

Related Manuals for golmar ART 7W/G+/48 SE


Summary of Contents for golmar ART 7W/G+/48 SE
- Page 1 ART 7W/G+/48 SE INSTALLER MANUAL ART 7W/G+/48 SE V01 REV.0124|ENGLISH...
-
Page 2: Table Of Contents
IP G+ CATEGORY 2_HEADER CATEGORY 1_HEADER ART 7W/G+/48 SE INDEX 1. Safety cautions and warnings ............................3 2. Characteristics ................................3 3. Device description................................ 3 3.1. Jumper description .............................. 4 4. Device installation ................................ 4 5. Monitor configuration ..............................5 6.Web client .................................. -
Page 3: Safety Cautions And Warnings
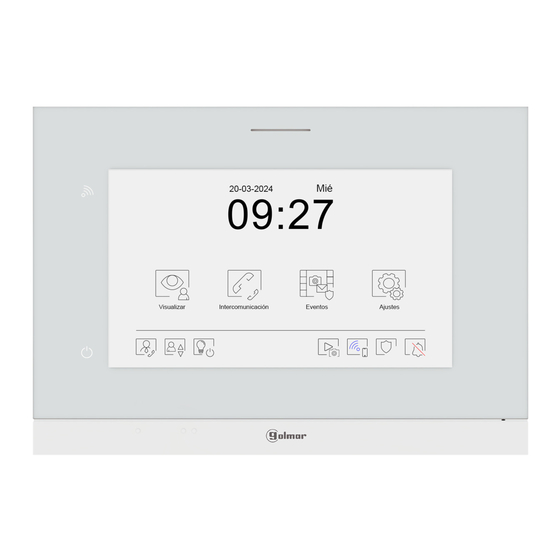
Speaker 20-09-2017 09:27 Status leds View Intercom Events Settings Microphone - Back side MONITOR IP 7” ART 7W/G+/48 SE 12310712A GOLMAR S.A. C/ Silici, 13 08940 - SPAIN HZ connector(*). RJ45 connector. Power mode selector Alarm input connectors. jumper. 12Vcc local power supply connector. -
Page 4: Jumper Description
IP G+ ART 7W/G+/48 SE 3.1. Jumper description We will be able to choose what supply voltage will be necessary for the correct operation of the device through the jumper located in the back side of the monitor as follows: 48 V standard PoE (default position). -
Page 5: Monitor Configuration
If the device is already configurated, we have to enter the IP address that the system automatically assigned or we manually assigned. Type the IP in the web browser: Log in the Web Client: 10.0.14.9 10.0.14.9 Search Search The password to access is 888999. www.golmar.es... -
Page 6: Settings
Available languages. 2 English Manual assignment of 3 Portuguese network parameters. Apply Next Go to the next screen. APARTMENT UNIT Background picture Settings SIP server About Load Restore Previous Next Go to the previous Go to the next screen. screeen. www.golmar.es... -
Page 7: Sip Servers
SIP devices included in the system via extensions assigned to the monitor. SERVER LIST SERVER REGISTRATION User and password created in the PABX Office 1 User Admin switchboard. Qualvision Password Golmar Settings Register SIP server About Registered on Office 1 Update www.golmar.es... -
Page 8: About
In this section of the manual, we will see in detail the system settings. If you want to see other type of settings to which we can access with the monitor, see the ART 7W/G+/48 SE user manual that you will find in the “Downloads” tab in the product website. -
Page 9: Address
In the privacy section, we will be able to enable or disable the monitor’s view of the door panels and the CCTV IP cameras added in the system, the automatic snapshot when there is a call from the door panel and the automatic erasing of them after the set period of 30 days. Privacy Preview video sources Automatic snapshot Automatic erasing www.golmar.es... -
Page 10: Guard
For this, we will must fill in the fields requested by the monitor in the following way: SIP protocol Server name which we are going to use.. Server Extension created for our device. User Password set in the web client of Password the PABX when we created the extension.. Footer Infos www.golmar.es... -
Page 11: Password
CATEGORY 1_HEADER ART 7W/G+/48 SE CATEGORY 2_HEADER IP G+ 7.6. Password To conclude with the system settings menu, we will emphasise in the “Password” section which will allow us to change the password to be entered to access the system setings menu. - Page 12 Sistemas de comunicación S.A. C/ Silici 13. Poligon Industrial Famadas 08940 – Cornellà del llobregat – Spain golmar@golmar.es Telf: +34 934 800 696 www.golmar.es...
Need help?
Do you have a question about the ART 7W/G+/48 SE and is the answer not in the manual?
Questions and answers