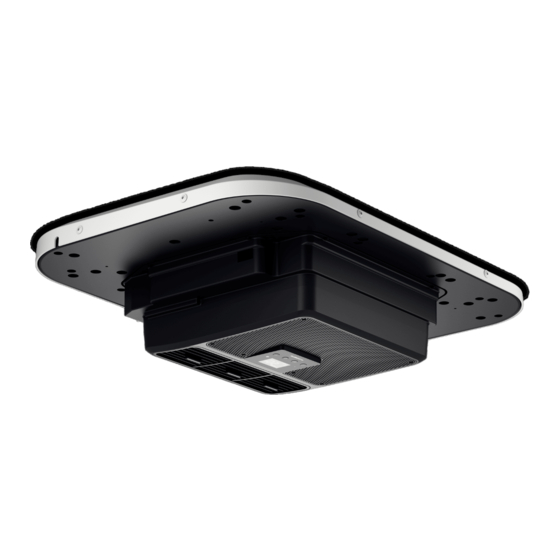
Dometic SPX 1200-T Repair Instructions
Hide thumbs
Also See for SPX 1200-T:
- Installation manual (210 pages) ,
- Installation instructions manual (72 pages) ,
- Manual (12 pages)
Advertisement
Quick Links
DOMETIC SPX 1200-T SERVICE MANUAL
Instructions valid for
9600026439, 9600025657,
SKUs:
9600011575, 9600049687
RELATED DOCUMENTS
You find this service manual in more languages online at
http://qr.dometic.com/bexIZL
EXPLANATION OF SYMBOLS
CAUTION!
Safety instruction: Indicates a hazardous situation that, if not avoided, could result in minor or moderate injury.
CAUTION!
Disconnect all power supplies when working on the parking cooler!
When working on the system, use an ESD wristband that is connected to a grounding point via a cable so that the electrostatic charge is passed on
and the electronic components of the system cannot be damaged due to electrical discharge (ESD).
FIGURE 1:
1.
Release the 10 fastening screws and disassemble the top cover.
FIGURE 2:
1.
Release the EPP top cover above the evaporator carefully by starting at the
evaporator inlet and then unlocking the lid counterclockwise along the edge.
REPAIR INSTRUCTIONS
REPLACING THE CONTROL PBC
Recommended Tools:
4445104419 / 2024-04-23/ Page 1 of 4
Screwdriver Torx 25
Phillips head screwdriver (preferably PZ 2)
Socket wrench SW 8 mm
Side cutter
6 pieces of cable tie (150 mm x 2.5 mm)
Advertisement

Summary of Contents for Dometic SPX 1200-T
- Page 1 DOMETIC SPX 1200-T SERVICE MANUAL REPAIR INSTRUCTIONS REPLACING THE CONTROL PBC Instructions valid for 9600026439, 9600025657, Recommended Tools: Screwdriver Torx 25 SKUs: 9600011575, 9600049687 Phillips head screwdriver (preferably PZ 2) Socket wrench SW 8 mm Side cutter 6 pieces of cable tie (150 mm x 2.5 mm)
- Page 2 FIGURE 3: Release the 2 fastening screws of t the metal holder. FIGURE 4: Carefully cut the marked cable ties. FIGURE 5: Carefully remove the marked plastic clip with the temperature sensor from the evaporator. 4445104419 / 2024-04-23/ Page 2 of 4...
- Page 3 FIGURE 6: Carefully lift the black metal holder with the control PCB upwards out of the unit and remove the marked plug from the control PCB. CAUTION! Some plugs have a locking device that must be pressed when removing the plug from the control PCB.
- Page 4 FIGURE 9: In case you have just the control PCB as a spare part proceed with figure 10. In case you have the control PCB assembled to the metal holder as a spare part release the 3 nuts and exchange the control PCB incl. metal holder. When fitting the new control PCB, follow the above working steps in the reverse order and fix the cables in the same way.


Need help?
Do you have a question about the SPX 1200-T and is the answer not in the manual?
Questions and answers