Dometic SPX1200T Service Manual
Hide thumbs
Also See for SPX1200T:
- Installation manual (210 pages) ,
- Installation instructions manual (72 pages) ,
- Manual (12 pages)
Table of Contents
Advertisement
Quick Links
DOMETIC REWORK KIT SERVICE MANUAL
Equipment Included:
Please check below
Time Required:
35 Min
RELATED DOCUMENTS
You find this service manual in more languages online at
https://documents.dometic.com/search/?query=SPX12
00T+REWORK+KIT+EMEA
EQUIPMENT INCLUDED
•
1 pcs. Sealing tape 240x30mm
•
2 pcs. Sealing tape 130x30mm
•
2 pcs. Sealing tape 110x30mm
•
2 pcs. Sealing tape 55x30mm
•
3 pcs. Sealing tape 30x30mm
•
2 pcs. Sealing round cord, length each: 160mm
•
3 pcs. Cable tie, length: 150mm
•
1 pcs. Water barrier_front
•
1 pcs. Water barrier_ back
•
10 pcs. Fastening screws for fixation of outer housing
(not shown)
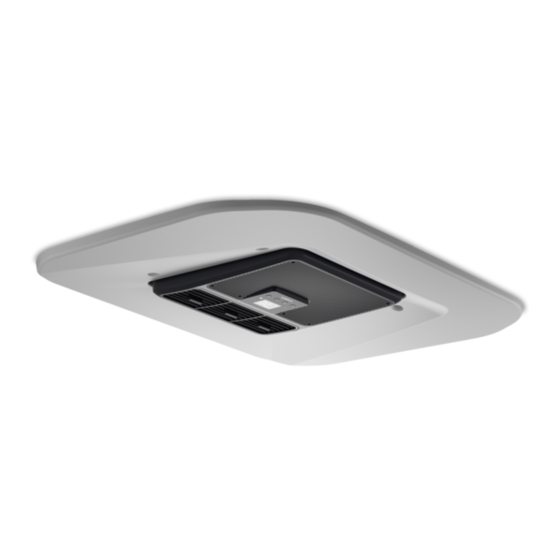
STEP 1: PREPARE THE UNIT FOR REWORK
Disassemble Outer housing
1.
Release the 10 fastening screws and disassemble the
top cover.
Recommended Tools:
Recommended number
of people:
Product Suitable For: SPX1200T
4445103557 / 2021-08-05/ Page 1 of 8
Work gloves,
Screwdriver with bit attachment
Allen 3mm bit
Torx 25 Bit
Screwdriver Cross H2
Side cutter
Long nose plier
1
Advertisement
Table of Contents

Related Manuals for Dometic SPX1200T


Summary of Contents for Dometic SPX1200T
- Page 1 DOMETIC REWORK KIT SERVICE MANUAL Equipment Included: Please check below Recommended Tools: Work gloves, Screwdriver with bit attachment Allen 3mm bit Torx 25 Bit Screwdriver Cross H2 Side cutter Long nose plier Time Required: 35 Min Recommended number of people:...
- Page 2 Disassemble EPP top cover Release the EPP top cover above the evaporator carefully by starting at the evaporator inlet and then unlocking the lid counterclockwise along the edge. Loosen cable fixings Carefully cut the marked cable ties. Disassemble temperature sensor Carefully remove the marked plastic clip with the temperature sensor from the evaporator.
- Page 3 Lift the evaporator on one side Loosen the two screws that fix the evaporator left and right. Carefully lift the evaporator at the right side to a maximum of 4 cm as shown. 4 cm max. STEP 2: SEALING OF THE SUPPORT SURFACES Sealing at the back of the evaporator Carefully lift the plastic bracket below the evaporator as shown.
- Page 4 Assembly of plastic bracket and evaporator Carefully assemble the plastic bracket at its original position below the evaporator and press onto the edges where the butyl round cord is below of to seal this area. Bring back the evaporator to its original position and fix it with the two screws left and right.
- Page 5 STEP 3: SEALING ON THE BACK OF THE EVAPORATOR 2-5 mm overlapping Preparing the sheet metal for the backside Glue the 24 cm long stripe of the sealing tape centered at the inside of the straight sheet metal as shown. The overlapping shall be between 2 and 5 mm.
- Page 6 Sealing left and right with 2 other sealing tapes Use the 2 pcs. of 5,5cm long sealing tapes to seal the gap between the sheet metal and the plastic wall at the left and the right in the same way as shown. STEP 4: SEALING IN FRONT OF THE EVAPORATOR Inside edges Preparing the sheet metal...
- Page 7 Sealing with the 2 protruding ends left and right Glue the protruding ends of the butyl round cord to the sides of the sheet metal as shown to close the gap in this area between the sheet metal and the plastic water basin.
- Page 8 Sealing in the middle at the bottom Glue the other pcs. of the 13 cm long stripes of the sealing tape at the EPP part as shown. The overlapping shall be between 5 and 8 mm and the sealing tape shall be positioned centered.
Need help?
Do you have a question about the SPX1200T and is the answer not in the manual?
Questions and answers