
Subscribe to Our Youtube Channel
Related Manuals for Victorian Plumbing MZ6GOWHSSE


Summary of Contents for Victorian Plumbing MZ6GOWHSSE
- Page 1 Vanity Unit Fitting Instructions Please follow them carefully and leave this manual with end user V3.02.24...
-
Page 2: Before You Begin
Before you begin: We recommend that this product is installed by a qualified tradesperson, Victorian Plumbing Ltd. accept no liability for products incorrectly installed or any damage to the floor, walls, plumbing, vanity cabinet, sink, counter top, or personal injury during installation. - Page 3 Furniture Installation This Instruction covers a variety of topics to help with your installation. Drawer Box Adjustment, Handle drilling and Wall Hanging. Diagrams are for illustration purposes only. Your Vanity Unit may superficially differ from these drawings however the installation guide steps still apply. Drawer Box Adjustment: Y - VERTICAL ADJUSTMENT...
- Page 4 Fixing Wall Hanging Plates (Caterpillar Wall Brackets) • Fix the wall hanging plates as shown below. Check the type of wall you are fixing into and use suitable fixings (Not Supplied). • You may need to lengthen the hook protrusion. To do so, turn screw ‘B’ anti-clockwise. Tighten screw ‘B’...
-
Page 5: Installation
Door Drilling & Hinge Adjustment • Some doors are supplied non-drilled for the handles/knobs so that the end user can create the exact look that they want to achieve. Select your desired handle position. Always measure twice before drilling to make sure that the handles will be in the correct position. Check that the hinges and internal components are not in the way of where the handles will be drilled. - Page 6 Step 2: • Locate an insert the appropriate fixing kit into the drilled holes to secure the unit to the wall. Step 3: • Place your chosen sink over the work top surface and mark the waste hole for the sink (and tap holes if applicable). Using an appropriately sized hole saw, carefully cut out the holes in the work-top .
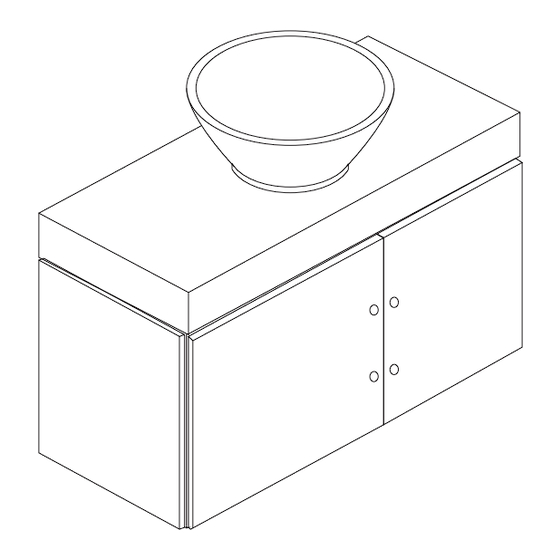
- Page 7 Step 4: • Pipe a Bead of good quality silicone sealant around the top edge of the cabinet and place the work top over the cabinet, wipe away and excess silicone with a damp cloth. Step 5: • Pipe a fine bead of good quality silicone sealant along the base of the basin. Place the basin onto the unit and wipe away the excess silicone with a damp cloth.
-
Page 8: Cleaning And Maintenance
Step 5: Proceed to the installation of the drain trap and water supply lines. Refer to their respective installation instructions for guidance if needed. Allow the sealant to fully dry for 24 hours. 24hr Cleaning and Maintenance: Sink: We recommend that you regularly clean your sink with a soft cloth and warm soapy water.
Need help?
Do you have a question about the MZ6GOWHSSE and is the answer not in the manual?
Questions and answers