Table of Contents
Advertisement
Quick Links
Advertisement
Table of Contents

Related Manuals for Renac ESC-Hybrid Series


Summary of Contents for Renac ESC-Hybrid Series
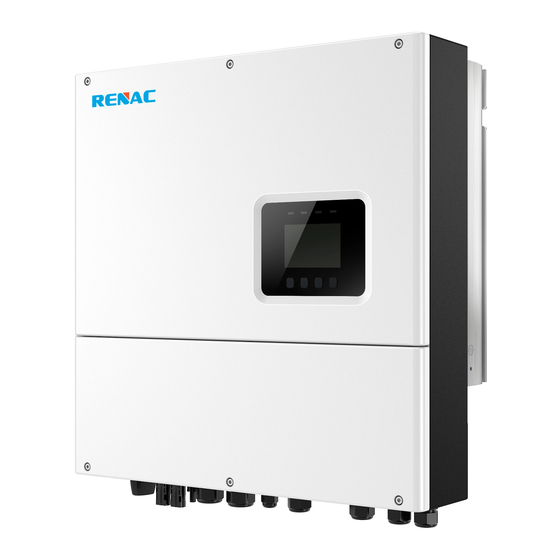
- Page 1 Quick Installation Guide ESC-Hybrid Series Renac Power Technology Co.,Ltd. + Web: www.renacpower.com + Email: info@renacpower.com + Add: Building 6,No. 2,West Jinzhi Road,High-Tech District ,Suzhou City,Jiangsu Province,China 422-00030-01 422-00039-00...
-
Page 2: Packing List
Packing List Screw package: Male DC Connectors x2 Inverter*1 Bracket*1 Expansion tube*4 Female DC Connector x2 Expansion screw*4 Positive DC Pin contact x2 Meter*1 (Optional) M5 screw*2 Ground Terminai*1 Negative DC Pin contact x2 3Pin terminal blockmale connector*2 Ground screw*2 Installation guide*1 Quck installation guide*1 6pin*1... -
Page 3: Inverter Installation
Inverter Installation Drill holes with ф10 drill Mark the position of four holes Depth: at least 45 mm Tighten the expansion tubes Match the inverter with the bracket Screw the expansion screws... - Page 4 PV and AC Connection PV cable size: 12AWG AC cable size: 5mm212 AWG AC connection steps: 1. Trip all the wires (L, N and the PE wires) to 60mm. Use the crimping pliers to trip 12mm of insulation from all wire ends. 2.
- Page 5 WIFI & GPRS、Earth and Meter Connection Earth connection steps: Earth connection steps: 1. Earth cable size: 12 AWG. 2. Install the earth cable and tighten the screw as picture shown. WIFI & GPRS connection steps: Insert the WIFI module or GPRS module to “COM”port of inverter;...
-
Page 6: Battery Connection
Battery Connection Battery Power Connection 1.Connect one side of the battery connect wire to the inverter. 2.Fit a fuse (63A slow blow) in the both positive and negative battery cable as close as possible to the battery. 3.Connect the positive side of the battery connect wire to the positive side of the battery, the negative side of the battery connect wire to the negative side of the battery. - Page 7 It is a manual method to achieve EPS function. An external switch needs to be installed, which should be suitable with EPS output current. If user wants to achieve EPS function automatically, please contact Renac power can provide detailed technital solution.
- Page 8 Terminals Object Description DC switch DC connector area EPS output Grid output Outside current sensor or meter port Communication port for dry contact Communication port for update ON/OFF button Battery communication port Temperature port for battery Battery connector...
-
Page 9: Meter Installation
Meter Installation Make data line to connect meter and inverter. Insert communication cable into RJ45 connector following PIN definition rule. METER Black wire white wire Meter 485A 485B Connect communication cable White line Blue line between meter and inverter. (RS485B) (RS485A) Connect meter connector to the meter port of the inverter, and wire the other side to the meter as below. - Page 10 Inverter Power On/Off Procedure Inverter boot steps: System wiring diagram: Step1:Turn on AC & EPS breaker. Step2:Turn on DC breaker. Step3:Turn on DC switch. Step4:Turn on battery switch. Step5:Turn on battery breaker. Step6:Turn on Inverter switch. Inverter power off steps: Step1:Turn off AC &...
-
Page 11: Programming Guide
Programming Guide Object Name Description Green: Normal working Status. Indicator Red: Error Blue: Battery charging or discharging. Yellow: Communication status. ESC button: Leave from current interface or function. Up button: Move cursor to upside or increase value. Function Button Down button: Move cursor to downside or decrease value. OK button: Confirm the selection. - Page 12 Programming Guide 3. Set PV connection. 4. Set export control. 2. Set date time. Comm : single MPP tracking, 2 MPPT working together; 00000 means none export. Multi: multi-MPP tracking, 2 MPPT work independently. 5. Set Work mode. Self-Use mode -In this mode, the priority of the PV generated power is: local load>battery>public grid.
- Page 13 Programming Guide 6. Set charge. -With BMS connection system will convert to lithium battery mode and update the default value automaticall y as above. -You can also set the parameters according to battery’s requirements manually. -Battery awaken means if battery voltage drops too low that cannot work, please choose “Yes”to charge battery (The BUS voltage must excess 300V).
- Page 14 Programming Guide -With BMS connection system will set lead acid battery mode as a default battery and update the default value as above. -You can also set the parameters according to battery’s requirements manually. -Battery awaken means if battery voltage drops too low that cannot work, please choose “Yes”to charge battery (The BUS voltage must excess 300V).
Need help?
Do you have a question about the ESC-Hybrid Series and is the answer not in the manual?
Questions and answers