Advertisement
Quick Links
Ashford Handicrafts Limited
415 West Street, Ashburton 7700, New Zealand
Telephone 64 3 308 9087
sales@ashford.co.nz www.ashford.co.nz
INSTRUCTIONS
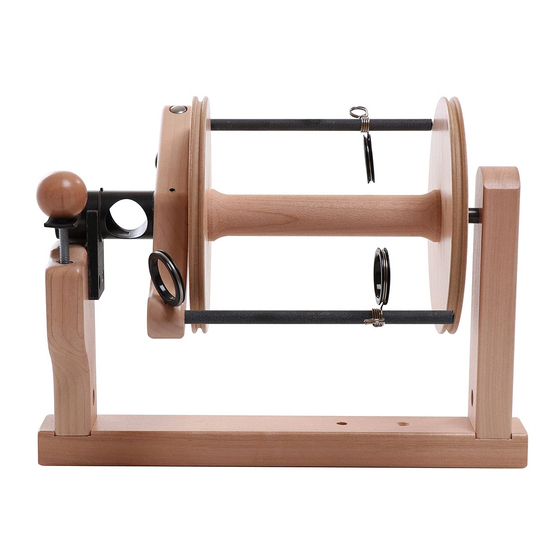
KIWI SUPER FLYER
Ashford Guarantee
Thank you for purchasing this Ashford product. In the unlikely event there is
any fault in manufacture, please contact the dealer you purchased it from.
To validate the guarantee, please go to www.ashford.co.nz/product-registration
KSF130324
Advertisement

Related Manuals for Ashford KIWI SUPER FLYER


Summary of Contents for Ashford KIWI SUPER FLYER
- Page 1 Ashford Handicrafts Limited Ashford Guarantee 415 West Street, Ashburton 7700, New Zealand Thank you for purchasing this Ashford product. In the unlikely event there is Telephone 64 3 308 9087 any fault in manufacture, please contact the dealer you purchased it from.
-
Page 2: Tools Required
We recommend that the wood surfaces be waxed or sealed before assembly. This protects the kiln The Kiwi Super Flyer is also available factory dried wood from climatic changes and prevents finished in clear lacquer. Tools Required... - Page 3 Hints When you use the Hex wrench, make sure it is at Check hardware against full To make assembly easier use 90 degrees and is at the Check the directions carefully. size illustration. candle wax on the screws. bottom of the hole. Gently tap the lazy kate pins into the lazy kate base and locate the bobbins on them...
- Page 4 Attach the front flyer bearing with the large slot to the front flyer support with 19mm (3/4”) screws. Tap the nylon bearing down to the bottom of the hole in the rear flyer support. Hex Wrench Secure the front and back flyer supports to the maiden bar with 50mm (2”) bolts...
- Page 5 Hex Wrench Use the Hex wrench to remove the original maiden bar and carefully store with the flyer, bobbins, lazy kate and drive band. Hex Wrench Place the new Super Flyer Store the Hex maiden bar onto wrench in the hole the dowels in the in the maiden bar.
- Page 6 Attach the leather brake to the front flyer support with a 15mm (5/8”) round head screw. Apply a drop of oil to the flyer shaft. Thread the tension knob through the leather brake band and into the front flyer support. HINT: The Super Flyer is bobbin lead and will require very little...
- Page 7 Spinning on the Kiwi Super flyer Because the Kiwi Super Flyer is bobbin lead, your - Start treadling slowly clockwise (60 RPM is yarn needs to be strong enough to turn the flyer. ideal).
Need help?
Do you have a question about the KIWI SUPER FLYER and is the answer not in the manual?
Questions and answers