Advertisement
Quick Links
40cm (16"), 60cm (24"), 80cm (32"), 120cm (48")
Ashford Handicrafts Limited
Factory and Showroom: 415 West Street
PO Box 474, Ashburton 7700 New Zealand
Telephone 64 3 308 9087 Facsimile 64 3 308 8664
Email: sales@ashford.co.nz Internet: www.ashford.co.nz
INSTRUCTIONS
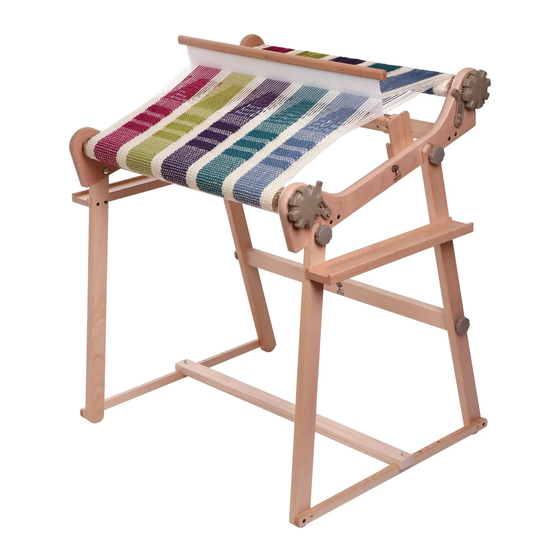
RIGID HEDDLE LOOM STAND
Ashford Guarantee
Thank you for purchasing this Ashford product. In the unlikely event there is
any fault in manufacture we will replace the item. To validate our guarantee
please visit our website or write to us.
RHLS20042018V4
Advertisement

Related Manuals for Ashford RIGID HEDDLE LOOM STAND


Summary of Contents for Ashford RIGID HEDDLE LOOM STAND
- Page 1 Ashford Guarantee Factory and Showroom: 415 West Street Thank you for purchasing this Ashford product. In the unlikely event there is PO Box 474, Ashburton 7700 New Zealand any fault in manufacture we will replace the item. To validate our guarantee Telephone 64 3 308 9087 Facsimile 64 3 308 8664 please visit our website or write to us.
-
Page 2: Tools Required
15mm ( ⁵ / ₈ ”) Beech tree is a native of New Zealand and has a lovely variety of colour and grain. For a silky smooth matt finish, use the Ashford Finishing Wax Front Back to enhance the natural colours and character of this timber. -
Page 3: Parts List
Parts List Left Side Parts Right Side Parts Back LEFT leg Back RIGHT leg Front LEFT leg Front RIGHT leg Bottom rail Bottom rail Shelf Shelf Check the shape of each groove. Middle Parts Back rail 40cm (16”) 60cm (24”) 80cm (32”) 120cm (48”) Foot rest... - Page 4 Left Side Right Side Align parts, Insert F to grooves on the each leg, Secure F with with 45mm (1¾”) screws. Make sure the direction Back Front of E, Secure E with 32mm (1¼”) screws. Shorter Back Front Front Back Connect Right side and Left side, Washers + Knobs...
- Page 5 Attach H Bolts throught the loom sides. Pins Lower the bolts into the front slots, then the back slots and tighten the knobs.
Need help?
Do you have a question about the RIGID HEDDLE LOOM STAND and is the answer not in the manual?
Questions and answers