Advertisement
Quick Links
Ashford Handicrafts Limited
415 West Street, Ashburton 7700, New Zealand
Telephone 64 3 308 9087
sales@ashford.co.nz www.ashford.co.nz
INSTRUCTIONS
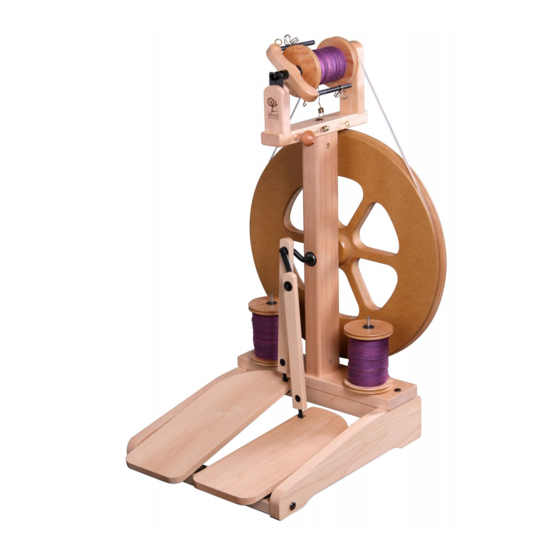
KIWI 2 SPINNING WHEEL
Ashford Guarantee
Thank you for purchasing this Ashford product. In the unlikely event there is
any fault in manufacture, please contact the dealer you purchased it from. To
validate the guarantee, please go to www.ashford.co.nz/product-registration
KSWII110618V9
Advertisement

Summary of Contents for Ashford KIWI 2 SPINNING WHEEL
- Page 1 Ashford Guarantee 415 West Street, Ashburton 7700, New Zealand Thank you for purchasing this Ashford product. In the unlikely event there is Telephone 64 3 308 9087 any fault in manufacture, please contact the dealer you purchased it from. To sales@ashford.co.nz www.ashford.co.nz...
-
Page 2: Tools Required
3 coat application of variety of colour and grain. For a silky smooth matt finish, use polyurethane or paint. the Ashford Wax Finish to enhance the natural colours and MDF is an extremely versatile material that can be machined character of this timber. - Page 3 Real Scale Hardware List...
- Page 4 Thread 2 hooks into the flyer base. Squeeze and slide the yarn guides onto the flyer arms. Apply a drop of oil to the flyer shaft and slide the bobbin and flyer whorl into position. Tap wooden dowels to the bottom of the holes in either end of the treadle rail.
- Page 5 Locate the metal cover plates into the polyurethane hinges. Then attach the hinges to the treadle rail with 16mm (5/8”) screws. Lay the base on its back. Locate the metal cover plates into the polyurethane hinges. Then attach the treadle boards to the hinges with 16mm (5/8”) screws.
- Page 6 Attach the “toe saver” to the base with 50mm (2”) screws. Locate the base onto the dowels and secure the base to the legs with 50mm (2”) bolt and barrel nuts. Note the “toe saver” is towards the front. Tap wooden dowels to the bottom of the holes in both ends of the main upright.
- Page 7 Position the main upright onto the holes in the base. Check that the ball bearing with the extension faces the back. Secure main upright in place with a 50mm (2”) bolt and barrel nut. Slide the crank through the ball bearings.
- Page 8 Slide the inner shell of the conrod universal joint onto the crank until it clicks into the groove. Then click the front conrod onto the universal joint on the crank. Place the wheel in position.
- Page 9 Align the wheel and hole in the crank shaft with the groove in the hub. Carefully tap the hub pin through the hub and crank. Lay the wheel on it’s back. (protect your table with a towel or piece of cardboard) Remove the front conrod from the crank.
- Page 10 Then repeat this sequence for the rear conrod and the left treadle board. Finally click the front conrod back onto the crank. NOTE: It easier to insert the rear conrod joint into the treadle board when the treadle board is at the lowest point - turn the wheel until the rear conrod is in the lowest position.
- Page 11 Place the maiden bar onto the dowels in the main upright and secure with a 50mm (2”) bolt and barrel nut. Insert the end of the flyer shaft into the rear flyer bearing and click the flyer orifice into the front flyer bearing.
- Page 12 Gently tap the lazy kate pins into the base and locate the bobbins on them for storage and plying. Stop tapping when the pins reach the Remove drive belt when not bottom of the holes. in use to avoid it stretching. Locate the drive band around the large flyer whorl &...
- Page 13 To make spinning easier apply a drop of Ashford Spinning Wheel Oil to the flyer, bobbin and conrod bearings. Note: The ball bearings are sealed for life and do not require oiling. Happy Spinning! How to insert the polyurethane conrod joints into the conrod.


Need help?
Do you have a question about the KIWI 2 SPINNING WHEEL and is the answer not in the manual?
Questions and answers