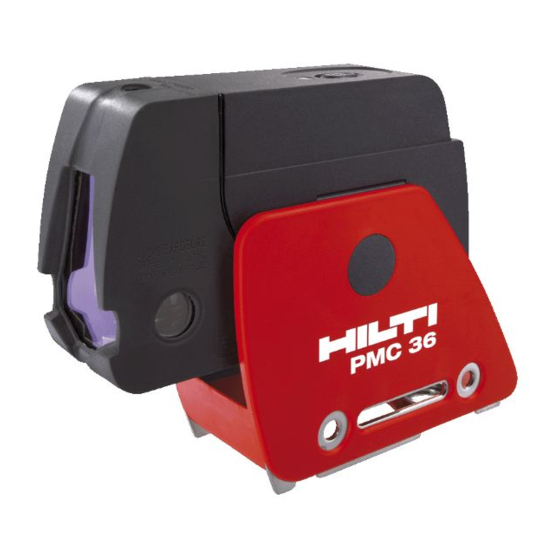
Summary of Contents for Hilti PMC 36
- Page 1 PMC 36 Bedienungsanleitung Istruzioni d’uso Brugsanvisning Bruksanvisning...
- Page 5 >10m max.3mm max.3mm...
-
Page 6: Table Of Contents
PMC 36 combilaser Parts, operating controls and indicators 1 It is essential that the operating instructions Pendulum lockbutton are read before the tool is operated for the Selector button first time. Reference line Always keep these operating instructions Pendulum together with the tool. -
Page 7: Description
2.1 Use of the product as directed The PMC 36 is a self-leveling combilaser which allows a single person to level, plumb, align and transfer right angles quickly and accurately. The tool projects two lines (horizontal and vertical) and five points (above, below, right, left and line intersection). - Page 8 The combilaser gives an “Out of self-leveling range” warning when the self-leveling range is exceeded (the laser beams blink). The PMC 36 is characterized by its ease of operation and use, its rugged plastic casing and ease of transport due to its compact dimensions and light weight.
-
Page 9: Accessories
PUA 10 Frame clamp PMA 25 PMA 76 Ceiling clamp Hilti toolbox PMC 36 Laser visibility glasses PUA 60 The laser visibility glasses are not protective glasses and thus do not protect the eyes from laser beams. As the laser visibility glasses... -
Page 10: Technical Data
126 mm 5. Safety rules In addition to the information relevant to safety c) To avoid the risk of injury, use only genuine Hilti given in each of the sections of these operating accessories and additional equipment. instructions, the following points must be strictly d) Do not open the casing of the tool. - Page 11 Class 3R / Class IIIa. Have ments of the applicable directives, Hilti cannot en- the tool repaired only at a Hilti service center. tirely rule out the possibility of the tool being subject j) Take the influences of the surrounding area into to interference caused by powerful electromagnetic account.
-
Page 12: Before Use
4. Remove the batteries from the packaging and insert them in the tool. 6.1 Inserting the batteries 2 NOTE Only batteries recommended by Hilti may DANGER be used to power the tools. Use only new batteries. 5. Check that the battery terminals are positioned correctly as shown on the underside of the unit. - Page 13 6. Pivot the tool through 90°. 7.1.2.3 Switching on all beams NOTE The lower plumb beam must remain on Press the selector button three times. the center of the cross. 7. Mark the position of the vertical beam on the 7.1.3 Switching off the tool / laser beams ceiling.
- Page 14 2. Mark the mid points of d1 and d2. 7. Fix another target plate or a piece of stout paper If the reference points 1 and 3 are located on at a distance of 5 m from the perpendicular beam, different sides of the mid point, then subtract d2 half-way, in the middle.
-
Page 15: Care And Maintenance
8.3 Transport 4. Observe the temperature limits when storing your Use the Hilti toolbox or packaging of equivalent quality equipment. This is particularly important in winter for transporting or shipping your equipment. / summer if the equipment is kept inside a motor DANGER vehicle (-25°C to +60°C). -
Page 16: Troubleshooting
Most of the materials from which Hilti tools or machines are manufactured can be recycled. The materials must be correctly separated before they can be recycled. In many countries, Hilti has already made arrangements for taking back old tools and appliances for recycling. -
Page 17: Manufacturer's Warranty - Tools
Dispose of the batteries in accordance with national regulations. 11. Manufacturer’s warranty - tools Hilti warrants that the tool supplied is free of defects Additional claims are excluded, unless stringent na- in material and workmanship. This warranty is valid tional rules prohibit such exclusion. - Page 18 Fax: +423 / 234 29 65 www.hilti.com 331445 / A Hilti = registered trademark of Hilti Corp., Schaan W 3278 1206 00-Pos. 1 1 Printed in Liechtenstein © 2006 Right of technical and programme changes reserved S. E. & O.


Need help?
Do you have a question about the PMC 36 and is the answer not in the manual?
Questions and answers