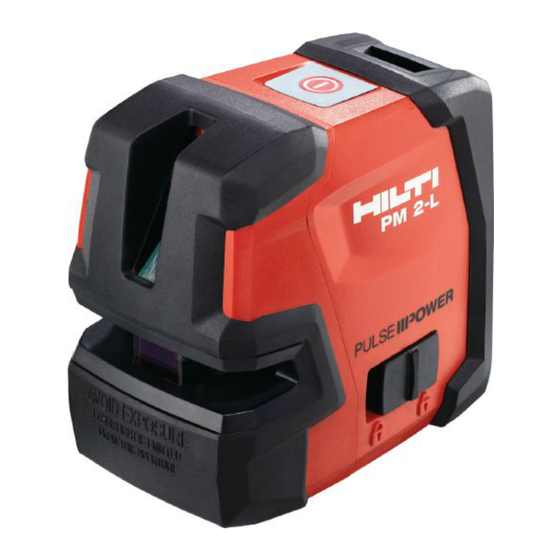
Summary of Contents for Hilti PM 2-L
- Page 1 PM 2-L Operating instructions Printed: 08.07.2013 | Doc-Nr: PUB / 5130721 / 000 / 01...
- Page 2 Printed: 08.07.2013 | Doc-Nr: PUB / 5130721 / 000 / 01...
- Page 3 Printed: 08.07.2013 | Doc-Nr: PUB / 5130721 / 000 / 01...
- Page 4 Printed: 08.07.2013 | Doc-Nr: PUB / 5130721 / 000 / 01...
- Page 5 Pos. 1 2.5m Pos. 2 2.5m Printed: 08.07.2013 | Doc-Nr: PUB / 5130721 / 000 / 01...
-
Page 6: Table Of Contents
In these operating instructions, the designation “the tool” Always keep these operating instructions to- always refers to the PM 2-L line laser. gether with the tool. Parts, operating controls and indicators 1 Ensure that the operating instructions are with the tool when it is given to other persons. -
Page 7: Description
When the self-leveling range is exceeded, the laser beams blink to warn the user. The PM 2-L is characterized by its ease of operation and use, its rugged plastic casing and ease of transport due to its compact dimensions and light weight. -
Page 8: Accessories
As the laser visibility glasses restrict color vision, they should be worn only when working with the PM 2-L laser tool. Do not wear the laser visibility glasses while driving a vehicle on a... -
Page 9: Technical Data
If damaged, have the c) To avoid the risk of injury, use only genuine Hilti machine repaired before use. Poor maintenance is accessories and additional equipment. - Page 10 When the tool is brought into a warm environment under such conditions or if you are unsure. Likewise, Hilti from very cold conditions, or vice-versa, allow it cannot rule out the possibility of interference with other to become acclimatized before use.
-
Page 11: Before Use
Open the battery compartment. Remove the batteries from the packaging and insert them in the tool. NOTE Only batteries recommended by Hilti may be used to power the tool. Check that the battery terminals are positioned cor- 6.1 Inserting the batteries 2 rectly as shown on the underside of the unit. -
Page 12: Care And Maintenance
/ summer if the equipment is kept inside a motor 8.4 Hilti calibration service vehicle (-25°C to +60°C). We recommend that the tool is checked by the Hilti cal- ibration service at regular intervals in order to verify its 8.2 Storage... -
Page 13: Troubleshooting
Most of the materials from which Hilti tools or appliances are manufactured can be recycled. The materials must be correctly separated before they can be recycled. In many countries, Hilti has already made arrangements for taking back old tools and appliances for recycling. -
Page 14: Manufacturer's Warranty
Dispose of the batteries in accordance with national regulations. 11 Manufacturer’s warranty Hilti warrants that the tool supplied is free of defects in Additional claims are excluded, unless stringent na- material and workmanship. This warranty is valid so long tional rules prohibit such exclusion. In particular, Hilti... - Page 15 Tel.: +423 / 234 21 11 Fax: +423 / 234 29 65 www.hilti.com Hilti = registered trademark of Hilti Corp., Schaan W 4209 | 0213 | 00-Pos. 2 | 1 Printed in China © 2013 Right of technical and programme changes reserved S. E. & O.


Need help?
Do you have a question about the PM 2-L and is the answer not in the manual?
Questions and answers