Advertisement
Quick Links
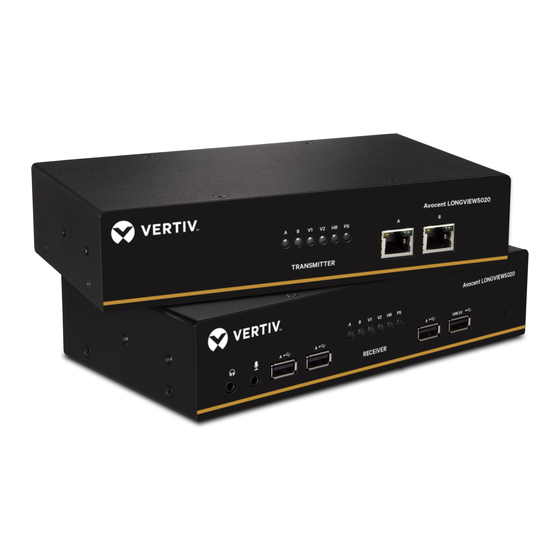
Avocent® HMX DVI-D and LongView
High Performance KVM Extender System
Rack Mount Installation Guide
The Vertiv™ Avocent HMX and
LongView high performance KVM
extender systems transmitters and
receivers can be rack mounted
individually as a single unit, together as
a dual unit, or as standalone units on
the rear of a video monitor.
CAUTION: HMX and LongView
extenders and their power supplies
generate heat during operation. Do not
mount them where air cannot circulate
to cool the equipment. One-third of the
U space (.5 inch/1.5 cm) must be
allowed between rows of extenders
when mounting within a rack chassis.
Do not operate the system in ambient
temperatures or place extenders in
contact with other equipment that has
surface temperatures exceeding 40° C
or place extenders in contact with other
equipment that has surface
temperatures exceeding that.
DUAL UNIT RACK MOUNTING
1. Attaching the L brackets
Fasten an outer and an inner
bracket to each extender unit.
NOTE: There are two types of L
brackets, a slotted outer bracket and
an inner bracket with only holes in
the flange.
2. Joining the two assemblies
Slide each assembly's L bracket into
opposing sides of the U bracket.
Align the holes of the L and U
brackets and fasten in place with
the included rack hardware.
3. Rack mounting the joined
assembly
Position the extender assembly into
a 1U rack space and fasten in place
with the appropriate rack hardware.
TM
Dual Unit Mounting Procedure (Vertiv
1
1
5020
Avocent® HMX DVI-D receiver shown)
TM
1
1
2
3
1
3
590-1514-501C 1
Advertisement

Subscribe to Our Youtube Channel
Related Manuals for Vertiv Avocent HMX DVI-D


Summary of Contents for Vertiv Avocent HMX DVI-D
- Page 1 Avocent® HMX DVI-D and LongView 5020 High Performance KVM Extender System Rack Mount Installation Guide The Vertiv™ Avocent HMX and Dual Unit Mounting Procedure (Vertiv Avocent® HMX DVI-D receiver shown) LongView high performance KVM extender systems transmitters and receivers can be rack mounted...
- Page 2 To contact Vertiv Technical Support: visit www.Vertiv.com © 2022 Vertiv Group Corp. All rights reserved. Vertiv™ and the Vertiv logo are trademarks or registered trademarks of Vertiv Group Corp. All other names and logos referred to are trade names, trademarks or registered trademarks of their respective owners.
Need help?
Do you have a question about the Avocent HMX DVI-D and is the answer not in the manual?
Questions and answers