Advertisement
Quick Links
Avocent® HMX 6200 DP
High Performance KVM Extender System
Quick Installation Guide
The Vertiv™ Avocent HMX 6200 DP
high performance KVM extender
system offers flexible ways to link
peripherals and systems across
standard networks by encoding high
quality DP video, digital audio and USB
data into IP messages. Prior to
completing the following steps, ensure
your computer is turned off.
NOTE: All references to the installer/
user guide in this document refer to the
Vertiv™ Avocent® HMX High
Performance KVM Extender System
Installer/User Guide.
1. Connecting transmitter video
Connect the DP video link cable
from the primary video port on the
computer to video port 1 on the rear
of the transmitter. If your
configuration supports the second
video link, connect the DP video
cable from the secondary video port
on the computer to video port 2 on
the rear of the transmitter.
2. Connecting other transmitter
peripherals
For speakers/microphones, attach
the cable to the appropriately labeled
transmitter port. If your computer is
equipped with separate speaker and
microphone ports, use an audio
splitter cable (not supplied) to
reduce the speakers and microphone
cables to a single plug for attachment
to the transmitter.
Plug the type B connector of a USB
cable into the designated USB
transmitter port and the other end
into a USB computer port.
3. Connecting the transmitter to
the receiver
The HMX 6200 extenders may be
connected directly or in a matrix
configuration.
NOTE: All references to CAT cables
include CAT 5, 5e, 6 or 7.
DIRECT CONNECTION
Insert a fiber channel or active
copper SFP module into either of
Vertiv
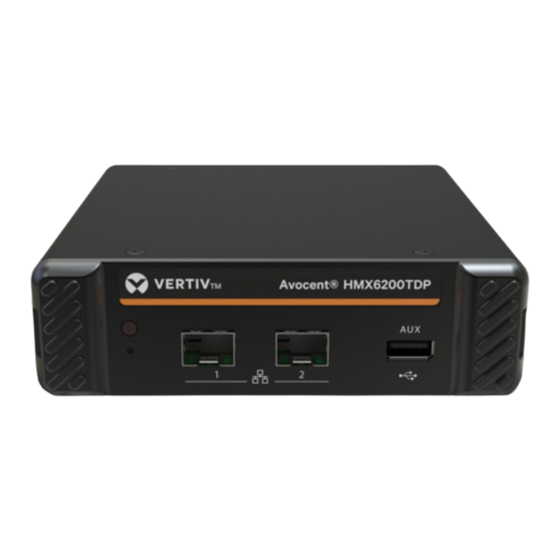
Avocent® HMX6200 Transmitter Shown
TM
2
3
2
1
4
590-2368-501C 1
Advertisement

Subscribe to Our Youtube Channel
Related Manuals for Vertiv Avocent HMX 6200 DP


Summary of Contents for Vertiv Avocent HMX 6200 DP
- Page 1 Avocent® HMX 6200 DP High Performance KVM Extender System Quick Installation Guide The Vertiv™ Avocent HMX 6200 DP Vertiv Avocent® HMX6200 Transmitter Shown high performance KVM extender system offers flexible ways to link peripherals and systems across standard networks by encoding high quality DP video, digital audio and USB data into IP messages.
- Page 2 Avocent® HMX 6200 DP extender system Quick Installation Guide the SFP system ports on the front of Vertiv Avocent® HMX6200 Transmitter Shown the transmitter. Connect the applicable fiber optic link or CAT cable into the module, then insert the other end into an SFP inserted into either of the SFP system ports on the rear of the receiver.
- Page 3 Avocent® HMX 6200 DP extender system Quick Installation Guide 4. Connecting transmitter power Vertiv Avocent® HMX6200 Receiver Shown Assemble the power adaptor and the power cord. Insert one end of the power cord into the transmitter and plug the other end into an appropriate power source.
- Page 4 To contact Vertiv Technical Support: visit www.Vertiv.com © 2022 Vertiv Group Corp. All rights reserved. Vertiv™ and the Vertiv logo are trademarks or registered trademarks of Vertiv Group Corp. All other names and logos referred to are trade names, trademarks or registered trademarks of their respective owners.
Need help?
Do you have a question about the Avocent HMX 6200 DP and is the answer not in the manual?
Questions and answers