
Related Manuals for Gator GTKPRO3


Summary of Contents for Gator GTKPRO3
- Page 1 GTKPRO3 User Guide GPS TRACKING ADVANCED VEHICLE TELEMATICS gatortracking.com.au 07-03-24...
-
Page 2: Table Of Contents
TABLE OF CONTENTS Table of contents.............2 Important information..........3 Introduction.............4 Inclusions..............4 Detailed product overview........5 Features..............5 Knowing your device..........6 Pinout table..............7 Advanced wiring diagram........8 Setting up your device..........9 Led indications............10 Installation tips............11 Location and orientation considerations....12 Server connection and new account setup...13 Portal login screen..........14 Main screen............15 Add object..............16... -
Page 3: Important Information
•All users of the Gator Tracking Service must agree to our terms of service at the time of registering their account on the Gator Tracking Server. Users found breaching the terms of service may have their accounts deleted by the server administrator. -
Page 4: Introduction
INTRODUCTION This GTKPRO3 comes supplied with a M2M SIM Card which operates on the Telstra M2M CAT-1 Network, itincludes 30 days of tracking. After which a subscription is required. Subscription costs, terms and conditions can be found at our website: https://gatortracking.com.au/tracker/guide/subscriptions... -
Page 5: Detailed Product Overview
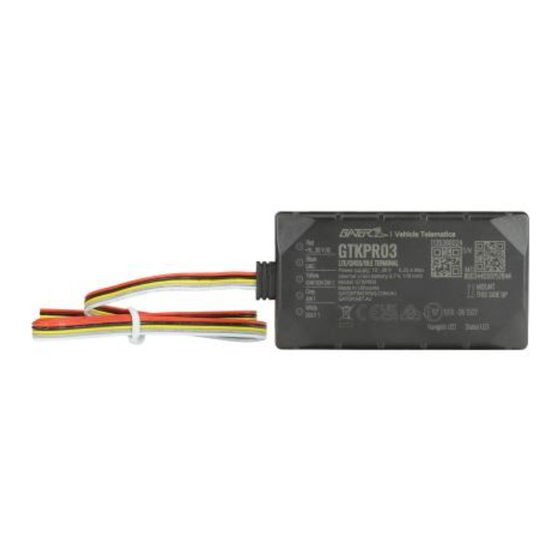
The GTKPRO3 is a professional real-time tracking device with GNSS and LTE CAT-1 connectivity and backup battery. This device is pre-configured to simultaneously use the US based GPS and the Russian based GLONASS global satellite navigation systems. This device also includes a 4G network LTE CAT-1 transceiver for data communications to the tracking server. -
Page 6: Knowing Your Device
TOP VIEW (WITHOUT COVER) BOTTOM VIEW (WITHOUT COVER) POWER MICRO-USB CABLE NAVIGATE STATUS BATTERY MICRO-SIM SOCKET SLOT... -
Page 7: Pinout Table
NUMBER NAME DESCRIPTION VCC (10-30) V (Red) Power supply DC (+) (+10-30 V DC) +10...30 V DC GND (-) (Black) Ground (Yellow) Digital input, IGNITION DIN1 IGNITION DIN1 (Grey) AIN1 AIN1 channel 1. Input range: 0-30 V DC DOUT1 (White) Digital output. DOUT1 Open collector output. -
Page 8: Advanced Wiring Diagram
ADVANCED WIRING DIAGRAM +10...30 V DC IGNITION DIN1 IGNITION DETECTION ALARM BUTTON DOOR SENSOR AIN1 DOUT1 BUZZER FUEL GAUGE ANALOG POWER SUPPLY STARTER LLS SENSOR 10 - 30V DC This diagram outlines an advanced wiring circuit to utilise all features of the tracker, for a basic installation you will only need to connect Battery, Ignition and Ground. -
Page 9: Setting Up Your Device
COVER REMOVAL MICRO-SIM CARD INSERT REMOVING PROTECTION Gently remove the top Insert the supplied M2M Remove the adhesive tape cover using a plastic pry Micro-SIM card. Make sure that protection from the battery. tool from both sides. Then Micro-SIM card cut-off corner remove the top cover. -
Page 10: Led Indications
LED INDICATIONS NAVIGATION LED INDICATIONS STATUS LED INDICATIONS BEHAVIOUR MEANING BEHAVIOUR MEANING Permanently GNSS signal is not Blinking every Normal mode received switched on second Blinking every Normal mode, Blinking every two Sleep mode GNSS is working second seconds Blinking fast for a GNSS is turned off because: Modem activity Device is not working or... -
Page 11: Installation Tips
(Here are some additional points to be aware of) Wiring colours - When wiring up your device, please pay careful attention to the colours of the wires. Connecting the constant power wire - Some vehicles have a function where after some time certain circuits will be completely switched off, we recommend connecting the constant power wire either directly to the battery or to a circuit that never switches off. -
Page 12: Location And Orientation Considerations
IMPORTANT NOTE: The Unit must be installed with the writing side of the module facing up. Failure to do so will result in poor GPS positioning. (It is advised to secure the module in place AFTER your wiring is complete and you have turned the device on to test that it’s working. -
Page 13: Server Connection And New Account Setup
The Gator Tracking server is for the exclusive use of Gator branded tracking devices. Gator customers are eligible to register an account at anytime for free. However the devices added to the account require a subscription in order to work beyond 30 days from activation. -
Page 14: Portal Login Screen
Select “Register" at the top, and enter the email address you would like to use, make sure you get this correct as a password will be sent directly to it (one-time). Click ”I agree to the terms of service” Press "Register"... -
Page 15: Main Screen
You can now add your Gator tracking device to your account by pushing the "Add Object" button in the main view. -
Page 16: Add Object
When you select add object this will bring up a box that lets you enter details about the device, confirm that you've configured it, and saved it. You will also have the option of adding a subscription for your tracker. You have up to 30 days to complete this task but we recommend you do it at the time of adding the device to your account. -
Page 17: Devices
Now your device has been added to your account, the GTKPRO3 is ready to track. Ensure the device is powered on (i.e. turn on the vehicle ignition), click on the device icon in the tracking portal and the map will automatically move to the tracker location. In its first cold start, a positional fix may take a few minutes, after that the unit generally finds its location in under a minute depending on its sleep state and it will start sending data to the server under your account. -
Page 18: Smartphone App
GATOR TRACKING SMARTPHONE APP FOR SMARTPHONES & TABLETS The Gator Tracking Smartphone App allows you to monitor your vehicles, track their locations, create geofences and receive alerts when events are triggered. This App is for both iOS and Android devices. Search gator tracking or... -
Page 19: Technical Specifications
< 35 s CELLULAR Technology LTE CAT-1/NB-IoT/GSM (Configured for 4G CAT -1, Telstra Network only) 4G bands GTKPRO3-QJIB0: LTE FDD: B1/B3/B5/B7/B8/B20/B28 GTKPRO3-QKIB0: LTE FDD: B2/B3/B4/B5/B7/B8/B28/ B66 Data transfer LTE: Max 10Mbps (DL)/Max 5Mbps (UL) GPRS Max. 85.6Kbps (DL)/Max. 85.6Kbps (UL) Data support... - Page 20 INTERFACE Digital Outputs CAN Adapter Inputs 1-Wire data expansion ports GNSS + Cellular antenna Internal High Gain 2.0 Micro-USB (Used for config/ debug only) 2 Status LED lights LED indication Micro-SIM 128MB internal flash memory Memory PHYSICAL SPECIFICATION Dimensions 79 x 43 x 12 mm (L x W x H) Weight 54 g OPERATING ENVIRONMENT...
-
Page 21: Technical Assistance
If you need assistance setting up or using your Gator product now or in the future, call Gator Support. Australia TEL: 03 – 8587 8898 Mon-Fri 9am – 5pm AEST Copyright © 2024 by TDJ Australia All rights reserved. No part of this publication may be reproduced, distributed, or transmitted in any form or by any means, including photocopying, recording, copying or other electronic or mechanical methods, without the prior written permission of the author.
Need help?
Do you have a question about the GTKPRO3 and is the answer not in the manual?
Questions and answers