Table of Contents
Advertisement
Quick Links
Advertisement
Table of Contents

Related Manuals for Zaxcom VRX1


Summary of Contents for Zaxcom VRX1
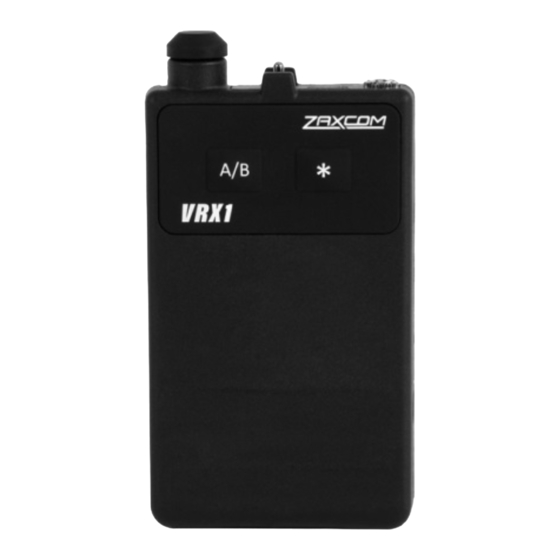
- Page 1 USER MANUAL Published February 2024 Firmware Version 1.04 VRX1 VHF IFB Receiver...
-
Page 2: Table Of Contents
ATTERIES HARGING ............................ 6 VRX1 R ECEIVER NTENNAS ........................6 ECOMMENDED HANNEL PACING PROGRAMMING VRX1 VIA ZAXCOM GUI BRIDGE (ZGB) ............. 7 (ZGB)? ......................7 GUI B HAT IS THE AXCOM RIDGE ZGB..........................7 VRX1 ONNECTING ..........................8 ZGB R &... -
Page 3: Knowing Your Vrx1
Simply connect an earpiece or headphones to the 3.5mm output for clean, reliable audio performance. VRX1 utilizes an innovative direct conversion design that is capable of turning into and decoding 10 analog broadcast channels in the VHF 192-217 MHz frequency range. -
Page 4: Operation, Voice Prompts & Voting
Voting can be enabled or disabled in the settings. Audio Delay & Squelch When an audio delay is required, VRX1 has audio delay settings that can be customized from 1 to 15 frames. An adaptive squelch algorithm intelligently minimizes noise when a transmitter signal is absent. -
Page 5: Vrx1 Interface
Zaxcom VRX1 VHF IFB Receiver VRX1 Interface 1. Programmable A/B Key 6. USB Charging/Data Port 2. Programmable * Key 7. Power Switch 3. Charging Bay contacts 8. Signal/Power/Status LED 4. Battery Compartment 9. Volume Knob 5. 1/8” Headphone Jack Page 5... -
Page 6: Batteries & Charging
VRX1 must be turned off. When in a charging state, an LED will blink blue. When charging is complete, the LED will change to solid green. In the event of a charging fault, the LED will turn solid red. VRX1 will also confirm a low battery and charging status with an audible voice prompt on the headphone output. -
Page 7: Programming Vrx1 Via Zaxcom Gui Bridge (Zgb)
Connecting VRX1 to ZGB ZGB is designed to be plug-and-play with all software built-in. Connecting a VRX1 to a ZGB is accomplished through the USB-C port on the VRX1: Note: A USB-C male to USB-A male cable is required. -
Page 8: Zgb Read & Write Settings
ZGB Read & Write Settings The current saved settings of an individually connected VRX1 can be uploaded into the ZGB for editing by selecting Read VRX. When Read VRX is selected, the device's name will be displayed, and all its parameters will be shown in blue. - Page 9 100KHz. If the A/B or * Button is set to CHANNEL, pressing that button will still cycle between enabled frequencies. 5. Enable: Enables the VRX1 to tune to the desired channel, selectable with either the A/B or * buttons as programmed. Enables will reset when factory defaults are selected.
- Page 10 19. Encryption: Sets receiver encryption for digital reception mode. This function is not available in FM analog mode. 20. Bass Boost: Toggles a low-frequency boost for frequencies below 320Hz on the VRX1 unit. Choices are: Normal, +3dB, +6dB. 21. Presets: Loads saved preset settings for VRX1.
-
Page 11: Programming Vrx1 Manually
4. Once you are satisfied with your selections, wait three seconds, power the device off and then on. If a VRX1 is left in this menu, it will default to normal operating mode after 30 seconds of inactivity. MENU STRUCTURE:... -
Page 12: Vrx1 Presets
VHF Receiver VRX1 Presets VRX1 comes preloaded with 3 different presets and are available to select when entering the factory preset mode. These are ideal for users who do not have a ZGB. PRESET #1: Channel 1 only enabled, no selection buttons, no announcements, no delay, no voting, mono headphone, external LED ON, analog mode. -
Page 13: Vrx1 Presets Continued
VRX1 off. Confirm VRX1 Program Status To confirm the current VRX1 program status and hear the firmware version, hold down the * key on bootup for a voice prompt summary of the current channel selection status. Page 13... -
Page 14: Firmware Updates
• Currently Installed VRX1 Firmware To confirm the current installed VRX1 firmware, hold down the * key on bootup for a voice prompt summary of the installed firmware version. Updating VRX1 Firmware 1. Connect VRX1 to a computer via USB-C 2. -
Page 15: Vrx1 Specifications
Zaxcom VRX1 VHF Receiver VRX1 Specifications IFB Receiver Receiver type: Direct Conversion RF Frequency Range: 192-217 MHz (76-86 MHz optional) RF Sensitivity: .8uV for 20dB Modulation (in Analog Mode): FM Minimum Channel Spacing (in Analog mode): 100KHz RF Frequency Channels: 10... -
Page 16: Product Support
Zaxcom VRX1 VHF Receiver Product Support Product Registration: http://www.zaxcom.com/product-registration Download Firmware: http://www.zaxcom.com/software-updates Download User Manuals: http://www.zaxcom.com/instruction-manuals Submit Technical Questions: http://www.zaxcom.com/submit-a-technical-question Repair Services: http://www.zaxcom.com/repairs Zaxcom Forum: http://www.zaxcom.com/forum Page 16... -
Page 17: Zaxcom Warranty Policy And Limitations
Your exclusive remedy for any defective Product is limited to the repair or replacement of the defective Product. Zaxcom may elect which remedy or combination of remedies to provide in its sole discretion. Zaxcom shall have a reasonable time after determining that a defective Product exists to repair or replace a defective Product.
Need help?
Do you have a question about the VRX1 and is the answer not in the manual?
Questions and answers