Table of Contents
Advertisement
Advertisement
Table of Contents

Related Manuals for Cuisinart TOB Series


Summary of Contents for Cuisinart TOB Series
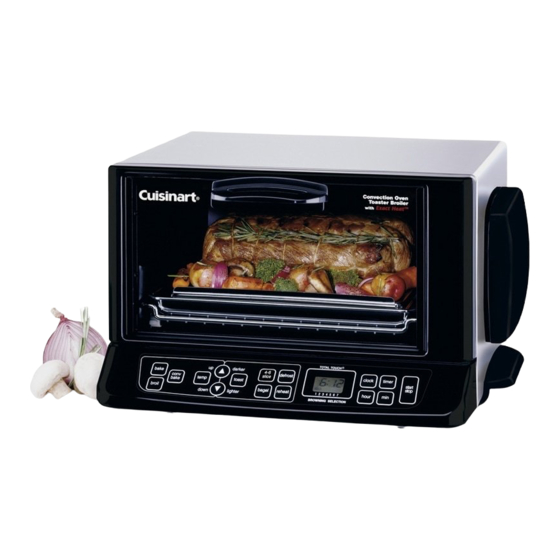
- Page 1 INSTRUCTION AND RECIPE BOOKLET TOB Series Cuisinart Toaster Oven Broiler ®...
-
Page 2: Table Of Contents
Cleaning and Maintenance ....... Oven Rack Position Diagrams ...... -
Page 3: Quick Reference Oven Operation
15. Do not place any of the following materials in the oven: paper, cardboard, plastic or similar products. 16. Do not cover crumb tray or any part of the oven with metal foil. This will cause overheating of the oven. -
Page 4: Special Cord Set Instructions
Our oven is preset to toast 2 slices unless you change it by using one of the custom settings. No need to worry about overtoasting, as is common with many other toaster ovens. -
Page 5: Features And Benefits
3. Toast The “Toast” button allows toasting of a wide variety of breads and bagels. Easily holds 4 to 6 large slices. The oven is preset to toast 2 slices of stan- dard white bread. 3a. Touchpad Shade Control Select from seven brownness settings memorized by the toaster oven broiler. - Page 6 8. Oven Rack Has two positions. The top position has a 50% stop feature so the rack stops halfway out of the oven. It can be removed by lifting the front of the rack and sliding it out. 9. Slide-out Crumb Tray Removes easily from the back of the toaster oven broiler so that crumbs can be cleaned from bottom of oven.
-
Page 7: Before You Begin
Before you begin: Place your oven on a flat surface. Before using your oven, move it two to four inches away from the wall or from any objects on the countertop. Do not use on heat sensitive surface. DO NOT STORE OBJECTS ON THE TOP OF THE OVEN. IF YOU DO, REMOVE ALL OBJECTS BEFORE YOU TURN ON YOUR OVEN. -
Page 8: Bake
The timer can only be used with the bake, convection bake, or broil functions. To a s t : To toast, make sure the oven rack is in rack position “B”, as indicated in the diagram on page 12. If toasting two items, center them in the middle of the rack. -
Page 9: Browning Selection
Keep in mind that the timing is adjusted by the oven thermostat, so if your oven is already warm, the toasting time will be shorter than if you start with a cold oven. B rowning Selection: To make lighter toast, first press the “Toast”... -
Page 10: Important Notes On Toasting Use
The unique 4 to 6 Slice feature will add the right amount of time to toast 4 to 6 slices of bread at once. 1. Place 4-6 slices of bread on the center of the oven rack, 2 or 3 slices in the front and 2 or 3 slices in the back. Close oven door. -
Page 11: Bagel Button
7. Press the “Start/Stop” button to start toasting. To Stop Cycle: When the bagel cycle is complete, the toaster oven broiler will beep 5 times. If you wish to stop the cycle before it is finished, simply press the “Start/Stop”... -
Page 12: Reheat Button
3. Press the “Start/Stop” button to start the function. To Stop Cycle: When the reheat cycle is complete, the toaster oven broiler will beep 5 times. If you wish to stop the cycle before it is finished, simply press the “Start/Stop”... -
Page 13: Oven Rack Position Diagrams
After cooking greasy foods and after your oven has cooled, always clean top interior of oven. If this is done on a regular basis, your oven will perform like new. Removing the grease will help to keep toasting consistent cycle after cycle. -
Page 14: Recipes
Distribute remaining ingredients over the chips, as evenly as possible, beginning with the refried beans and ending with the cheddar cheese on the top. Place in the oven and broil until cheese is bubbly, about 4 minutes. Press “Start/Stop” button. Transfer to serving plate and serve immediately. - Page 15 Place any remaining garlic and lemon slices inside cavity of chicken. Place on rack in oven and bake until juices run clear and meat is no longer pink, about 55 min. to 1 hour. (Internal temperature of chicken should be 170°F.) Baste occasionally with the pan...
- Page 16 Place Cuisinart ® Toaster Oven Broiler rack in position “B” and preheat oven to 375°F on the “Bake” setting. Press “Start/Stop” button. Add 1/4 cup water to the baking pan; place drip tray in the baking pan in the lower position and lightly coat with cooking spray.
- Page 17 Light Cuisinart Meat Loaf This is our updated, lower fat version of a classic Cuisinart recipe. Makes 4 servings Cooking spray pound ground turkey small onion, peeled and finely chopped slice day-old white bread, in quarters ⁄ cup fresh parsley, chopped ⁄...
-
Page 18: Baked Potatoes
11 x 7-inch baking pan and add red potatoes, carrots and onion. Toss gen- tly to coat evenly with oil. Place in oven and bake for 10 minutes, stirring occasionally. Add yam pieces and bake, stirring occasionally, until vegetables are golden brown and soft but not mushy, about 25 more minutes. - Page 19 Dissolve yeast and sugar in milk; let sit until foamy, about 3 – 5 minutes. Stir in egg and reserve. In a Cuisinart food processor fitted with the metal blade, process flour, butter and salt until combined, about 15 – 20 seconds. With machine running, add yeast mixture in a steady stream as fast as flour absorbs it.
-
Page 20: Garlic Bread
® to 450ºF on “Bake” setting. Press “Start/Stop” button. In a Cuisinart food processor fitted with the metal blade, process garlic until finely chopped, about 15 seconds. Scrape bowl and add cheese; process until finely chopped, about 30 seconds. Add butter, oil, salt and pepper;... - Page 21 Pour into prepared pan and bake until a toothpick inserted in the center comes out clean, about 1 hour. Remove from oven and cool on wire rack for 10 minutes. Press “Start/Stop” button. Remove loaf from pan and let cool completely on wire rack.
- Page 22 7 x 11-inch baking pan with cooking spray. Combine flour, baking powder and salt in a small bowl; reserve. Place butter and sugar in a medium mixing bowl. Using a Cuisinart SmartPower™ 7-Speed Hand Mixer, beat on speed 2 until light and fluffy, about 30 seconds.
- Page 23 Remove from muffin pan and cool on wire rack. Directions for non-convection models: Place rack in position “B” and pre- heat oven to 425ºF on “Bake” setting. Press “Start/Stop” button. Prepare muffins as directed above and bake until tops are lightly browned and a tooth- pick inserted in the center comes out clean, about 20 –...
-
Page 24: Warranty
Sen- ages caused by accessories, replacement parts, or repair service other than those that have been authorized by Cuisinart. These warranties do not cover any damage caused by accident, misuse, shipment, or other than ordinary household use. These warranties exclude all incidental or consequential damages. - Page 25 California residents may also, according to their preference, return noncon- forming products directly to Cuisinart for repair or, if necessary, replacement by calling our Customer Service Center toll-free at 1-800-726-0190. Cuisinart will be responsible for the cost of the repair, replacement, and shipping and handling for such nonconforming products under warranty.
- Page 26 NOTES...
- Page 27 ICE CREAM MAKERS PROCESSORS MIXERS MAKERS Cuisinart offers an extensive assortment of top quality products to make life in the kitchen easier than ever. Try some of our other countertop appliances and cookware, and Savor the Good Life ©2000 Cuisinart Cuisinart is a registered trademark ®...
Need help?
Do you have a question about the TOB Series and is the answer not in the manual?
Questions and answers
model TOB-8 red on/off button blinks and will not start toasting