Advertisement
Quick Links
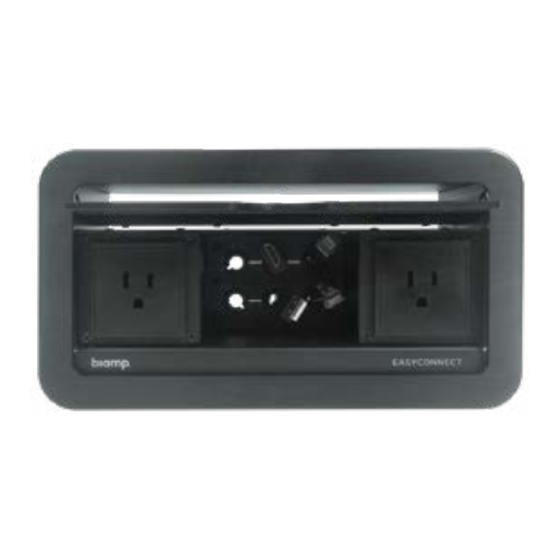
EASYCONNECT
Cable Management Box Installation & Setup Guide
INSTALLATION CONSIDERATIONS
• This guide covers installing and setting up the EasyConnect Cable Management Box.
• See the product datasheets on
biamp.com
for each EasyConnect's specifications.
MODELS
EC - P - CH
EC - P - DK
EC - P - EU
EC - P - UNI
EC - P - US
EC - PK - CH
EC - PK - DK
EC - PK - EU
EC - PK - UNI
EC - PK - US
Advertisement

Related Manuals for Biamp EASYCONNECT EC-P-CH


Summary of Contents for Biamp EASYCONNECT EC-P-CH
- Page 1 EC - PK - EU EC - PK - UNI EC - PK - US INSTALLATION CONSIDERATIONS • This guide covers installing and setting up the EasyConnect Cable Management Box. • See the product datasheets on biamp.com for each EasyConnect’s specifications.
-
Page 2: Included In The Box
Included in the Box EC-P & EC-PK All cables are 59” (1.5m) • Cable Management Box • 2 Cat5e Ethernet • 1 HDMI 1.4 • 1 USB 2.0 Type A-A Not Shown • 2 Mounting brackets • 2 Small screws •... -
Page 3: Device Layout
Device Layout EC-P Retractable Lid Connector Well Power Receptacle Outer Flange Power Receptacle Height Adjustment Screws EC-PK Echo Plus Frame and Mounting Frame EasyConnect Installation and Operation Manual... - Page 4 Optional Adjustment Adjust the depth of connector plate The connector plate can be adjusted for more or less depth. If not required, go to Step 2. 1. Detach the four corner screws and three top screws to remove the back cover of the unit.
- Page 5 Optional Adjustment Continued 2. Remove the four height adjustment screws (2 each on the front and back of the unit) that secure the connector plate that is being adjusted. 3. Adjust the connector plate by pushing it up or down to the desired position. 4.
- Page 6 Cut the tabletop opening and install Install the EasyConnect into a tabletop using the provided cutout template, either before or after connecting the cables. 1. Choose the desired location for the EasyConnect device. 2. Peel the backing from the template to reveal the adhesive side and firmly attach it to the mounting surface.
-
Page 7: Install The Mounting Brackets
Install the mounting brackets 1. Insert the brackets into the slots on each side of the unit from underneath the table surface. Side Slots 2. Ensure proper alignment before tightening the mounting screws. Bracket before alignment and tightening 3. Tighten the screws until the top nut contacts the mounting surface, ensuring a firm grip. - Page 8 Customize Cables The EasyConnect Cable Management Box enables user to reposition or remove existing cables, or add optional new ones. 1. Remove the back cover and adjustment screws at the connection box. Refer instructions on page 4. 2. Pull up and out to remove the connector plate and cables. Cable assembly Connector plate Outer panel removed...
- Page 9 9. Cover any unused holes in the connector plate with the provided hole covers. 10. Reattach the back cover. Note: Click here for more Biamp cable options. EasyConnect Installation and Operation Manual...
- Page 10 Install Echo Plus into EasyConnect 1. Place the square bracket into the box frame and align screw holes with those of the box frame. 2. Insert the Echo Plus into the frame and align the screw holes. 3. Insert and tighten the screws to secure the Echo Plus (do not over tighten). 4.
- Page 11 9300 SW Gemini Drive, Beaverton, OR 97008 USA Warranty: biamp.com/legal/warranty-information Safety & Compliance: biamp.com/compliance March 18, 2024...
Need help?
Do you have a question about the EASYCONNECT EC-P-CH and is the answer not in the manual?
Questions and answers