Table of Contents
Advertisement
Quick Links
Advertisement
Table of Contents

Related Manuals for Ronix 8612C


Summary of Contents for Ronix 8612C
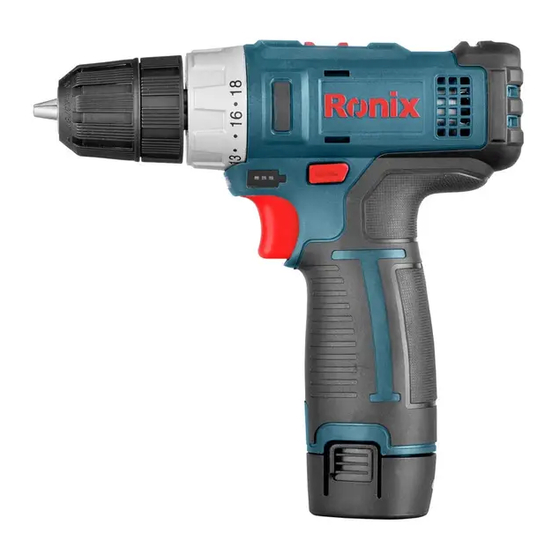
- Page 1 CORDLESS DRIVER DRILL 8612C...
-
Page 2: Technical Specifications
Max Capacity In Wood 25mm Max Capacity In Metal 10mm No-load RPM 0-400 RPM 0-1500 RPM Includes One 1.5Ah/12V battery, 1 fast charger Supplied in Ronix Color box PART LIST Adjustable torque clutch Keyless chuck Forward/Reverse Work light switch Power trigger Battery... -
Page 3: General Power Tool Safety Rules
GENERAL POWER TOOL SAFETY RULES WARNING! -Read all safety warnings and all instructions. Failure to follow the warnings and instructions may result in electric shock, fire and/or serious injury. -Save all warnings and instructions for future reference. -The term «power tool» in the warnings refers to your mains-operated (corded) power tool or battery-operated (cordless) power tool. -
Page 4: Personal Safety
of electric shock. -If operating a power tool in a damp location is unavoidable, use a ground fault circuit. Interrupter (GFCI) protected supply. Use of a GFCI reduces the risk of electric shock. PERSONAL SAFETY -Stay alert, watch what you are doing and use common sense when operating a power tool. - Page 5 rate for which it was designed. -Do not use the power tool if the switch does not turn it on and off. Any power tool that cannot be controlled with the switch is dangerous and must be repaired. -Disconnect the plug from the power source and/or the battery pack from the power tool before making any adjustments, changing accessories, or storing power tools.
- Page 6 contact. If contact accidentally occurs, flush with water. If liquid contacts eyes, additionally seek medical help. Liquid ejected from the battery may cause irritation or burns. SERVICE -Have your power tool serviced by a qualified repair person using only identical replacement parts. This will ensure that the safety of the power tool is maintained.
-
Page 7: Tips For Maintaining Maximum Battery Life
cause serious personal injury. IMPORTANT SAFETY INSTRUCTIONS FOR BATTERY CARTRIDGE -Before using battery cartridge, read all instructions and cautionary markings on (1) battery charger, (2) battery, and (3) product using battery. -Do not disassemble battery cartridge. -If operating time has become excessively shorter, stop operating immediately. -
Page 8: Reversing Switch Action
stop tool operation and charge the battery cartridge when you notice less tool power. -Never recharge a fully charged battery cartridge. Overcharging shortens the battery service life. -Charge the battery cartridge with room temperature at 100C - 400C (500F - 1040F). Let a hot battery cartridge cool down before charging it. LIGHTING UP THE FRONT LAMP CAUTION: Do not look in the light or see the source of light directly. -
Page 9: Functional Description
Depress the reversing switch lever from the A side for clockwise rotation or from the B side for counterclockwise rotation. When the reversing switch lever is in the neutral position, the switch trigger cannot be pulled. Reversing switch lever FUNCTIONAL DESCRIPTION CAUTION: Always be sure that the tool is switched off and the battery cartridge is removed before adjusting or checking function on the tool. -
Page 10: Speed Change
CAUTION: -Before inserting the battery cartridge into the tool, always check to see that the switch trigger actuates properly and returns to the «OFF» position when released. -Always check the direction of rotation before operation. -Use the reversing switch only after the tool comes to a complete stop. Changing the direction of rotation before the tool stops may damage the tool. -
Page 11: Adjusting The Fastening Torque
1 Speed change lever ADJUSTING THE FASTENING TORQUE The fastening torque can be adjusted in 18 steps by turning the adjusting ring so that its graduations are aligned with the pointer on the tool body. The fastening torque is minimum when the number 1 is aligned with the pointer and maximum when the marking is aligned with the pointer. -
Page 12: Drilling Operation
Turn the sleeve counter clockwise to open the chuck jaws. Place the bit in the chuck as far as it will go. Turn the sleeve clockwise to tighten the chuck. To remove the bit, turn the sleeve counterclockwise. 1 Sleeve NOTE: When driving wood screws, predrill pilot holes to make driving easier and to prevent splitting of the work piece. - Page 13 equipped with a guide screw. The guide screw makes drilling easier by pulling the bit into the work piece. To prevent the bit from slipping when starting a hole, make an indentation with a center-punch and hammer at the point to be drilled. Place the point of the bit in the indentation and start drilling.
-
Page 14: Maintenance
a fresh battery. MAINTENANCE CAUTION: -Always be sure that the tool is switched off and the battery cartridge is removed before attempting to perform inspection or maintenance. -Never use gasoline, benzene, thinner, alcohol or the like. Discoloration, deformation or cracks may result. NOTE: To maintain product safety and reliability repairs, any other maintenance or adjustment should be performed by Authorized Service Centers.
Need help?
Do you have a question about the 8612C and is the answer not in the manual?
Questions and answers