
Related Manuals for Maxim Lighting Tanker 88805


Summary of Contents for Maxim Lighting Tanker 88805
- Page 1 PRODUCT NAME:Tanker Cylinder Fan ITEM NUMBER:88805 Please consult your electrician for hanging fixture and wiring. MADE IN CHINA...
-
Page 2: Tools And Materials Required
TOOLS AND MATERIALS REQUIRED 1.PACKAGE CONTENTS Blade set (3) Hanger bracket Canopy Downrod Couping cover Fan Motor Assambly Wall control, receiver Package hardward screws(10),fiber washers(10) 4) Balance Kit... -
Page 3: Safety Rules
2. SAFETY RULES To reduce the risk of electric shock, insure Do not operate reversing switch while fan electricity has been turned off at the circuit blades are in motion. Fan must be turned breaker or fuse box before beginning. off and blades stopped before reversing blade direction. -
Page 4: Mounting Options
3. MOUNTING OPTIONS If there isn't an existing UL listed mounting box, then read the following instructions. Disconnect the power by removing fuses or turning off circuit breakers. Secure the outlet box directly to the building Outlet box structure. Use appropriate fasteners and building materials. -
Page 5: Attaching The Fan Blades
4. ATTACHING THE FAN BLADES screwdriver Screw Step 1 Remove the motor cover by unscrewing the screws with a screwdriver. (Fig.5) Motor cover Step 2 Fasten blade assembly to motor using the screws supplied. (Fig. 6) Step 3 Install the motor cover back to the moto- rand tighten it with screws.(Fig.7) Motor Fig.5... -
Page 6: Hanging The Fan
5. HANGING THE FAN REMEMBER to turn off the power. Follow the steps below to hang your fan properly. Listed electrial NOTE: This ceiling fan is supplied with two types of hanging assemblies; the standard ceiling installation using the downrod with ball Washers Ceiling mounting... - Page 7 6.LOSE-TO-CEILING INSTALLATION Remove the decorative canopy bottom cover from the canopy. (Fig. 11) Canopy Pass the 120-volt supply wires through the center hole in the ceiling hanger bracket as shown in(Fig. 8) Canopy bottom Secure the hanger bracket to the ceiling outlet cover Fig.11 box with the screws and washers provided with...
-
Page 8: Make The Electric Connections
7. MAKE THE ELECTRIC CONNECTIONS AC fan wiring diagram Remember to disconnect the power. Follow the steps below to connect the fan to your household wiring. Use the wire connecting SUPPLY CIRCUIT nuts supplied with your fan. Secure the connectors with electrical tape. Make sure there are no loose strands or connections. -
Page 9: Finishing The Installation
8. FINISHING THE INSTALLATION STANDARD CEILING INSTALLATION Outlet box Screws Slide canopy up to the ceiling as shown in (Fig. Hanger bracket 14). Make sure you place the wires safely into the outlet box. Secure the canopy to the hanger Canopy bracket with the four screws with your fan. - Page 10 9.REPLACEMENT METHOD FOR LIGHT FIXTURE Light fixture can be replaced and installed at any time (light fixture and wall controls need to be purchased for replacement). The installation of light fixture does not need any tools. Step 1 Loosen the decorative cover counter- clockwise.(Fig.15) Step 2 Take out the light fixture.
-
Page 11: Installing The Wall Control
10. INSTALLING THE WALL CONTROL Without Lighting Fixture WHITE Disconnect the power and remove the existing wall plate and switch.Set all knobs on BLACK the single slide wall control in the OFF BLUE position. Installation of this control requires that a three conductor cable with ground wire be run between the control wall box and the ceiling fan outlet box. - Page 12 11. INSTALLING THE WALL CONTROL With Lighting Fixture WHITE Disconnect the power and remove the existing wall plate and switch.Set all knobs BLACK on the single slide wall control the OFF position. Installation of this control requires that a three conductor cable with ground wire be run between the control wall box and the ceiling fan outlet box.
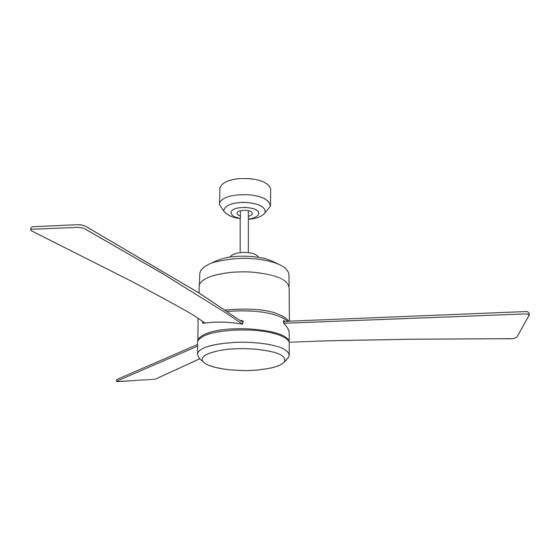
- Page 13 12. FAN INSTALLATION DRAWING Joint cover Motor housing Washer and Retainer Clip Safety Pin Fig.23...
-
Page 14: Operating Your Fan
13.OPERATING YOUR FAN Reverse Switch The slide switch controls directions: forward (switch down) or reverse (switch up).(Fig. 24) NOTE: Wait for fan to stop before changing the setting of the slide switch. Warm weather - (Forward) A downward airflow creates a cooling effect as shown in (Fig. 25). Reverse This allows you to set your air conditioner on a warmer setting without affecting your comfort. -
Page 15: Care Of Your Fan
14.CARE OF YOUR FAN 15.TROUBLESHOOTING...
Need help?
Do you have a question about the Tanker 88805 and is the answer not in the manual?
Questions and answers