Advertisement
Quick Links
Advertisement

Related Manuals for Maxim Lighting VORTEX


Summary of Contents for Maxim Lighting VORTEX
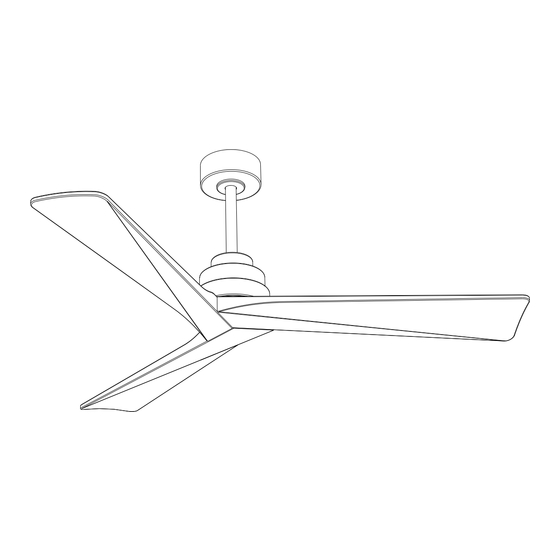
- Page 1 Item/Model Num:88837 VORTEX 52" Indoor Fan...
-
Page 2: Safety Precaution
SAFETY PRECAUTION • WARNING -To make sure power is off before attempting installation. • WARNING -Support Directly From Building Structure. When mounted directly to the building structure, appliance installation shall not expose combustible material and do not install the appliance to a ceiling with combustible finish. The installation of the appliance cannot leave the wood of the rafters or any thermal insulation exposed to the interior of the room. -
Page 3: Ⅰ、Precautions
Ⅰ、Precautions Before using this ceiling fan, please read this manual carefully and operate strictly in accordance with the procedures. 1 The input voltage of this product: 120V/60Hz 2 If you have insufficient knowledge of electrical appliances, be sure to hire an experienced expert to install them. - Page 4 1*Canopy cover 1. Wood ceiling: Drill the mounting bracket directly into the wood ceiling with wood screws (4 pieces) or Use tools to fix the mounting bracket tightly. (The ceiling must bear more than 60KG) 2. Concrete ceiling: First use an φ8mm hammer drill bit to drill the hole according to the length of the expansion screw, then use the equipped expansion screws(2 Pieces) to fix the bracket on the ceiling, and then tighten the nut of the expansion screw.
- Page 5 3. Install the hanger bracket to the outlet box a. Take off the screws on the outlet box. b. Install the hanger bracket to the outlet box by screws Note: 1). According to the ceiling of different materials, use different screws to fix the mounting bracket (as shown above).
- Page 6 2. How to install Suspension Installation ①.Remove the positioning screws from the fan body as follows and place them side by side to proceed to the next step (Figure 6) ②.Get off the pin off the downrod by remove the R clip, and get the lead wire through the downrod and canopy, then seat the downrod into the fan body &...
- Page 7 1. Take off the blade screws from blade plate.(Figure 10) 2. Locked the blades on the fan body by the fixed screws. Make sure all screws are fixed tightly for safety. Wiring Method: One Live One Neutral Green/Yellow Use Effect: 1.If a regular single pole switch is Green/Yellow connected, it can only control to turn...
- Page 8 1.Connect the ground wire from ceiling to three green/yellow wires from the mounting bracket, the hanger ball on the downrod, and the receiver (AC IN E). 2.Connect the neutral wire from ceiling to receiver white wire (AC IN N). 3.Connect the live wire from ceiling to receiver black wire (AC IN L). 4.Plug in the motor wires in the correct way as indicated in the diagram.
- Page 9 Balance piece 2. Adjust with balance kit. a. Take out the balance bag from the package box, use a balance clamp to select one of the fan blades and clamp the balance clamp on the edge of the tail end of the fan blade (Figure 14) b.
- Page 10 XII. Ceiling Fan Troubleshooting Solutions & Common Problems Fan wobble 3. Check whether the screw of the blade retracted to the motor is locked 4.Can it be installed on the inclined ceiling? Yes, pay attention to the inclination angle not exceeding 15 degrees(pay attention to whether the hanger ball will press the fan receiver) WARNING / AVERTISSEMENT •...
Need help?
Do you have a question about the VORTEX and is the answer not in the manual?
Questions and answers