Kraus KGD-433B Installation Manual
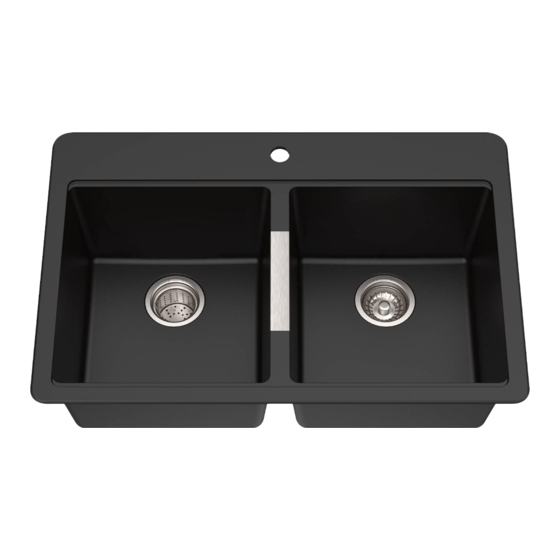
Granite kitchen sink
Hide thumbs
Also See for KGD-433B:
- Installation manual (39 pages) ,
- Installation manuals (20 pages) ,
- Installation manual (25 pages)

Related Manuals for Kraus KGD-433B


Summary of Contents for Kraus KGD-433B
- Page 1 INSTALLATION MANUAL / MANUEL D'INSTALLATION Granite Kitchen Sink / Évier de cuisine en granit KGD-433B Toll Free: 1.800.775.0703 I © 2023 Kraus USA Plumbing LLC I REV. April 12, 2023...
- Page 2 Congratulations on the purchase of your new Kraus plumbing fixture! Félicitations pour l’achat de votre nouvel accessoire de plomberie Kraus! Please keep the box and packaging materials until your product is completely installed. If you have any questions, require technical assistance or have any problems with your product / Veuillez conserver la boîte et le matériau d’emballage jusqu'à...
- Page 3 Toll-Free: 800-775-0703 Pour obtenir un soutien technique ou des pièces de rechange, veuillez communiquer avec le service à la clientèle de Kraus et l'un de nos représentants se fera un plaisir de vous aider : Numéro sans frais : 1 800 775-0703 The step-by-step guidelines in the installation instructions are a general reference for installing a Kraus sink.
-
Page 4: Maintenance / Entretien
REMARQUE: Des outils spécialisés peuvent être nécessaires pour installer les éviers de cuisine en granit Kraus avec des matériaux de comptoir autres que le bois, le marbre ou le granit. Parts List / Liste des pièces ·... - Page 5 Hardware (Included) / Matériel (inclus) Kit for Drop-In Kit for Undermount Installation Installation / Trousse d’installation / Trousse d'installation encastrée en surface Important · Instructions may vary depending on countertop material. Read all instructions carefully, and ensure that counters are compatible with sink installation before proceeding. ·...
- Page 6 14 1/4" (362mm) (362mm) 33" (838mm) R 3/4" R 1 1/8" (20mm) (28mm) Model # / No de modèle: KGD-433B Sink Dimensions / Dimensions de l'évier: 33” x 22” x 9 5/8” Min Cabinet Size / Taille minimale de l’armoire: 36”...
- Page 7 Option A: DROP-IN INSTALLATION / INSTALLATION EN SURFACE 1. Trace Opening / Tracer l’ouverture · Locate the drop-in template in the box. · Trouver le gabarit d’installation en surface dans la boîte. Cut carefully along the dotted lines. Keep the inside portion of the template. It contains important ·...
- Page 8 2. Cut Opening / Couper l’ouverture · Using the drill, make a small starting hole of about 1/2” on the inside of the cutting line. · À l’aide d’une perceuse, faire un petit trou de première mèche d'environ 1,5 cm (1/2”) à l'intérieur de la ligne de coupe.
- Page 9 3. Add Additional Faucet Hole (Optional) / Ajouter un trou de robinet supplémentaire (facultatif) · Determine the location of the faucet. Déterminer l'emplacement du robinet. · · Place the sink upside down on a suitable flat surface. Placer l'évier à l'envers sur une surface plane appropriée. ·...
- Page 10 4. Install Sink / Installation de l'évier · Clean and dry the surface around the opening of the sink. Nettoyer et sécher la surface autour de l'ouverture de l'évier. · · Verify that the sink fits correctly in the opening. The edge of the sink must sit on the counter. Vérifier que l'évier s'insère correctement dans l'ouverture.
- Page 11 5. Install Drain / Installation de la goulotte de vidange Insert the metal strainer into the rubber seal, and then into the drain hole. · · Insérer la crépine métallique dans le joint en caoutchouc, puis dans l’orifice de vidange. ·...
- Page 12 Option B: UNDERMOUNT INSTALLATION / INSTALLATION ENCASTRÉE 1. Trace Opening / Tracer l’ouverture · Locate the undermount template in the box. · Trouver le gabarit d’installation encastrée dans la boîte. Cut carefully along the dotted lines. Keep the inside portion of the template. It contains important ·...
- Page 13 2. Cut Opening / Couper l’ouverture · Using the drill, make a small starting hole of about 1/2” on the inside of the cutting line. · À l’aide d’une perceuse, faire un petit trou de première mèche d'environ 1,5 cm (1/2”) à l'intérieur de la ligne de coupe.
- Page 14 3. Add Additional Faucet Hole (Optional) / Ajouter un trou de robinet supplémentaire (facultatif) · Determine the location of the faucet. Déterminer l'emplacement du robinet. · · Place the sink upside down on a suitable flat surface. · Placer l'évier à l'envers sur une surface plane appropriée. Using the 32mm (1 1/4”) diamond hole saw at high power (1500tr.
- Page 15 4. Install Sink / Installation de l'évier · Turn the sink upside down. Align the sink with the cutting line on the counter. · Retourner l'évier. Aligner l'évier avec la ligne de découpe du comptoir. Using a pencil, mark 10 spots around the frame at a distance of about 1/4” (6.4mm) from the edge ·...
- Page 16 4. Install Sink (Continued) / Installation de l’évier (suite) · Apply a small quantity of silicone-based sealant (not included) around the cutting line, 1/8” away from the edge of the counter. · Appliquer une petite quantité d’agent d'étanchéité à base de silicone (non inclus) autour de la ligne de coupe, à...
-
Page 17: Hexagon Screw
4. Install Sink (Continued) / Installation de l’évier (suite) 15/64 po Diameter / Diamètre de 15/64 po Depth Stop Underneath / Butée de the Counter / profondeur Sous le comptoir 3/8" SEALANT / COUNTER / AGENT D’ÉTANCHÉITÉ COMPTOIR BRASS INSERT / GARNITURE EN LAITON SINK / ÉVIER SUPPORT / SOUTIEN RING / BAGUE... - Page 18 5. Install Drain / Installation de la goulotte de vidange Insert the metal strainer into the rubber seal, and then into the drain hole. · · Insérer la crépine métallique dans le joint en caoutchouc, puis dans l’orifice de vidange. ·...
- Page 19 6. Install Pipes / Installation des tuyaux · Install the faucet following the manufacturer's instructions. · Installer le robinet conformément aux directives du fabricant. Make proper water and waste pipe connections. · · Effectuer les branchements d'eau et d'évacuation appropriés. ST-2 BST-2...
- Page 20 Kraus warrants the structure and finish of the Kitchen Sink to be free from defects in material and workmanship under normal usage for as long as the original purchaser resides in the residence in which the sink was Kitchen Sink was first installed.
- Page 21 TO THE MAXIMUM EXTENT PERMITTED BY APPLICABLE LAW, THIS WARRANTY DOES NOT COVER, AND KRAUS USA PLUMBING, LLC SHALL NOT BE LIABLE FOR, ANY SPECIAL, INCIDENTAL OR CONSEQUENTIAL DAMAGES (INCLUDING LABOR CHARGES TO REPAIR, REPLACE, INSTALL OR REMOVE THIS PRODUCT), WHETHER ARISING OUT OF BREACH OF ANY EXPRESS OR IMPLIED WARRANTY, BREACH OF CONTRACT, TORT, OR OTHERWISE.
- Page 22 La présente garantie n'est pas transférable. Kraus garantit que la structure et la finition de l'évier de cuisine sont exemptes de défauts de matériaux et de fabrication dans des conditions normales d'utilisation tant que l'acheteur d'origine vit dans la résidence au sein de laquelle l'évier de cuisine a été...
- Page 23 Comment faire une réclamation au titre de la garantie Si vous êtes un acheteur, veuillez communiquer avec un représentant du service à la clientèle de Kraus à l'adresse suivante : Kraus USA Plumbing, LLC 12 Harbor Park Drive Port Washington, NY 11050 Numéro sans frais : 800-775-0703...
- Page 24 IMPORTANT Register Your Kraus Product / Enregistrez votre produit Kraus Activate Your Warranty / Activez v otre garantie Access Premium Customer Support / Accédez au soutien à la clientèle supérieur Get Product Information / Obtenez des informations sur les produits...
Need help?
Do you have a question about the KGD-433B and is the answer not in the manual?
Questions and answers