Daikin Sky Air Active Series Installation Manual
Hide thumbs
Also See for Sky Air Active Series:
- Installer's reference manual (32 pages) ,
- Installer's reference manual (84 pages)

Related Manuals for Daikin Sky Air Active Series


Summary of Contents for Daikin Sky Air Active Series
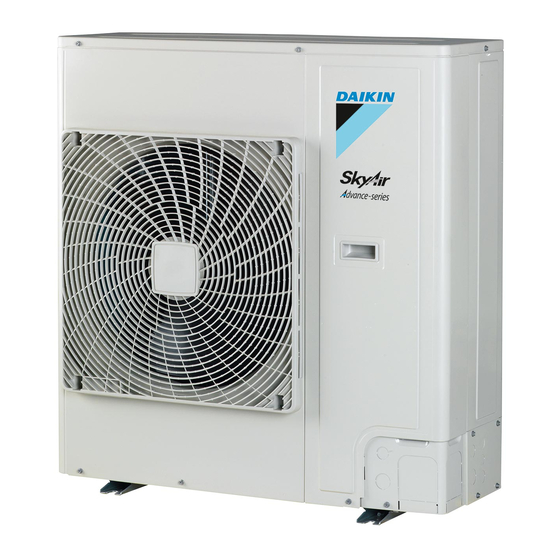
- Page 1 Installation manual Sky Air Active-series AZAS100MUV AZAS125MUV AZAS140MUV AZAS100MUY Installation manual AZAS125MUY English Sky Air Active-series AZAS140MUY...
- Page 2 (mm) — ≥100 A, B, C — ≥250 ≥100 ≥100 B, E — ≥100 ≥1000 ≤500 A, B, C, E — ≥250 ≥150 ≥150 ≥1000 ≤500 — ≥500 D, E — ≥500 ≥1000 ≤500 B, D — ≥100 ≥500 B, D, E <H ≤½H ≥250...
-
Page 3: Table Of Contents
To perform vacuum drying .......... 10 Daikin website (publicly accessible). 6 Electrical installation ▪ The full set of latest technical data is available on the Daikin Business Portal (authentication required). About electrical compliance............10 Guidelines when connecting the electrical wiring...... 10 Specifications of standard wiring components ...... - Page 4 2 Specific installer safety instructions DANGER: RISK OF ELECTROCUTION WARNING Do NOT leave the unit unattended when the service cover ▪ If the power supply has a missing or wrong N-phase, is removed. equipment might break down. ▪ Establish proper earthing. Do NOT earth the unit to a Mounting the outdoor unit (see "4.3 Mounting the outdoor utility pipe, surge absorber, or telephone earth.
-
Page 5: About The Box
3 About the box WARNING Outdoor unit ▪ The refrigerant inside the unit is mildly flammable, but normally does NOT leak. If the refrigerant leaks in the 3.1.1 To remove the accessories from the room and comes in contact with fire from a burner, a outdoor unit heater, or a cooker, this may result in fire, or the formation of a harmful gas. -
Page 6: Opening And Closing The Unit
4 Unit installation Opening and closing the unit 4.2.1 To open the outdoor unit DANGER: RISK OF ELECTROCUTION DANGER: RISK OF BURNING/SCALDING 7× 1 Open the service cover. NOTICE Use a flat head screwdriver to remove the thermistor fixing plate (2). 2×... -
Page 7: Mounting The Outdoor Unit
4 Unit installation 4.3.2 To install the outdoor unit NOTICE Take care to mount the hooks of the thermistor fixing plate (2) correctly to the rear cover. 3 Reinstall the service cover. 4× M12 2× 4.3.3 To provide drainage Mounting the outdoor unit INFORMATION If necessary, you can use a drain plug kit (field supply) to 4.3.1... -
Page 8: To Prevent The Outdoor Unit From Falling Over
5 Piping installation 4.3.4 To prevent the outdoor unit from falling over In case the unit is installed in places where strong wind can tilt the unit, take following measure: 1 Prepare 2 cables as indicated in the following illustration (field supply). -
Page 9: Checking The Refrigerant Piping
5 Piping installation Stop valve (liquid) Stop valve (gas) Liquid piping Gas piping Insulation ends Compressor Vinyl tape 5 If the outdoor unit is installed above the indoor unit, cover the stop valves (A,B see above) with sealing material to prevent condensed water on the stop valves from moving to the indoor unit. -
Page 10: To Perform A Leak Test
6 Electrical installation 5.2.2 To perform a leak test NOTICE Make sure to open the stop valves after installing the The leak test must satisfy the specifications of EN378‑2. refrigerant piping and performing vacuum drying. Running the system with the stop valves closed may break the Pressure leak test compressor. -
Page 11: Specifications Of Standard Wiring Components
6 Electrical installation Specifications of standard wiring components Component AZAS100~140MUV AZAS100~140MUY 125+140 Power supply cable 21.8 A 28.3 A 27.6 A 14.6 A 15.1 A Voltage range 220~240 V 380~415 V Phase Frequency 50 Hz Wire sizes Must comply with national wiring regulation 3-core cable 5-core cable Wire size based on the current, but not less than: 4.0 mm 2.5 mm Interconnection cable (indoor ↔... -
Page 12: Charging Refrigerant
7 Charging refrigerant 1 Determining if and how much you have to charge additionally. Connecting to the When cables are routed from the unit, a frame protection sleeve for the conduits (PG 2 If necessary, charging additional refrigerant. insertions) can be inserted at the knockout 3 Filling in the fluorinated greenhouse gases label, and fixing it to hole. -
Page 13: About The Refrigerant
7 Charging refrigerant 6 HP WARNING ▪ Do NOT pierce or burn refrigerant cycle parts. ▪ Do NOT use cleaning materials or means to accelerate the defrosting process other than those recommended by the manufacturer. ▪ Be aware that the refrigerant inside the system is odourless. -
Page 14: Charging Refrigerant: Setup
8 Finishing the outdoor unit installation 7.3.3 Charging refrigerant: Setup Finishing the outdoor unit installation Setup" [ 4 9]. "5.2.1 Checking refrigerant piping: 7.3.4 To completely recharge refrigerant To insulate the refrigerant piping WARNING After finishing the charging procedure, the piping must be insulated. ▪... -
Page 15: Commissioning
1 Perform introductory steps. the customer. This data can be found in the installer reference guide Action or via the Daikin website. Open the liquid stop valve and gas stop valve by NOTICE removing the cap and turning counterclockwise with a hex wrench until it stops. -
Page 16: Error Codes When Performing A Test Run
10 Disposal Action Result NOTICE Change the position. If the airflow flap of the ▪ The reversed phase protection detector of this product indoor unit moves, only functions when product starts operation is OK. Consequently reversed phase detection performed during normal operation of the product. If not, operation is not OK. -
Page 17: Technical Data
11 Technical data Technical data A subset of the latest technical data is available on the regional Daikin website (publicly accessible). The full set of latest technical data is available on the Daikin Business Portal (authentication required). 11.1 Service space: Outdoor unit Suction side In the illustrations below, the service space at the suction side is based on 35°C DB and cooling operation. -
Page 18: Piping Diagram: Outdoor Unit
11 Technical data 11.2 Piping diagram: Outdoor unit HPS1 LPS1 4.15 MPa -0.03 MPa 3D146949A Charge port / Service port (with 5/16" flare) Compressor Stop valve Distributor Filter Liquid receiver Check valve Solenoid valve Flare connection Field piping (liquid: Ø9.5 flare connection) Heat sink (PCB) Field piping (gas: Ø15.9 flare connection) Heating... -
Page 19: Wiring Diagram: Outdoor Unit
11 Technical data 11.3 Wiring diagram: Outdoor unit The wiring diagram is delivered with the unit, located at the inside of BS1~BS3 (A1P) Push button switch on PCB the service cover. C* (A1P) (Y only) Capacitor (1) Connection diagram DS1 (A1P) Dipswitch English Translation... - Page 20 11 Technical data L*, L*A, L*B, NA, NB, Connector E*, U, V, W, X*A (A1P~A2P) Installation manual AZAS100~140MUV/Y Sky Air Active-series 4P743507-1 – 2023.08...
- Page 24 4P743507-1 0000000O 4P743507-1 2023.08 Verantwortung für Energie und Umwelt...
Need help?
Do you have a question about the Sky Air Active Series and is the answer not in the manual?
Questions and answers