Advertisement
Quick Links
Advertisement

Related Manuals for Equator EZ 4700 C


Summary of Contents for Equator EZ 4700 C
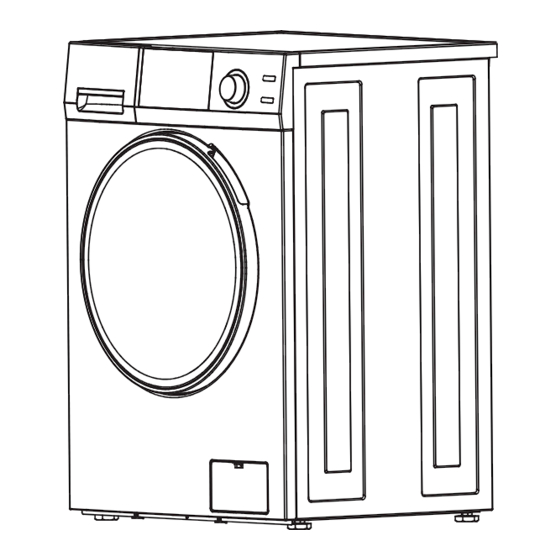
- Page 1 All-in-One Combo Washer-Dryer BUILT-IN MODEL: EZ 4700 C...
- Page 3 Built-in Installation. Can be completely built-in in place of a standard dishwasher, with 0 clearance at the back and sides.
- Page 4 Equator Appliances Equator Appliances Equator Appliances Equator Appliances...
- Page 5 rods Moving of product without installation of shipping rods.
- Page 6 Equator Appliances...
- Page 7 EZ 4700 C...
- Page 9 CONDENSING DRYING:...
- Page 12 Super Combo Super Combo Super Combo...
- Page 13 Fig. 6...
- Page 14 To connect the hoses to the water faucets: Connect the straight end of each hose to the cold or hot faucet. Turn the fittings by hand until they are tight, and then tighten them by just an additional two-thirds of a turn with a wrench. Do not over tighten the fittings.
- Page 15 Recommended cycles according to the laundry type. Wash Features Dry Features Approx Time Water Temp Spin rpm Duration Max. Heat Warm 1200 51 mins 1300W 90 mins Cold + Hot 1400 75 mins 1300W 120 mins Warm 1400 61 mins 1300W 120 mins Cold...
-
Page 16: Minimum Installation Clearances
Minimum Installation Clearances When installed in alcove: Sides, Rear, Top = 0” (0cm) When installed in closet: Sides, Rear, Top = 0” (0cm), Front = 1” (2.54cm) Consideration must be given to provide adequate clearance for installation and service. Mobile Home Installation Installation must conform to Standard for Mobile Homes, ANSI A119.1 and National Mobile home Construction and Safety Standards Act of 1974 (PL93-383). - Page 17 (Fig. 10) Fig. 10...
- Page 20 To display the information of selected program, such as the water temperature, Colored LED Display spin speed, remaining time, rinse times, wash cycles and error messages. Wash + Dry button To select Wash & Dry cycle together. To add an extra rinse to the selected cycle, touch Wash + Dry and Wash only Extra Rinse button buttons for 3 seconds before starting.
- Page 21 Run the cycle A. How to run WASH + DRY Cycle Default cycle is NORMAL - If required you can change to desired washing and drying cycle based on the type of clothes by rotating the Program Dial knob. B. How to run WASH Only Cycle C.
- Page 22 How to winterize for cold weather Pour 2 cups of RV type Antifreeze in soap dispenser. Select WINTERIZE cycle on knob and press START. Machine will Rinse & Spin. Open coin trap once cycle is finished and drain out remaining water. Shut o ffwater at both faucets and disconnect water inlet hoses from faucets and drain.
-
Page 23: Clean The Machine
Cleaning the coin trap Switch o ffthe appliance, allow the water to cool down. Open the service flap by using a finger (bottom right corner) (Fig. 11) (Fig. 12) (Fig. 13) Insert the coin-trap cover and screw tight, close the service flap (Fig. -
Page 24: Clean The Drum
Clean the water inlet filter If water is very hard or contains traces of lime deposit, the water filter may become clogged. It is therefore a good idea to clean it from time to time. Turn o ffthe water faucet (Fig. 18). Unscrew the water inlet hose (Fig.19).
Need help?
Do you have a question about the EZ 4700 C and is the answer not in the manual?
Questions and answers
Need door lock for equator EZ4700