
Related Manuals for domi outdoor living LGMF8008


Summary of Contents for domi outdoor living LGMF8008
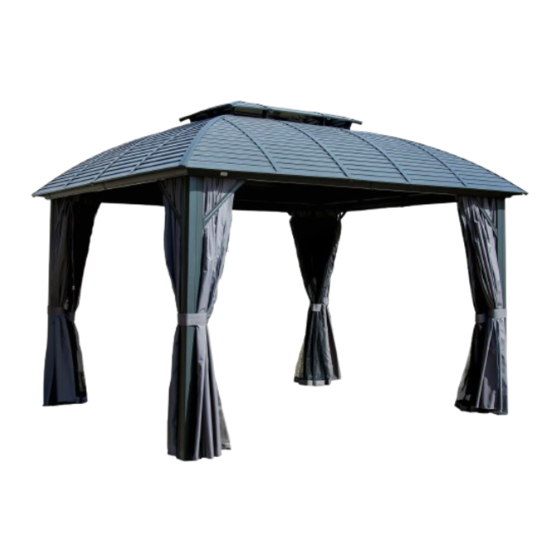
- Page 1 10'x12' HARDTOP GAZEBO WITH DOUBLE ROOF ASSEMBLY MANUAL MODEL#: LGMF8008 Missing part? Damaged? Contact us via email at service@domioutdoorliving.com www.domioutdoorliving.com © Copyright 2022-2024 domi LLC. I All Rights Reserved.
- Page 5 MOSQUITO PLASTIC PANELS HOOK SIDEWALL LOCK MOSQUITO SOLID SOLID STRAPES SIDEWALL SIDEWALL SIDEWALL JOINT PLASTIC PLASTIC MESH COVER...
- Page 6 Attention: You can also put the plastic caps in the last step.
- Page 10 After you finish putting the hooks into the tracks, secure with part N & AA by using screws #5. ① ②...
- Page 12 From bottom to top...
- Page 13 From bottom to top...
- Page 14 Connect both the outside roof connector #Q1 and the mesh #Z5 to the inside roof #Q with screws #7 as the picture shows. ATTENTION: The holes of part #Z5, #Q and #Q1 need to be aligned, on the same vertical line. From bottom to top...
- Page 15 Insert the part #BB/CC into the holes that around the edge of the part #Z5. MESH...
-
Page 16: Inside View
Firstly, attach part #F2, #F1 and #R1 to #E as the left picture shows, and then secure the #BB to the finishing bars with screws #7. Inside View... - Page 17 Firstly, attach part #F, #F1 and #R1 to #E as the picture shows, and then secure the #CC to the finishing bars with screws #7. Inside View...
- Page 18 Attach part #R to the part #D, and then secure the corners of #Z5(MESH) to the 4 corner roof bars with screws #7 as the right picture shows.
- Page 19 Insert panels (Part T,T1 and T2) into the slots of roof bars as shown in diagram.
- Page 20 Affix finshing bars (Parts G, G1 and G2) to roof bars (Part E and D) using finishing end (Part R and R2) and screw #1 as shown in diagram.
- Page 22 Inside View...
- Page 26 (1) Hang up Y1 & Y2 to the inside sidewall track as shown in diagram. (2) Hang up Y5 & Y6 to the outside sidewall track as shown in diagram.
- Page 27 When you close the curtain, please refer to below steps to fix with poles using Yb as shown in diagram.
- Page 28 Thanks for your purchase. At domi outdoor living, we believe in our products. That’s why we provide a 12-month warranty and friendly, casy-to-reach after-sales service. So if you have any questions about our product and assembly- ,please feel free to contact us. We will be here for you.
Need help?
Do you have a question about the LGMF8008 and is the answer not in the manual?
Questions and answers
which box are the m6x20 screws in