Table of Contents
Advertisement
Quick Links
Before assembly
• We recommend that time is taken to read
the instructions before starting assembly,
then follow the easy step by step guide.
The instruction sheet is only a guide to the
assembly. Certain items may not be shown
to scale.
• Check all components prior to assembly
• This product should be assembled by no less
than two people
• Drill all components where indicated
• Gloves are recommended when handling
components
x 2
Gloves
Drill
Recommended tools for assembly
• Power Drill/Screwdriver
• Cross-head drill bit
• 3mm diameter drill bit
• 6mm diameter drill bit
• 12mm diameter drill bit
• Hammer
• Sharp knife
• Spirit level
• Step ladder
No.
Components
1
2
Side wall panel
(Width 1174mm)
3
Back wall panel
(Width 860mm)
4
Front panel
5
Apex panel
6
Roof purlin/felt batten
(Length 1200mm)
7
Roof panel
8
Roof Felt roll
(4m)
9
Door header rail
(28x28x1330mm)
10
Door rebate strip
(12x22x1715mm)
11
Left door
(tower bolt mounting blocks)
12
Right door
13
Door coverstrip
(16x45x830mm)
14
Coverstrips
15
Bargeboard
16
Finial
No.
Fixing Kit
17
T-Hinge
18
Pad bolt
19
Tower bolt
20
Turn button
21
50mm coach bolt
22
Nut
23
Washer
24
50mm screws
25
32mm screws
26
25mm screws
27
19mm round head screws
28
30mm nails
29
10mm felt nails
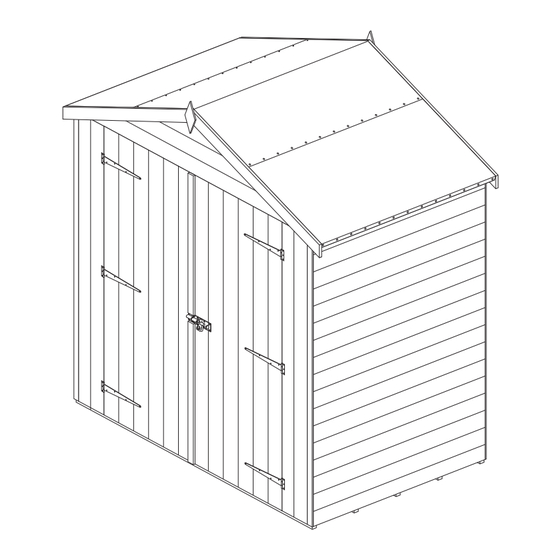
4'x6' Overlap
Double Door Shed
Assembly Instructions
Qty.
1
2
2
2
2
4
2
1
1
2
1
1
2
5
4
2
Qty.
4
10
6
1
2
1
4
17
4
4
34
20
55
12
49
70
8
9
1
1 3
12
11
18
19
20
English SS470B
1
1 6
1
6
7
5
3
2
1
15
14
Advertisement
Table of Contents

Related Manuals for Rowlinson Garden Products 4x6 Overlap Double Door Shed


Summary of Contents for Rowlinson Garden Products 4x6 Overlap Double Door Shed
- Page 1 4’x6’ Overlap Double Door Shed English SS470B Assembly Instructions Before assembly • We recommend that time is taken to read the instructions before starting assembly, then follow the easy step by step guide. The instruction sheet is only a guide to the assembly.
- Page 2 1. Floor Important Prepare a firm level area that is slightly larger than the floor, for the shed to sit. To protect the floor and validate the anti-rot guarantee, adequate provision must be made to ensure ground contact is avoided. The building must not be allowed to sit in pooled water during wet conditions and air must be able to circulate underneath the building.
- Page 3 4. Door header rail & door rebate strips Drill pilot holes with a 3mm drill for each screw in this section. Drill Door header rail Door rebate strips fit under the header rail. 30mm Apex panel bottom frame 50mm Header rail Fits flush to the apex bottom frame and wall...
- Page 4 7.Secure walls to floor Back panels Drill Side panel Back panel Drill pilot holes with a 3mm drill for each screw in this section. 50mm 50mm 50mm Front panels 8.Doors & door coverestrips Tower bolt mounting block 25mm 25mm 25mm 25mm 25mm 25mm...
- Page 5 9. Padbolt, turn button & Tower bolts 25mm 25mm Washer 50mm Drill 2” 19mm 12mm Drill 19mm Drill hole in the floor for bolt to fit in 10.Roof felt Fold the felt over the ROOF FELT ROLL 10mm roof edge and nail to Felt must be cut into Nails...
- Page 6 Green Lane components shown and are only correct at time Wardle Nr. Nantwich of printing. We reserve the right to change the Cheshire specification of our products without prior notice. CW5 6BN 2020 © Rowlinson Garden Products Ltd www.rowgar.co.uk...
Need help?
Do you have a question about the 4x6 Overlap Double Door Shed and is the answer not in the manual?
Questions and answers