Table of Contents
Advertisement
Quick Links
Advertisement
Table of Contents

Related Manuals for Formax FD 8502AF


Summary of Contents for Formax FD 8502AF
- Page 1 FD 8502AF AutoFeed Shredder MAINTENANCE MANUAL FIRST EDITION 11/2013...
-
Page 3: Table Of Contents
TABLE OF CONTENTS TOPIC PAGE Specifications Set-up Guidelines Control Panel Operation AutoFeed Operation Safety Devices & Other Features Safety Precautions Daily Maintenance Auto Cleaning Sensor Sensitivity Recovery Removing Motor & Cutting Head Unit Replacing Door Hinges Replacing Casters Repairing Motor Condenser & Contactor Adjusting Feed Hopper Troubleshooting Parts Lists... -
Page 5: Specifications
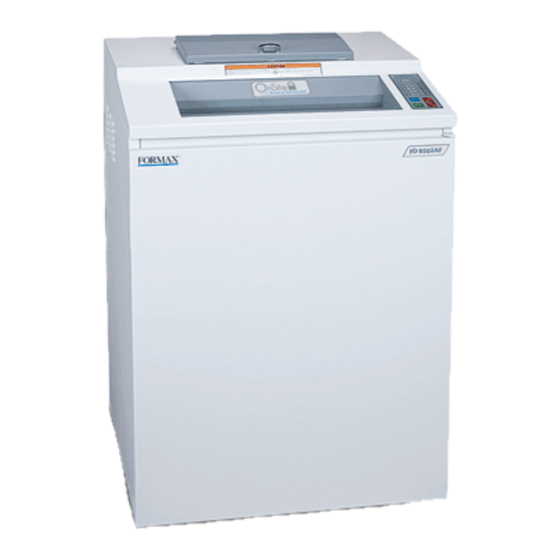
Specifications Cutting Style: Cross Cut Shred Size: 5/32” x 1-1/5” AutoFeed Hopper: Up to 175 sheets Hand-Feed Hopper: 22 to 24 sheets Speed: 35 feet per minute Feed Opening: 16” (hand-feed hopper) Dimensions: 24” W x 20” D x 35” H Security Level: Level 3 Bin Capacity:... -
Page 6: Operation
Operation 1. Flip the power switch “ON” located on the right side of the shredder. 2. Auto Start/Auto Stop When the START button is pushed, the signal lamp “AUTO” will light. Insert paper to shred. The shredder will start and stop automatically when using this function. -
Page 7: Safety Devices & Other Features
Safety Devices & Other Features Automatic Reverse Rotation When too much paper is inserted, the cutter stops operating and automatically rotates in reverse to discharge the jammed paper. An alarm sounds. Remove the jammed paper and reduce the size of the stack, then restart the operation. Door Switch If the door is open, the shredder will not operate. -
Page 8: Daily Maintenance
• Never put water directly on the surface of the shredder. • Never clean the case with benzene or thinner, since it will cause discoloration. • Do not dismantle the shredder. Contact your Formax Dealer for service. Auto Cleaning Function Use the Auto Cleaning function when sheet capacity is decreased. -
Page 9: Replacing Door Hinges
Replacing Door Hinges If the door is separated from the body housing, replace the upper and/or lower hinge, (Figures 2 and 3). Figure 3, bottom hinge Figure 2, top hinge Replacing Casters If casters are damaged, remove rivets and attach new casters with screw bolts (Figure 4). -
Page 10: Adjusting Feed Hopper
Adjusting the AutoFeed Hopper Guide The AutoFeed Hopper Guide is set at the factory. However, if paper is feeding incorrectly or too many sheets are being pulled causing the shredder to jam, it may be necessary to adjust the infeed gap. AutoFeed Lever Remove top case assembly. -
Page 11: Troubleshooting
TROUBLESHOOTING PROBLEM: CHECK THIS: SOLUTION: Shredder will not operate Check that the power cord is plugged Plug cord into outlet into an appropriate outlet Check voltage of power outlet If necessary, find an alternate outlet with the appropriate voltage Check the wiring between the fuse con- Reconnect, if necessary nector on the PCB (page 14) Shredder capacity is decreased... - Page 12 Shredder motor and blades Check control panel lights to see if If so, follow instructions for Sensor continue to rotate AUTO lamp is flashing Sensitivity Recovery (page 4) Check control panel lights to see if If yes, press the START button. AUTO lamp MANUAL lamp is on should light and shredder should operate in AUTO mode.
-
Page 13: Parts Lists
PARTS LISTS ITEM PART # DESCRIPTION FD8502AF-CAS-01 TOP CASE ASSEMBLY FD8502AF-CAS-02 TOP COVER 7410-BOD-01 BODY CASE 7310-BOD-02 UPPER DOOR HINGE 7310-BOD-03 LOWER DOOR HINGE 7410-DOR-01 DOOR 7310-DOR-02 DOOR MAGNET 7410-FRT-01 FRONT COVER PLATE WST-AA-0006 WASTE BIN 7310-ELE-03 MICRO SWITCH, DOOR, 15A (INTERNAL) 7310-CAT-01 CASTERS... - Page 14 MECHANICAL PARTS 6, 7 23, 24 19, 20 (not visible) (not visible) ITEM PART # DESCRIPTION FD8500AF-CTB-03 MOTOR, 400W 7410-GEA-04 SPUR GEAR (m=2, z=31) 7410-GEA-03 SPUR GEAR (m=2, z=31) 7410-GEA-02 MAIN SPUR GEAR (m=2, z=59) 7410-GEA-01 MOTOR GEAR (m=2, z=59) 7310-ELE-01 CIRCUIT BREAKER, 15A 7310-ELE-03...
- Page 15 Underside View Underside View Top View ITEM PART # DESCRIPTION 7310-RUB-01 VIBRATION-PROOF RUBBER 7310-FUL-01 WASTE BIN FULL SENSOR PLATE 7310-ELE-02 MICRO SWITCH (WASTE BIN) 7310-FIL-01 NOISE FILTER...
- Page 16 AUTOFEED COVER ASSEMBLY HAND-FEED SENSOR AUTOFEED SENSOR ITEM PART # DESCRIPTION FD8502AF-CAS-01 TOP CASE ASSEMBLY FD8502AF-CAS-02 TOP CASE FD8502AF-CAS-03 AUTOFEED COVER ASSEMBLY FD8502AF-CAS-04 AUTOFEED COVER TOP PANEL FD8502AF-CAS-05 AUTOFEED COVER BOTTOM PANEL FD8502AF-CAS-06 AUTOFEED ROD FD8502AF-CAS-07 AUTOFEED SCREWS FD8502AF-CAS-08 FEED COVER E-RING FD8502AF-CAS-25 AUTOFEED COVER HANDLE FD8502AF-CAS-26...
- Page 17 ITEM PART # DESCRIPTION FD8502AF-AF-01 AUTOFEED HOPPER ASSEMBLY FD8502AF-AF-02 AUTOFEED HOPPER FD8502AF-AF-03 AUTOFEED TRAY FD8500AF-AF-13 SPRING FD8500AF-AF-04 AUTOFEED BRACKET FD8500AF-AF-09 AUTOFEED SHAFT FD8500AF-AF-08 AUTOFEED ROLLERS FD8500AF-AF-06 AUTOFEED GUIDE FD8500AF-AF-07 BEARING FD8500AF-AF-10 SPROCKET A FD8500AF-AF-11 SPROCKET B FD8500AF-AF-12 CHAIN 40# FD8500AF-AF-05 FEED BLOCK...
-
Page 18: Electrical Parts
ELECTRICAL PARTS 1, 2 ITEM PART # DESCRIPTION 7310-PCB-02 SWITCH PCB 7410-TOP-02 SWITCH PCB COVER 7310-PCB-04 PCB SUPPORTER (JOSS-6N) 7310-SEN-01 PHOTO EYE SENSOR FD8500AF-PCB-01 SENSOR HARNESS 7310-ELE-05 BODY CABLE 7310-ELE-09 POWER PLUG 7410-THR-01 INFEED THROAT... - Page 19 Inside View (external connection) ITEM PART # DESCRIPTION 7310-PCB-01 MAIN PCB 7310-ELE-01 MAIN POWER SWITCH/CIRCUIT BREAKER, 15A 7310-ELE-03 MICRO SWITCH (DOOR), 15A 7310-ELE-06 MAIN CABLE 7310-ELE-07 DATA OUTPUT CABLE 7310-ELE-08 DOOR FULL CABLE 7310-TRA-01 TRANSFORMER 7310-PCB-03 MAIN PCB COVER...
Need help?
Do you have a question about the FD 8502AF and is the answer not in the manual?
Questions and answers