Table of Contents
Advertisement
Quick Links
please contact afifurnishings at customerservice@afifurnishings.com or 1-800-955-3726
Phillips screwdriver
Customer supplied
HARDWARE
A
JCB M6 X 30mm (1 1/4") - 8 pcs
Spare - 1 pc
C
Wood screw 1" - 17 pcs
Spare - 2 pcs
F
Barrel Nut - 2 pcs
MURPHY BED
ASSEMBLY INSTRUCTIONS
Before assembling your murphy bed, please read through these
instructions carefully and familiarize yourself with the different parts.
ATTENTION! If you receive a damaged or defective item,
NOTE: WE INCLUDE SPARE HARDWARE IN CASE DAMAGE OCCURS DURING ASSEMBLY.
D
Flat Washer - 8 pcs
Spare - 2 pcs
G
Hexagon wrench - 1 pc
FULL
PO :
B
JCB M6 X 55mm (2 1/8") - 2 pcs
Spare - 1 pc
E
Hexagon Nut - 8 pcs
Spare - 1 pc
H
Spring clip set with screw - 2 pcs
CODE
MB-PD-SAN
MB-BL-SAN
MB-TP-SAN
I
Triangle Bracket - 2 pcs
J
Surface Mount Charger 2 - 1 set
Screw 1/2" - 2 pcs
Spare - 1 pc
K
Allen wrench - 1 pc
Spare - 1 pc
READY
Adult assembly
ITEM
C-7731X
C-7732X
C-7733X
Page 1 of 7
Advertisement
Table of Contents

Subscribe to Our Youtube Channel
Related Manuals for AFi MURPHY MB-PD-SAN


Summary of Contents for AFi MURPHY MB-PD-SAN
- Page 1 MURPHY BED FULL READY ASSEMBLY INSTRUCTIONS Before assembling your murphy bed, please read through these instructions carefully and familiarize yourself with the different parts. ATTENTION! If you receive a damaged or defective item, please contact afifurnishings at customerservice@afifurnishings.com or 1-800-955-3726 Phillips screwdriver Customer supplied Adult assembly...
- Page 2 FULL PARTS LIST HARDWARE SMC2 LEFT SIDE PANEL RIGHT SIDE PANEL 1 BOX C-7732X BASE BACK RAIL 1 BOX C-7733X BACK PANEL TOP PANEL 1 BOX C-7731X FOLDING PANEL 1 BOX FOLDING MATTRESS STEP 1 Install spring clip (H) set with screw to side panels (03)(04). Attach left side panel (03) and right side panel (04) to the base (05) as shown below.
- Page 3 FULL STEP 2 Guide the back panel (08) and back rail (07) in carefully so that it won’t jump out of its grooves. Be sure it fits fully into its groove at the back rail before fitting the top panel. Use JCB (B) and barrel nut (F). Tighten with allen wrench (K). Adult assembly Barrel nut Allen wrench...
- Page 4 FULL Attach legs (06) to cabinet assembly as shown below. Use flat washer (D) and STEP 4 hexagon nut (E).Tighten with Hexagon wrench (G) Adult assembly Flat Washer Hexagon Nut Hexagon Wrench STEP 5 Open top drawer folding leg as shown below. Using metal support and lock to the post.(both side) LOCK Top drawer folding leg...
- Page 5 FULL STEP 6 Attach folding panel assembly (10) to cabinet assembly as shown below. Use wood screw (C). Tighten with Phillips head screwdriver. Customer supplied. Be sure to align with cabinet. Adult assembly Phillips screwdriver Customer supplied Wood Screw 1" STEP 7 Unlock metal support.
- Page 6 FULL Attach triangle bracket (I) to the back of cabinet as shown below. Use wood screw (C) STEP 8 tighten with Phillips head screwdriver. (customer supplied). PILOT HOLES Adult assembly Triangle bracket STEP 9 Install USB charger (J) to the location as shown.
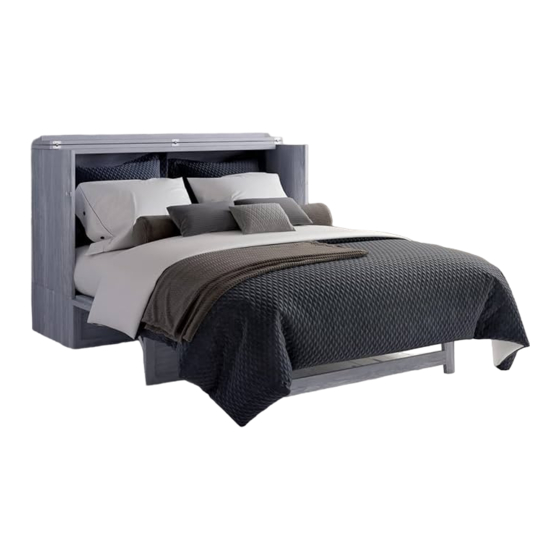
- Page 7 FULL STEP 11 Open and pull footboard frame and open footboard leg as shown below. FOOTBOARD FRAME FOOTBOARD LEG Adult assembly STEP 12 Install folding mattress (11) to the bed. Open top panel as shown below. Congratulations! Your Murphy bed is now ready for use. We recommend that you recheck that all screws are tight, and that all parts are secure before use to ensure lasting Safety.
Need help?
Do you have a question about the MURPHY MB-PD-SAN and is the answer not in the manual?
Questions and answers