Advertisement
INSTALLATION GUIDE
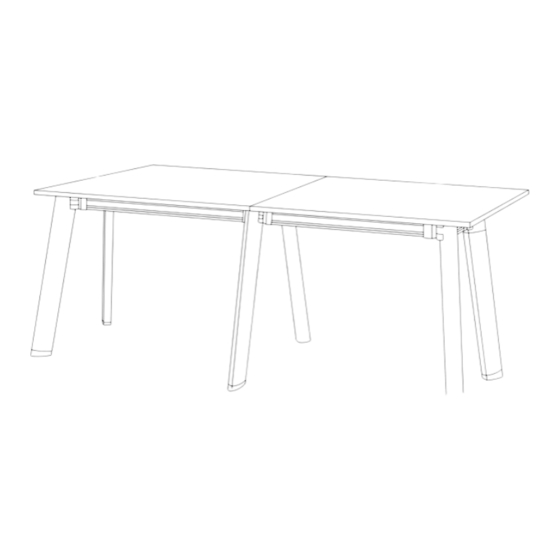
Switch Dry Bar
Table Frame
Size: 2400x1200mm
Tools Required: Power screwdriver.
Note: Please ignore any pre-drilled holes or nut inserts that maybe present in your top(s). They will not match your
particular table/desk base and woods screws will be required to be screwed directly into the underside of the top.
Note: It is important to fully tighten all bolts and screws before attaching the top(s) so that the frame
is su ciently rigid. Failure to do this may a ect stability once the tops are attached.
www.jasonl.com.au
Call us on
1300 527 665
Page 1 of 5
Advertisement
Table of Contents

Subscribe to Our Youtube Channel
Related Manuals for Jason.L Switch Dry Bar Table Frame


Summary of Contents for Jason.L Switch Dry Bar Table Frame
- Page 1 www.jasonl.com.au INSTALLATION GUIDE Switch Dry Bar Need help! Call us on Table Frame 1300 527 665 Size: 2400x1200mm Tools Required: Power screwdriver. Note: Please ignore any pre-drilled holes or nut inserts that maybe present in your top(s). They will not match your particular table/desk base and woods screws will be required to be screwed directly into the underside of the top.
- Page 2 www.jasonl.com.au INSTALLATION GUIDE Switch Dry Bar Need help! Call us on Table Frame 1300 527 665 Size: 2400x1200mm COMPONENTS Table Top x2 L-beam bracket (1200x1200mm) Leg x6 Leg Bracket x6 Beam L Bracket x8 Beam T-Bracket x2 L-beam T-beam Long Beam x4 (920mm) bracket bracket Short Beam x3 (580mm)
- Page 3 www.jasonl.com.au INSTALLATION GUIDE Switch Dry Bar Need help! Call us on Table Frame 1300 527 665 Size: 2400x1200mm Join Leg Brackets to each Leg using screws to secure them, as follow. Join 2 L-Bracket through each Long Beam and 2 L-Bracket through each Short Beam. Securely connect each Beam to each Beam Bracket.
- Page 4 www.jasonl.com.au INSTALLATION GUIDE Switch Dry Bar Need help! Call us on Table Frame 1300 527 665 Size: 2400x1200mm Position as presented, and proceed to screw to ensure each corner of the frame. If this bolt does not drop into the joint use the Allen key to screw it all the way in so that it creates its own thread.
- Page 5 www.jasonl.com.au INSTALLATION GUIDE Switch Dry Bar Need help! Call us on Table Frame 1300 527 665 Size: 2400x1200mm Note: It is important to fully tighten all bolts and screws before attaching the top(s) so that the frame is su ciently rigid. Failure to do this may a ect stability once the tops are attached.
Need help?
Do you have a question about the Switch Dry Bar Table Frame and is the answer not in the manual?
Questions and answers