Table of Contents
Advertisement
Quick Links
Advertisement
Table of Contents

Related Manuals for Glaeser home mia 350


Summary of Contents for Glaeser home mia 350
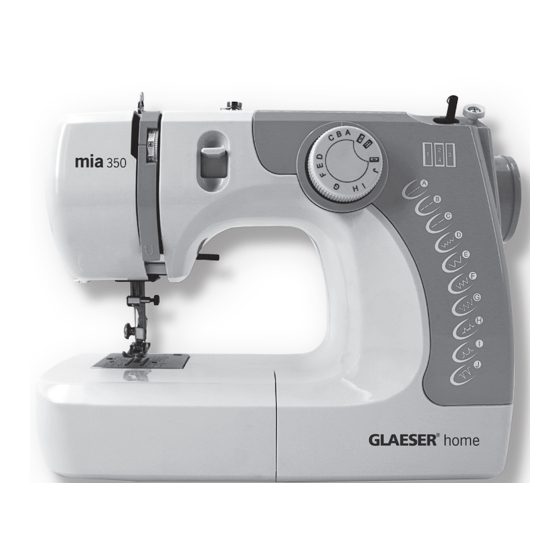
- Page 1 USER MANUAL mia 350 Sewing tips & tricks GLAESER® home...
-
Page 2: Table Of Contents
CONTENTS Important safety instructions ......................... 4 GET TO KNOW YOUR SEWING MACHINE Part designations ............................6 Standard equipment..........................6 PREPARATIONS FOR SEWING Connecting the machine to the power supply ................7 Sewing in reverse ............................7 Presser foot lifter ............................7 Replacing the sewing foot ........................ -
Page 3: Important Safety Instructions
IMPORTANT SAFETY INSTRUCTIONS When using an electrical appliance, basic precautions including the following should always be 12. Always use the original needle plate. The use of an incorrect needle plate can cause the needle followed: to break. 13. Do not use bent needles. Read the complete instructions before operating this sewing machine. -
Page 4: Get To Know Your Sewing Machine
GET TO KNOW YOUR SEWING MACHINE PREPARATIONS FOR SEWING PART DESIGNATIONS Connecting the machine to the power supply 1. mains plug stitch selector 2. mains switch bobbin winder stopper 3. power socket bobbin winder spindle 4. machine socket bobbin winder tension disk 5. -
Page 5: Replacing The Sewing Foot
REPLACING THE SEWING FOOT REPLACING THE NEEDLE 1. lever Needle clamp screw 2. nut Needle clamp 3. pin Needle side 1. Turn off the power switch To remove the presser foot: Turn the handwheel in your direction to move the needle to its highest position. Raise the 2. -
Page 6: Winding
WINDING INSERTING THE BOBBIN The thread spool holder is located on the back of the sewing machine. Pull out the thread spool pin. Place the feet and the bobbin in the correct order. The thread end should come off the spool as 1. -
Page 7: Threading The Machine
THREADING THE MACHINE FETCH BOBBIN THREAD UPWARDS Place a thread spool on the spool pin so that the thread comes out as shown in Figure 1. Then raise the thread lifter to its highest position by turning the handwheel counterclockwise towards you. -
Page 8: Adjusting The Upper Thread Tension
ADJUSTING THE UPPER THREAD TENSION SEWING BUTTON HOLES Balanced Tension To sew buttonhole you will need: In the ideal degree stitch, the threads are sewn between two layers of fabric, as shown. 1. stitch selector 2. upper thread tension 1. upper thread 3. -
Page 9: Maintenance Of Your Machine
MAINTENANCE OF YOUR MACHINE TROUBLESHOOTING NOTE: Error Causes Solution Turn off the power switch and/or disconnect the power plug before cleaning the machine. Do not disassemble the machine other than as described in this section. upper thread breaks Thread the upper thread again (see Upper thread threaded improperly. - Page 10 stitches are skipped Improper fixation of the needle. Reinsert needle (see page 9). Blunt or bent needle. Replace needle (see page 9). The needle and (or) thread are not Replace needle and thread suitable for the fabric used. (see page 9). Re-thread upper thread Improperly threaded.
- Page 11 6–99 fabrics accessories diversity sewing classes home textiles Aalen branch | Benzstr. 5 | 73431 Aalen Marktoberdorf branch | Kaufbeurener Str. 74 | 87616 Marktoberdorf Mindelheim branch | Krumbacher Str. 38 | 87719 Mindelheim Renningen branch | Weil der Städter Str. 51 | 71272 Renningen Ulm branch | Blaubeurer Str.
Need help?
Do you have a question about the mia 350 and is the answer not in the manual?
Questions and answers