Table of Contents
Advertisement
Quick Links
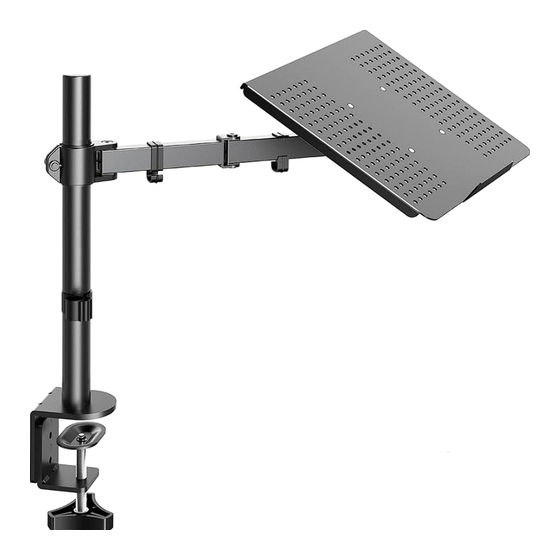
Laptop & Monitor Mount Instruction Manual
Rev00(A)
Model: HNCM16
Thank you for choosing this HUANUO product! At HUANUO, we strive to
provide you with the best quality products and services in the industry.
Should you have any issues, please don't hesitate to contact us.
Technical Support:
(US/CA) 1-800-556-0533 Mon-Fri 8am - 8pm (CST)
(UK) 44-808-196-3874 Mon-Fri 2pm - 10pm (UTC)
Other Info:
support@huanuoav.com
Website: www.huanuoav.com
Advertisement
Table of Contents

Summary of Contents for HUANUO HNCM16
- Page 1 Laptop & Monitor Mount Instruction Manual Rev00(A) Model: HNCM16 Thank you for choosing this HUANUO product! At HUANUO, we strive to provide you with the best quality products and services in the industry. Should you have any issues, please don't hesitate to contact us.
- Page 2 IMPORTANT SAFETY INSTRUCTIONS • Check package contents against Supplied Parts and Hardware List to assure that all components were received undamaged. Do not use damaged or defective parts. lf you require replacement parts, please contact our customer service at support@huanuoav.com. •...
- Page 3 Supplied Parts and Hardware for Step 1 Pole C Clamp Plate C Clamp Plate M5 x 14mm Bolt a (x 1) b (x 1) c (x 1) f (x 3) M8 x 12mm Bolt M10 Washer Spring Washer Grommet Plate g (x 2) k (x 1) l (x 1)
- Page 4 Supplied Hardware for Step 4 h (x 1) Supplied Hardware for Step 5 Medium Allen Key o1 (x 1) Step 1 Install the Pole to the Desktop Option A: Desk Clamp Assembly 1A-1 Medium Allen Key Small Allen Key 1A-2 Desk 3.3″...
- Page 5 Option B: Grommet Base Assembly Phillips Screwdriver (Not lncluded) NOTE: 1. If the existing grommet hole comes with a plastic protector, remove it to ensure a flat surface before installing the desk mount. 2. If there is no grommet hole on your desk, position the pole (a) on the mounting surface and mark the hole.
- Page 6 Step 3 Attach the VESA Plate to the Laptop Tray or Monitor For Monitor with Flat Back The tab is directed toward the top of the monitor. For Monitor with Curved or Recessed Back The tab is directed toward the top of the monitor.
- Page 7 Secure the Monitor or Laptop Tray onto the Head of Step 4 Swivel Arm 3/8″ (10mm) (Not Included) 4-1 Slide the monitor onto the 4-2 Secure the nut (h). Make sure the head of swivel arm (d) as shown in nut is installed before you rotate the the above diagram.
- Page 8 Step 6 Manage the Wires and Store the Allen Keys on Wire Clip Desk Step 7 Rotation Restriction WARNING: Be careful not to extend the monitor behind the mount or too forward. Ensure that the arm are balanced to maintain center of gravity of the base. Instability may cause the unit to tip over.


Need help?
Do you have a question about the HNCM16 and is the answer not in the manual?
Questions and answers