Advertisement
Quick Links
oh happy day
YO U' V E REC E I VE D T HE CREAT E RO O M CU B BY!
It's already time for your first project. Let's get to work!
To make the process simple and easy to follow, we've broken down the Cubby assembly
instructions into simple steps. All of the hardware you will need can be found in one bag.
If you have questions at any point of the assembly process, don't hesitate to reach out to our
customer service team. They are the friendliest bunch of furniture experts and will be happy
to help you.
C U STOM E RS E RV ICE@ C RE AT ERO O M .C O M
W WW.C R EAT ERO O M .CO M
U SA / CANADA : 8 01-2 26-26 8 6 ( M -F 9 AM -5PM M ST )
U K / EU :
+4 9 4 0 6 9 6 3 2 9 55 O R + 4 4 7 759 3 3 58 6 8
We are excited for you to enjoy your inspiring new workspace and can't wait to see pictures!
Share your photos on Facebook and Instagram and don't forget to tag @createroomco.
Happy crafting!
(Proprietary patented product and instructions. Do not copy or distribute.)
U0124
Advertisement

Related Manuals for Create Room CUBBY


Summary of Contents for Create Room CUBBY
- Page 1 It’s already time for your first project. Let’s get to work! To make the process simple and easy to follow, we’ve broken down the Cubby assembly instructions into simple steps. All of the hardware you will need can be found in one bag.
-
Page 2: To Ols You'l L Ne Ed
HAR DWARE YO U’ L L NE ED : STAC K IN G HA RDWAR E : Note: if stacking you’ll need this hardware from each of your 2 cubbies 25mm Euro Cams Dowel Screws Connecting Plate Tote Tracks... - Page 3 The Create Room Cubby utilizes a cam and post locking system. Please review these general instructions before you begin. HOW TO LO C K CAM S A N D P O STS : Insert Cam with Place Posts into panel until arrow facing post.
- Page 4 Start by assembling your hardware in the Side 1, Side 2 and Base panels. Locate your posts and dowels and insert them into place by hand, as indicated below. Posts Dowels Side 1 Side 2 Connecting Bolts Base...
- Page 5 Turn over your Base panel. With bottom side up, insert cams by hand, as indicated below. Do not attempt to tighten. Base (underneath) Cams Connect Side 1 and Side 2 with the Base, one at a time by lining up the posts and dowels with the corresponding Side 2 holes and tapping firmly into place.
- Page 6 Turn your Cubby upright and insert one back panel at a time into the channels. Back Panel Side 2 Back Panel Side 1...
- Page 7 Locate your Lid. With bottom side up, push posts and connceting bolts into place, as indicated below. Connecting Cams Bolts (underneath) Connect the top piece to the left and right panel by lining up the posts and dowels with the corresponding holes and tapping firmly into place.
- Page 8 Slide the divider into the Cubby beside the connector bolts, then gently push it intov place. Side 1 Side 2 Divider Base Use your screwdriver to tighten and lock the connector bolts in place by turning clockwise.
- Page 9 Use 25mm euro screws to fasten back panels. 25mm Euro Screws STAC KIN G C U B B I ES ST E P (SK I P S ECT I O N I F N OT A P P LI CA B L E ) : Use 2 connecting plates found in each of your Cubbies hardware and 8 self tapping screws.
- Page 10 SA F E T Y ST E P S ( R EC O M M EN D E D) : Attach Anchors using Anchor Screws. Anchors Anchor Screws D RYWAL L ANCH O R I N ST RU CTI O N S : Insert 2 Drywall Screws into pilot holes.
- Page 11 Mount anchor to wall using 2 Wall Screws. Wall Screws Open 1 Safety Wire and loop through the two connected anchors. Secure wire by locking into place. Gently pull wire to ensure lock is secure. Safety Wire...
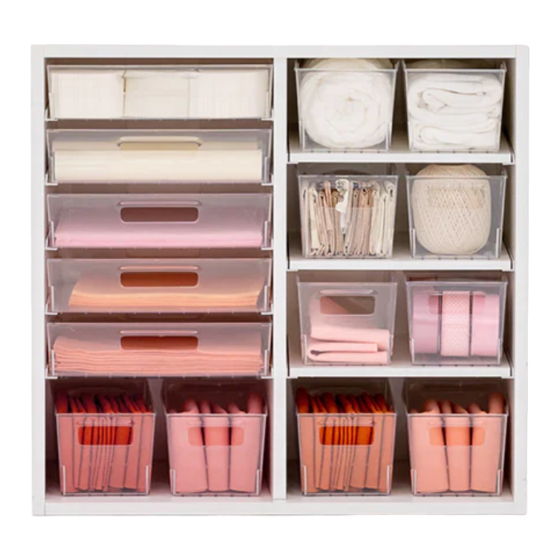
- Page 12 Insert Tracks and Shelves. See next page for our recommended tote layout. It can also be used as an organizational planogram. Tote Tracks...
- Page 14 YOU’ VE D O N E I T. Now it’s time to fill up your new Cubby with all your crafting goodies. Remember to share pictures of your crafts and craft space with us on Facebook @CreateRoomFamily. Proprietary, patented product and assembly instructions. Do not copy or distribute.
Need help?
Do you have a question about the CUBBY and is the answer not in the manual?
Questions and answers