Table of Contents
Advertisement
Quick Links
Advertisement
Table of Contents

Subscribe to Our Youtube Channel
Related Manuals for ALFAMATIC Visual Point VP2STEP1


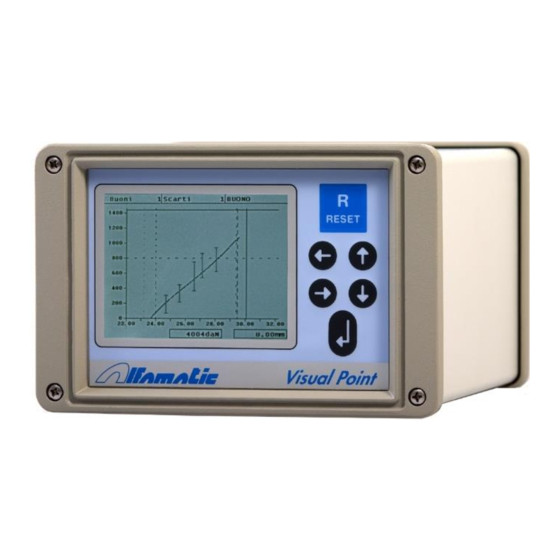
Summary of Contents for ALFAMATIC Visual Point VP2STEP1
- Page 1 Visual Point Version with VP2STEP1 card Installation manual Aug. 1, 2023...
-
Page 3: Table Of Contents
Introduction ..........................4 Important installation notes ......................4 Working principle ..........................4 Mechanical assembly ........................6 Dimensions ............................6 Implementation of the VISUAL POINT ..................7 Wiring instructions .......................... 7 Connection examples ........................13 Instructions for assembling instrument with container ............. 14 Commissioning .......................... -
Page 4: Introduction
1 Introduction This manual describes the operations required to connect the VISUAL POINT to the machine and to make it operational. 1.1 Important notes for installation Please read these notes: Always check the supply voltage required by the instrument before proceeding with the wiring of the same. - Page 5 The RESET input can be connected directly to +24V to leave it always active so that the instrument is always ready to perform a new cycle. The START input must be kept active throughout the cycle, otherwise, "test interrupted" is signaled and the piece is discarded.
-
Page 6: Mechanical Assembly
2 Mechanical assembly There are two versions of VISUAL POINT: 24VDC and 115-230VAC. Before connecting the instrument, check the supply voltage with maximum safety. Figure1 2.1 Dimensions Measurements in millimeters. Version for external mounting To the indicated depth it is necessary to add the overall dimensions of the cables of at least 80mm. -
Page 7: Implementation Of The Visual Point
3 Implementation of the VISUAL POINT The VISUAL POINT is divided into two opto-isolated sections. The first section mounts the control electronics and the conditioning and transducer interface electronics. The second section mounts the electronics of the digital inputs and outputs. The two sections have separate power supplies both at 24VDC. - Page 8 3.1.1 Power terminal block (X1) The electronics and transducers are powered via the three-pole terminal block X1. First name clamp Function 0VDC X1.1 Negative power supply X1.2 Earth connection +24VDC X1.3 Positive feeding If the internal power supply is present, the switch behind the instrument must interrupt the phase and the neutral before reaching the power supply itself.
- Page 9 3.1.4 Input terminal block (X3) Opto-isolated inputs for clean contact signals or with PNP 24VDC transistor output. First Function clamp Description name START X3.1 X3.2 RESET X3.3 RED BASKETBALL ENABLE X3.4 For selection, see chapter 3.7 JOB SELECTOR EMERGENCY OK X3.5 For selection, see chapter 3.7 JOB SELECTOR...
- Page 10 Input operation description: Function Description START Request to start a new cycle "Top dead center" signal, used as a reset for a new cycle and in AND with the zero mark of the encoder for zeroing the transducer RESET Optional. Re-enables the tool after a discard. ENABLE Optional.
- Page 11 Signal activated beyond a programmable force or quota (See chapter 3.6) PULL UP Retraction aid cylinder control signal TANK Tank closing signal of the Alfamatic cylinder type PK RETURN Cylinder return consent signal REJECTED2 Special scrap signal. It is activated when the cylinder starts the return stroke if the piece is rejected and the reject causes are among those selected as special.
- Page 12 Electrical characteristics of terminal X12.1, X12.2 and X12.3: 3.1.7 Load cell terminal block (X11) Input for resistive bridge load cell with sensitivity of 2mV/V. 3.81mm pitch terminal block. First clamp Description name X11.1 Positive input X11.2 Negative input X11.3 Shielded cable braiding X11.4 Power ground +10V...
-
Page 13: Connection Examples
3.2 Connection examples Alfamatic standard load cell and encoder wiring: Figure4... -
Page 14: Instructions For Assembling Instrument With Container
To be able to do this, you must first reset the height offset as described in the user manual and then follow the instructions below: 3.5.1 For Alfamatic presses type M-OP Turn on the instrument and remove the cover covering the encoder, the rack and the top dead center limit switch by unscrewing the two screws. -
Page 15: Programmable Output Setpoint
Lower the cylinder with the lever and bring it back to the top dead centre: at this point the instrument must display a negative value of a few millimetres. 3.5.2 For standard Alfamatic presses First of all, press the emergency button of the press, turn on the instrument and open the upper cover of the rack block, which is closed by two cross-head self-threading screws. -
Page 16: Selection Of Special Scraps
The sensors must be connected to the JOB SELECTOR inputs shown in paragraph 3.1.2. The weight of each input depends on the number of selectable jobs indicated in the configuration. From 1 a16 jobs with or without use of the ENABLE input: Weight JOB SELECTOR IN7 JOB SELECTOR IN6... - Page 17 Cause reject Value to NORAGGFMIN SUPEROFMAX NORAGQMIN SUPEROQMAX NORAGQIMIN SUPEROQIMAX EXTERNAL STOP TIMEOUT NORAGGFCP1MIN SUPEROFCP1MAX NORAGGFCP2MIN 1024 SUPEROFCP2MAX 2048 NORAGGFCP3MIN 4096 SUPEROFCP3MAX 8192 NORAGGFCP4MIN 16384 SUPEROFCP4MAX 32768 NORAGGFCP5MIN 65536 SUPEROFCP5MAX 131072 NORAGGFCP6MIN 262144 SUPEROFCP6MAX 524288 NORAGGFCP7MIN 1048576 SUPEROFCP7MAX 2097152 NORAGGFCP8MIN 4194304 SUPEROFCP8MAX 8388608...
Need help?
Do you have a question about the Visual Point VP2STEP1 and is the answer not in the manual?
Questions and answers