
Related Manuals for Vision VNV23C54AR


Summary of Contents for Vision VNV23C54AR
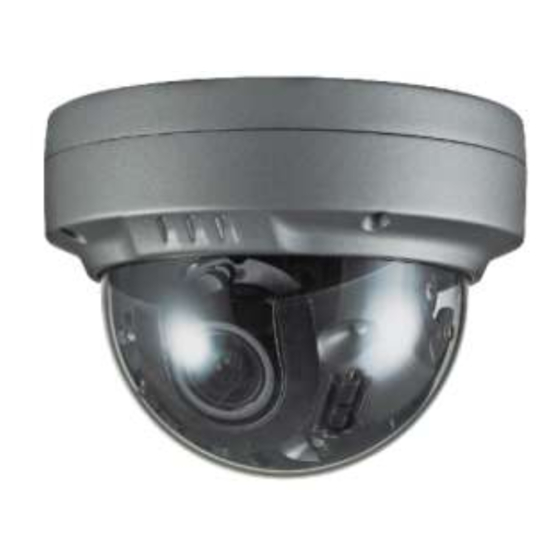
- Page 1 Vandal Proof Armor Dome IP Camera QUICK INSTALLATION GUIDE VNV23C54AR Please read this manual carefully before installation and operation of the product.
-
Page 2: Dear Customers
DEAR CUSTOMERS! By selecting this product, you have decided to use a professional device that guarantees highest quality and reliability. We would like to thank you very much for your confidence and kindly ask you to read the following instructions carefully before installation and operation in order to take full advantage of all quality features regarding this product. -
Page 3: Limitation Of Liability
PRECAUTIONS Please read the manual carefully before the installation in order to set up the camera correctly and to obtain the best picture quality. Please keep the manual in good condition for your future reference and service application. ... -
Page 4: Product Overview
1. PRODUCT OVERVIEW Key Features 6.82 Mega pixel 1/2.9" SONY progressive scan CMOS image sensor for excellent image quality Vandal Proof, fire resistant and tamper resistant Perfect tool-free 3-Axis mechanism inside Extended IR life cycle Dust and Moisture free (IP67 Waterproof) ... - Page 5 Output Password protection Security User access log Network HTTPS encryption Supported Protocol HTTP, HTTPS, DNS, RTSP, RTP, TCP, UDP, ICMP, DHCP Intelligent Video Motion detection Alarm Trigger Motion detection, External Input (NO / NC Type) Video Buffer 5MB pre-alarm and post-alarm-180sec System Integration Firmware Upgrade...
-
Page 6: Name And Function Of Each Part
2. NAME AND FUNCTION OF EACH PART 2.1 Package Contents APPEARANCE DESCRIPTION IP Camera x 1 Installation Guide x 1 Drilling Template x 1 L-Wrench x 1 Tapping Screws (Ø 4 x 30) x 3 Plastic Anchor x 3 CD x 1 Junction Box Tapping Screws (Ø... -
Page 7: Name And Function
2.2 Name and Function ITEM DESCRIPTION Power Connector DC12V Network and POE POE (Power Over Ethernet) and LAN cable Connector Sensor In / Alarm Out Sensor In / Alarm out Audio-In Audio in (Red) Audio-Out Audio Out (White) IR LED Infrared LED Lens 2.7 ~ 12mm Motorized Megapixel Lens... -
Page 8: Installation Overview
3. INSTALLATION 3.1 Installation overview Ceiling Ceiling Tile Drilling Template Plastic Anchor x 3 Camera Ass'y Tapping Screw (4 x 30) x 3 Top Cover Ass'y L-Wrench ① Paste a Drilling Template on the ceiling or wall and drill screw points which will be dome for installation. -
Page 9: 3-Axis Adjustment
Ceiling_Junction Box Ceiling Tile Drilling Template (Silicone) Plastic Anchor x 4 Junction box Tapping Screw (4 x 30) x 4 Camera Ass'y PH (M4 x 14) x 3 Top cover Ass'y L-Wrench 3.2 3-Axis Adjustment Tool-free 3-Axis mounting mechanism Perfect Tri-axis! Tilt 65°... - Page 10 3.3 INSTALLATION EXAMPLE 3.3.1 Installation Example LAN Switch Router Internet Remote Access Local Access E-Mail / FTP 3.3.2 Connecting Network 1) Run IPScan Utility program in the packaged CD. 2) Click “Scan” button. Once IPScan Utility program scanned, the panel shows every camera or video server connected on the local network.
- Page 11 3.3.3 Accessing the Camera or video server’s Homepage 1) After you assign IP address to your IP camera or video server and enter that camera or video server address on the Web Browser, you will be connected to the login page of the camera or video server as shown below.
-
Page 12: Dimension (Mm)
4. DIMENSION (mm) Ceiling Ceiling_Junction Box...
Need help?
Do you have a question about the VNV23C54AR and is the answer not in the manual?
Questions and answers