Advertisement
https://wiki.teltonika-gps.com/view/How_to_test_12V_Relay_with_immobilizer_scenario
How to test 12V Relay with immobilizer
scenario
Main Page
>
E-Mobility Trackers
Contents
1 Things you will need
2 Stage 1. Configuration
Things you will need
Below described steps are used in testing the relay with immobilizer scenario on the desk. The
wiring will be different when testing in a transport.
12V power supply
JD1914 12V 40A relay
iButton or RFID card reader
RFID Card/iButton
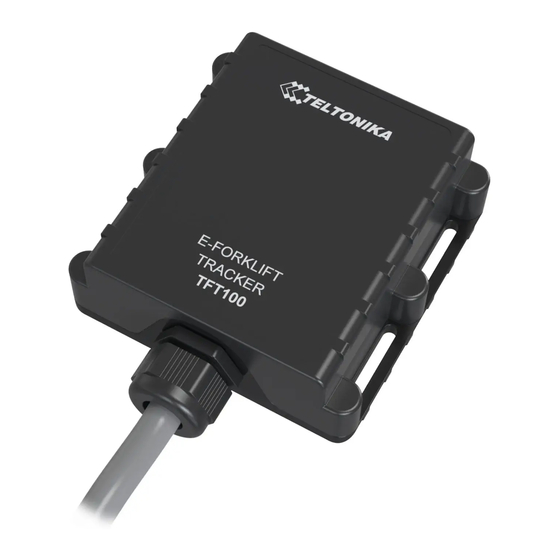
TFT100 device
Micro usb cable
PC (with windows operating system)
TFT100 Teltonika configurator
Additional cable connected to +12V.
NOTE: Don't forget to press "save to device" button in configurator after configuration changes.
Stage 1. Configuration
1.
Connect your TFT100 device to power supply
>
TFT100
>
TFT100 FAQ
> How to test 12V Relay with immobilizer scenario
Advertisement
Table of Contents

Subscribe to Our Youtube Channel
Related Manuals for Teltonika TFT100


Summary of Contents for Teltonika TFT100
- Page 1 Micro usb cable PC (with windows operating system) TFT100 Teltonika configurator Additional cable connected to +12V. NOTE: Don't forget to press "save to device" button in configurator after configuration changes. Stage 1. Configuration Connect your TFT100 device to power supply...
- Page 2 VCC +12V cable on the positive contact of the power supply Black wire on GND of the power supply Connect your device to PC and open TFT100 configurator software to configure required fields for Immobilizer scenario. You need to configure your device to read iButton/RFID card data and set immobilizer settings correctly.
- Page 3 Take relay, and connect wires in this order: 86 (White wire) connects to 12V cable (both, TFT100 and power supply) 85 Dout (Black) connects to DOUT 1 or 2 of TFT100 (in this instructions we will use DOUT2 purple cable) Take iButton or Rfid card reader and connect their wires in this order.
- Page 4 Brown cable connects to 12V cables, TFT100, power supply and Relay. White cable connects to 1-wire (blue) of TFT100 Figure 6. Immobilizer scenario scheme Connect micro USB cable to TFT100 and your computer. Turn on your power supply at 12V.
Need help?
Do you have a question about the TFT100 and is the answer not in the manual?
Questions and answers