Table of Contents
Advertisement
Quick Links
https://wiki.teltonika-gps.com/view/TAT100_First_Start
TAT100 First Start
Main Page
>
Autonomous Trackers
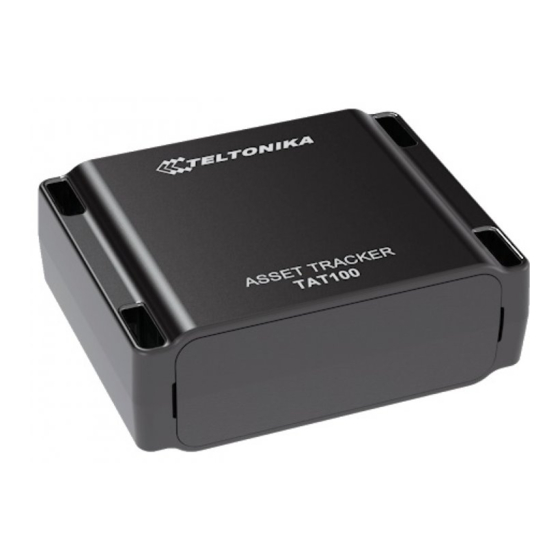
TAT100 is a device for asset tracking and additional protection against thefts of valuable
goods, as well as it could be used in wide range of applications from tools tracking to
container tracking.
Contents
1 Know your device
2 Set up your device
2.1 How to insert Micro SIM card and start the device
Know your device
Set up your device
How to insert Micro SIM card and start the device
1.
Remove the cover.
2.
Insert Micro-SIM card as shown with PIN request disabled or read
enter it later in Configurator. Make sure that Micro-SIM card cut-off corner is pointing
forward to slot and chip is facing USB port.
3.
Flip the switch to ON.
4.
Configure the device. When it is done, reattach the cover and push it in place.
Micro-SIM card insertion/removal must be performed when device is turned off. Otherwise
Micro-SIM card might be damaged or device will not detect it.
>
TAT100
> TAT100 First Start
Security info
how to
Advertisement
Table of Contents

Subscribe to Our Youtube Channel
Related Manuals for Teltonika TAT100


Summary of Contents for Teltonika TAT100
- Page 1 > TAT100 > TAT100 First Start TAT100 is a device for asset tracking and additional protection against thefts of valuable goods, as well as it could be used in wide range of applications from tools tracking to container tracking. Contents...
- Page 2 Configuration (Windows) At first the device will have default factory settings unless you order pre-configured device. These settings should be changed according to the user's needs. Teltonika Configurator Main configuration can be performed via software. Configurator operates on Microsoft Windows OS and uses prerequisite MS .NET Framework. Make sure you have the correct version installed.
- Page 3 Various Status info tabs display information about GNSS, GSM, I/O, Maintenance and etc. TAT100 has one user editable profile, which can be loaded and saved to the device. After any modification of configuration the changes need to be saved to device using Save to device button.
- Page 4 GPRS functionality disabled by GSM provider No GSM coverage Server cannot be reached Try solving this problem before proceeding with further device configuration. Please note: • Why TAT100 is not sending data: Instructions • Common configuration issues: Instructions CAUTION! Device usage with USB cable.
- Page 5 We recommend placing the device in such a way, that the GNSS antenna is facing upwards to the sky. We recommend to install the device in a place where the TAT100 line of sight to the sky is not obstructed.
- Page 6 2005 – Port 2006 – Data sending protocol (0 – TCP, 1 – UDP) Note: Before SMS command, two space symbols must be inserted. After successful SMS configuration, TAT100 device will synchronize time and update records to configured server. Safety information This message contains information on how to operate TAT100 safely.
- Page 7 In order to prevent device from mechanical damage it is advisable to transport it in a shock–resistant packaging. If device stopped working properly regardless of the settings only a qualified specialist can help. It is recommended to contact your local seller or your UAB Teltonika manager in such a case.
Need help?
Do you have a question about the TAT100 and is the answer not in the manual?
Questions and answers