
Related Manuals for HOMCOM 824-051V90


Summary of Contents for HOMCOM 824-051V90
- Page 1 INcjh024_IT 824-051 V90 220-240V~50-60Hz 45W IMPORTANT, RETAIN FOR FUTURE REFERENCE: READ CAREFULLY ASSEMBLY & INSTRUCTION MANUAL...
-
Page 2: Important Safety Information
READ CAREFULLY BEFORE ATTEMPTING TO ASSEMBLE, INSTALL, OPERATE OR MAINTAIN THE PRODUCT DESCRIBED. PROTECT YOURSELF AND.OTHER BY OBSERVING ALL SAFETY INFORMATION. FAILURE TO COMPLY WITH INSTRUCTIONS COULD RESULT IN PERSONAL INJURY AND/OR PROPERTY DAMAGE ! IMPORTANT SAFETY INFORMATION 1. Read all instructions carefully before using the FAN. 2. - Page 3 12. Do not use FAN outdoors. 13. Disconnect the fan from the mains power when not in use, and before servicing or performing any maintenance. WARNING The Main Power Switch and the On/Off switch should not be used as the sole means of disconnecting power.
-
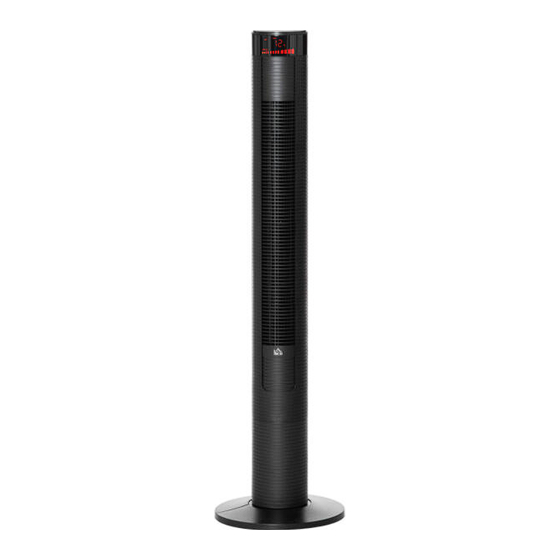
Page 4: Parts Name
To avoid danger of electric shock, unplug WARNING : from outlet when not in use and before cleaning. If the supply cord is damaged, it or it’s must be replaced by the manufactory service agent or a similarity qualified person in order to avoid a hazard. PARTS NAME Control Panel Display Panel... -
Page 5: Remote Control
(Fig 1) Put the wire in the recess, then fix the base on the fan body with four screws (included), and turn the screws clockwise (Fig (Fig 2) REMOTE CONTROL 1. Included a button cell battery (the type of battery CR2025). 2. -
Page 6: Operation
OPERATION The FAN may be operated by the manual controls located on the FAN (as shown in Fig 4 ) or by your remote control (shown in Fig 3) . Place the FAN on a stable flat surface. Plug the cord set into a 220-240V~ electrical outlet. - Page 7 - Child Mode Fan will auto. Set up timer at 3 hours, oscillation function will start. And it will work at high speed at 15 minutes, transfer to medium speed at 15 minutes, then transfer to low speed until it take off. You can take off oscillation function by manual.
-
Page 8: Maintenance
the cable hook when the fan is not in used.(Fig (Fig 6) MAINTENANCE This can only be done by an authorized service agent such as your local Sealer dealer or any agent qualified to undertake electrical repairs. 2. If the unit requires external cleaning make sure it is switched off and unplugged from the mains supply. -
Page 9: Importanti Informazioni Di Sicurezza
LEGGERE ATTENTAMENTE PRIMA DI TENTARE DI ASSEMBLARE, INSTALLARE, UTILIZZARE O MANUTENERE IL PRODOTTO COME DESCRITTO. PROTEGGERE SÉ STESSI E GLI ALTRI OSSERVANDO TUTTE LE PRECAUZIONI DI SICUREZZA. IL MANCATO RISPETTO DELLE ISTRUZIONI POTREBBE PROVOCARE LESIONI PERSONALI E/O DANNI ALLA PROPRIETA’ PRIVATA! IMPORTANTI INFORMAZIONI DI SICUREZZA 1. - Page 10 10. Non lasciare il VENTILATORE incustodito. 11. Questo VENTILATORE non è destinato all'uso in luoghi bagnati o umidi. Non posizionare mai un VENTILATORE dove potrebbe cadere in una vasca da bagno o in un altro contenitore d'acqua. 12. Non utilizzare il VENTILATORE all'aperto. 13.
-
Page 11: Nomi Delle Parti
20. I bambini devono essere sorvegliati per assicurarsi che non giochino con l'apparecchio. Per evitare il pericolo di scosse elettriche, AVVERTENZA: scollegare dalla presa di corrente quando non è in uso e prima di eseguire la pulizia. Se il cavo di alimentazione è... - Page 12 (Fig 1) 2. Inserire il cavo nell’alloggiamento, quindi fissare la base sul ventilatore con quattro viti (incluse) e ruotare le viti in senso orario (Fig 2) (Fig 2) TELECOMANDO 1. Inclusa una batteria (di tipo CR2025). 2. Il pulsante di accensione del telecomando è etichettato. Tutte le funzioni eseguite con il telecomando funzionano come i rispettivi comandi manuali.
-
Page 13: Funzionamento
FUNZIONAMENTO Il VENTILATORE può essere azionato dai comandi manuali situati sul VENTILATORE (come mostrato in Fig 4) o dal telecomando (come mostrato in Fig 1. Posizionare il VENTILATORE su una superficie piana e stabile. Collegare il cavo a una presa di corrente da 220-240V~. Collegare il VENTILATORE, la temperatura ambiente attuale verrà... - Page 14 quando il ventilatore non viene spento. 3) Se si imposta la modalità a velocità bassa, il ventilatore inizierà a funzionare a velocità bassa fino a quando non viene spento. Il display a LED si spegne se non si imposta il ventilatore entro 30 secondi, o se non si tocca un pulsante qualsiasi per accendere il display.
-
Page 15: Manutenzione
telecomando o tenendo premuto il pulsante VELOCITA’ sul pannello di controllo per più di 3 secondi, il display si riaccenderà una volta attivato un pulsante di controllo. 8. Gancio porta cavo: questo gancio è contenuto nel manuale dell'utente, estrarlo e installarlo sul lato posteriore del ventilatore.
Need help?
Do you have a question about the 824-051V90 and is the answer not in the manual?
Questions and answers