Advertisement
Quick Links
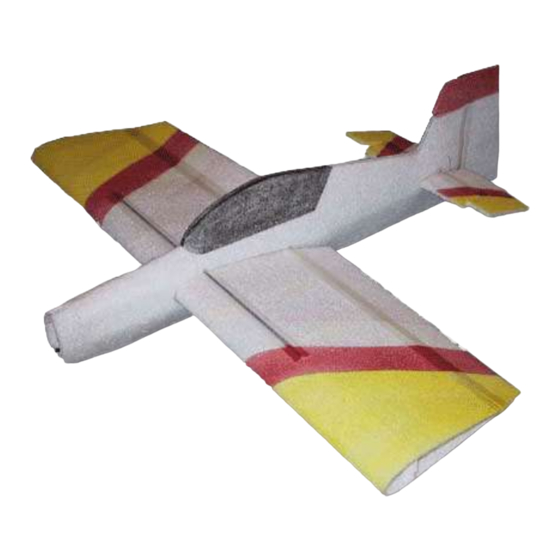
Instructions for the Funplanes.com Edge 540T
Thank you for purchasing the funplanes.com Edge 540T! We hope you enjoy the kit as much as we enjoyed
providing it to you. The Edge will perform most maneuvers you will want to try, and the nice thing about it is if
you happen to meet the ground sooner than you had planned, there is a good chance the plane will survive for
another flight, although you may want a tube of goop or epoxy close by just to be sure you can fix minor tears if
they occur.
If this is the first time you have worked with EPP foam, there are some things you will want to be aware of. The
foam is very resilient to many substances, including some glues. The best glues to use on this plane are contact
cements and low temp hot glues. Epoxy works well too, it is just heavy, but you can use it where you feel you'd
like. Also, while EPP is often referred to as "indestructible", it really isn't quite so completely bullet proof. One
of the things to be careful of is ripping the foam. It will rip if pulled hard, so where there will be tearing forces,
we will reinforce the foam with strapping tape. This foam is very good to work with once you get use to these
qualities.
One other feature of this foam which struck me as odd: it dulls blades like I have never seen before. After a few
cuts, you'll see what I mean. The blade will start to pull instead of cut the foam. So, I had a pack of 100 blades
that had lasted me almost 10 years when I started making these kits, and I used up almost all of them in very
short order. At the Toledo show this year, I came across a booth selling blade sharpeners. I thought "Yeah, right.
I'm gonna sharpen a #11 razor blade"! What I saw amazed me. I will never buy another pack of blades again
unless I just want a different shape or blade type, and then a 5 pack of blades will last a life time. I am not
kidding. I was so impressed I began to stock them on my web site for just this purpose: EPP is a blade dulling
son of a gun! Get one of these blade sharpeners and I know you'll be as impressed and happy as I am that I
never need to change or buy blades again! Look for the Hobby Blade Sharpeners on my website if you are
interested. There are videos there to show you the before and after effects, as well as the process to sharpen
them.
So, having said all that, lets have some fun and build an Edge 540T!
Advertisement

Related Manuals for RC Factory Edge 540T


Summary of Contents for RC Factory Edge 540T
- Page 1 Instructions for the Funplanes.com Edge 540T Thank you for purchasing the funplanes.com Edge 540T! We hope you enjoy the kit as much as we enjoyed providing it to you. The Edge will perform most maneuvers you will want to try, and the nice thing about it is if...
-
Page 2: Parts Identification
Glues and adhesives 1- Tube of Goop (there are many types, and which ever is on sale is ok! I have outdoor goop shown, but regular household goop is fine…Outdoor Goop was ½ price at Home Depot….:o) 1- Low temperature hot glue gun with low temp glue 1- Pack of Low Temp glue sticks 1- Can or 3M 76 (not 77!) Hi-Tack Spray Adhesive 1- Roll of ¾”... - Page 3 Let’s build the wing! Size up the wing skin The Edge wing has a 34” (864mm) span, and the wing skins ship 36” (914mm). So the first thing we’ll do is size the wing skin to the correct span. Lay the foam wing skin flat out on your building board and measure to find the center span of the skin. Using a builders square aligned on the long edge closest to you, mark the center line of the wing with a soft pencil or a pen.
- Page 4 Mark the rib and spar locations The ribs and spar locations will follow the diagram below. Measure out from the centerline of the wing skin 23mm and make a mark. Then measure 99 mm from this mark toward the wing tip and make the next mark. Do this for each rib, understanding that the wing tip rib is about 96 mm instead of 99 mm from the previous rib.
- Page 5 Using a small amount of low temp hot glue on the front end of the rear wing ribs, glue them in place over the position lines you made on the spar. Be careful to get them perpendicular to the spar.
- Page 6 Now, using the same method, glue the front rib halves to the leading edge of the spar. Try to only use as much glue as necessary to hold the rib to the spar as excess here doesn’t add strength, just weight. Glue the rib and spar assembly to the wing skin Now it’s time to glue the entire assembly to one edge of the wing skin.
- Page 7 Fold and glue the top of the wing onto the whole assembly The next step will be to paint the contact glue onto the wing skin and to the tops of the spar and ribs. We will use a spray on glue, 3M 76 Hi Tack glue, sprayed into a cup and brushed onto the parts. Then we’ll fold over the wing skin to join the trailing edge together.
- Page 8 Let's build the fuselage! The fuselage is easy to build but requires making sure the parts are aligned properly. The first thing we'll do is draw reference lines on the fuse sides. Then we will tape reinforcements into the insides of the sides and cut out the stab and wing holes.
- Page 9 Using a sharp Exacto blade, trim out the wing airfoil shape on the right fuselage side. Then, cut the 5mm stab slot above the fuse stiffener 61mm from the tail end as shown on the plan sheet. Using the right fuse side as a template, cut out the wing and stab slots on the left fuse side. Using contact cement or goop, glue the fuse tail stiffener onto the right fuse side.
-
Page 10: Adding The Landing Gear
way, stopping at the front of the canopy area. Do the same for the bottom of the fuselage but stop at the leading edge of the wing so you can install the landing gear wire later. Now side the wing into the wing slot you cut earlier. Center the wing using the same string measuring method as you did for the stab. - Page 11 the slot in front of the plywood plate. The pressure of the foam should hold the wire in place while the epoxy sets. Make sure the gear is centered and even. When the glue is finished setting, close the remaining sides of the fuselage up to the nose as you did before using low temp hot glue.
- Page 12 Installing the radio and motor and attaching the control links First we'll install the servos into the tail section, then the aileron servo(s). Finally we'll install the rest of the gear and we'll be closer to flying! Place the servos for the elevator and rudder underneath the stab so that they are centered front to back on the stabilizer where it joins the fuselage.
- Page 13 Cut the smooth non-ribbed tip off of the supplied tie wrap material and discard. Cut off about .6 inch of the tie wrap. Using an exacto blade, make a small slit into the ply plates so the tie wrap material can pass through as shown above.
Need help?
Do you have a question about the Edge 540T and is the answer not in the manual?
Questions and answers