Table of Contents
Advertisement
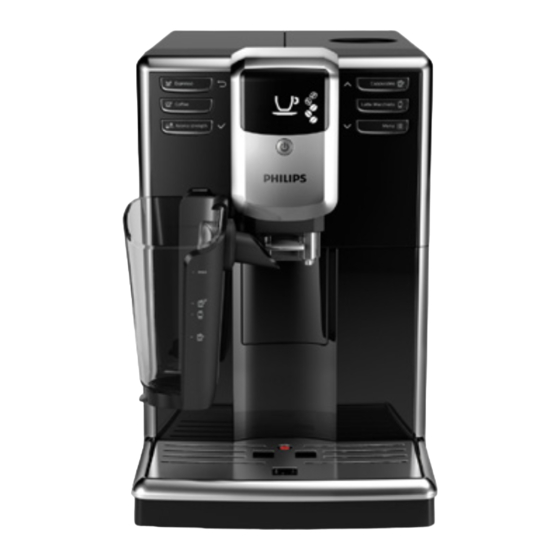
Coffee Machine
Service
TYPE
12NC
EP5330/10
882867810010
EP5330/10
882867810300
EP5330/10
882867810220
EP5930/10
882868110010
EP5930/10
882868110300
EP5331/10
882867410010
EP5331/10
882867410300
EP5333/10
882868210010
EP5333/10
882868210300
EP5334/10
882868010010
EP5334/10
882868010300
EP5934/10
882869610010
EP5335/10
882867910010
EP5335/10
882867910300
EP5335/10
882867910220
EP5340/10
882868310010
EP5340/10
882868310300
EP5345/10
882868410010
From Rev.
To Rev.
All parts of this document are the property of Philips Consumer Lifestyle.
All rights reserved. This document and all the information herein is provided without liability deriving from any errors or omissions. Furthermore, no part may be reproduced, used or
collected, except where express authorisation has been provided in writing or through a contractual agreement.
Published by Philips Consumer Lifestyle
Service Manual
DESCRIPTION
PHI5000 LatteGo BLACK WE
PHI5000 LatteGo BLACK CEE
PHI5000 LatteGo BLACK DACH
PHI5000 LatteGo BLACK WE
(QVC)
PHI5000 LatteGo BLACK CEE
PHI5000 LatteGo WHITE WE
PHI5000 LatteGo WHITE CEE
PHI5000 LatteGo SILVER WE
PHI5000 LatteGo SILVER CEE
PHI5000 LatteGo ANTRACITE WE
PHI5000 LatteGo ANTRACITE CEE
PHI5000 LatteGo ANTRACITE WE
(QVC)
PHI5000 LatteGo SS WE
PHI 5000 LatteGo SS CEE
PHI 5000 LatteGo SS DACH
PHI5000 LatteGo+ BLACK WE
PHI5000 LatteGo+ BLACK CEE
PHI5000 LatteGo+ SS WE
HISTORY OF CHANGES TO THE SERVICE MANUAL
Chapter
Subject to modification
PHILIPS 5000 LATTE GO / GO+
TYPE
EP5345/10
EP5346/10
EP5346/10
EP5030/10
EP5034/10
EP5331/10
EP5035/10
EP5040/10
EP5045/10
Inserted
© Copyright reserved
Rev. 00 OCT. 2018
12NC
DESCRIPTION
882868410300
PHI5000 LatteGo+ SS CEE
882869510010
PHI5000 LatteGo+ SS Titan WE
882869510300
PHI5000 LatteGo+ SS Titan CEE
882869410870
PHI5000 LatteGo BLACK RU
882867410870
PHI5000 LatteGo
RU
882867410870
PHI5000 LatteGo
882869210870
PHI5000 LatteGo
882869110870
PHI5000 LatteGo+ BLACK RU
882869010870
PHI5000 LatteGo+
Modified
ANTRACITE
WHITE
RU
SS
RU
SS
RU
EN 4219 400 00050
24/10/2018
Advertisement
Table of Contents


Need help?
Do you have a question about the 5000 LATTE GO and is the answer not in the manual?
Questions and answers
comment changer la valve ?