Table of Contents
Advertisement
Quick Links
Advertisement
Table of Contents

Subscribe to Our Youtube Channel
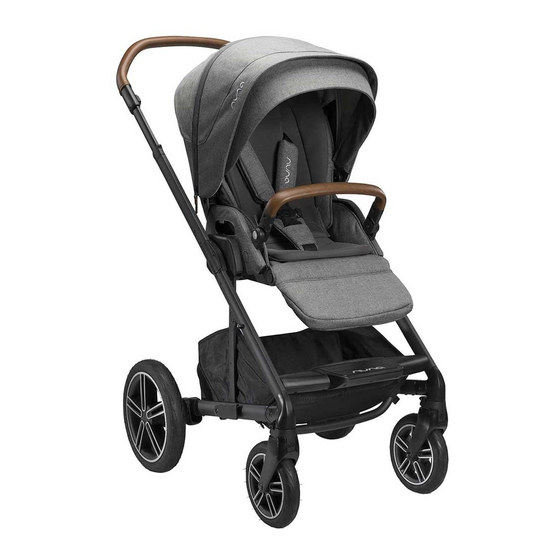
Summary of Contents for Nuna mixx next
- Page 2 Designed around your life...
-
Page 3: Table Of Contents
Contents Product Information Warranty Contact IMPORTANT! Child Usage Requirements KEEP THESE Warnings INSTRUCTIONS FOR Parts List FUTURE REFERENCE: Product Set Up READ CAREFULLY Product Use Accessories Car Seat Adaptor MIXX Rain Cover MIXX Bassinet Cleaning and Maintenance MIXX next instructions... -
Page 4: Product Information
For replacement parts, service, or additional warranty Model Number: questions, please contact our customer service department. ___________________________________________________________________________________________________________________________________ Distributed by Nuna Baby Australia Pty Ltd Manufactured Date: ______________________________________________________________________________________________________________________ ACN: 642 240 140 The model number and the manufactured in date are located Unit 1, 35 Lyn Parade Prestons, NSW Australia 2170 on a label on the stroller frame. -
Page 5: Warnings
CAN SIT UP UNAIDED. MAXIMUM WEIGHT OF Safety belts and restraint system must be used THE CHILD: 9KG. correctly. DO NOT USE FOR UNSUPERVISED SLEEPING. Child may slip into leg openings and be strangled if the harness is not used. MIXX next instructions MIXX next instructions... - Page 6 The vehicle is not to be used as an unsupervised use care when folding and unfolding the pram/ sleeping environment. stroller. Be sure the pram/stroller is fully open or folded before allowing child near the pram/stroller. MIXX next instructions MIXX next instructions...
-
Page 7: Parts List
Parts List Make sure all parts are available before assembly. If any part is missing, please contact Nuna. No tools are required for assembly. CHOKING HAZARD: Remove and immediately discard protective end caps from each wheel and wheel hub axle. -
Page 8: Product Set Up
Repeat on opposite side. Check the wheel is securely attached by pulling out. - To remove the front wheel, press the release button (1) and detach the front wheel from the front leg (2). click MIXX next instructions MIXX next instructions... - Page 9 - Fasten the inner snaps of the seat pad to the inside of the seating area as shown. Check Set Up Stroller frame is latched open Front wheels and rear wheels securely attached Canopy mount attached to stroller frame Arm bar is securely attached click MIXX next instructions MIXX next instructions...
-
Page 10: Product Use
- Fit the harness snugly to your child by sliding the adjustment straps to tighten (1). Then pull the waist adjustment straps out (2). Shoulder Harness Position - The upper shoulder harness buckles can be moved up and down for added adjustment. MIXX next instructions MIXX next instructions... - Page 11 - For ventilation, flip up the top canopy window cover. - For additional ventilation, flip up the back canopy window cover (1) and fold down the top canopy window (2). The canopy is NOT removable. MIXX next instructions MIXX next instructions...
- Page 12 (1) and pull the handle up or down (2). Recline Adjustment There are 5 recline positions for the backrest. - To raise or lower the backrest, squeeze the recline adjustment button, and pull the seat up or down. MIXX next instructions MIXX next instructions...
- Page 13 The rearward-facing position of the seat is only intended for a child up to 2 years, or until the child’s feet extend over the edge of the leg rest. The forward-facing position should be used from then on. click MIXX next instructions MIXX next instructions...
- Page 14 (2). - Lock the stroller by tucking the storage latch onto the storage mount. - Carry the stroller by lifting its handle. Ensure the storage latch is engaged when lifting or carrying the stroller. MIXX next instructions MIXX next instructions...
-
Page 15: Accessories
ALWAYS check that the rain cover has been cleaned and dried before folding. DO NOT fold the stroller when the rain cover is attached. DO NOT place your child in the stroller in hot weather with the rain cover attached. MIXX next instructions MIXX next instructions... -
Page 16: Mixx Bassinet
When bassinet is installed, make sure the canopy is pulled forward and the handle is locked. - To remove the bassinet, press the bassinet release buttons (1) and lift up (2). Remove the bassinet before folding the stroller. click MIXX next instructions MIXX next instructions... -
Page 17: Cleaning And Maintenance
For reasons of safety, only use original Nuna parts. Check regularly if everything functions properly. If any parts are torn, broken, or missing, stop using this product. Nuna International B.V. NUNA and all associated logos are trademarks. MIXX next instructions...


Need help?
Do you have a question about the mixx next and is the answer not in the manual?
Questions and answers