Advertisement
Quick Links
INSTALLATION GUIDE
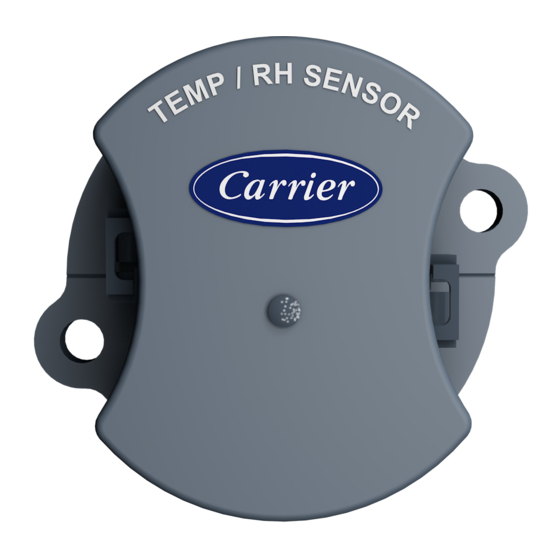
Duct Sensor
INTRODUCTION
The Duct Sensor provides a high precision temperature and humidity sensor that is pre calibrated
from the factory to a Node or Stat. The Duct Sensor is easily mounted on a duct with the help of self-
tapping screws. The Duct Sensor uses a proprietary 1-wire protocol to communicate with a master
device such as a SmartNode.
PACKAGE CONTENTS
•
Duct sensor
•
Mounting accessories
•
One Sensor bus cable of 20ft length
•
Modular pipes (100 and 150mm) to allow the air.
in the duct to be pitot.
SPECIFICATIONS
Power
Accuracy
Protection
Communication
Operating temperature
Span shift due to temperature variation
Mounting
Storage temperature
(7C-SE-C1X-DT)
For more information, contact your local Carrier Controls Expert
©2023 Carrier. All Rights Reserved. Cat. No. 11-808-964-01
Scan this QR
code to get a
more detailed
version of the
Installation
3-wire interface powered at 3.3V with
maximum current limit of 10mA
Temperature (typical +/- 1°F (0.5C),
Humidity (typical +/- 2% RH),
Protection: IP 20, NEMA Type 1
Pollution grade: 2
Certification: ROHS
3 wire sensor bus for daisy chained
sensor communication and low power 3V
DC.
Operating Environment: 0°F (-17°C) – 122°F
(50°C)
< 0.5% of reading per 10°C
Firmly on the Duct. Torque not exceeding
0.2Nm to be used to fix the device. Drill a
17dia hole for the pipe to pitot the air
stream for measurement.
15°F (-10°C) to 150°F (70 °C)
Guide
Advertisement

Related Manuals for Carrier 7C-SE-C1X-DT


Summary of Contents for Carrier 7C-SE-C1X-DT
- Page 1 0.2Nm to be used to fix the device. Drill a 17dia hole for the pipe to pitot the air stream for measurement. Storage temperature 15°F (-10°C) to 150°F (70 °C) For more information, contact your local Carrier Controls Expert ©2023 Carrier. All Rights Reserved. Cat. No. 11-808-964-01...
- Page 2 Align the arrow on the pipe to the lock Rotate the pipes anti-clockwise to separate them. symbol and rotate clockwise to secure the position Figure 2 For more information, contact your local Carrier Controls Expert ©2023 Carrier. All Rights Reserved. Cat. No. 11-808-964-01...
- Page 3 Sensor Bus Sensor Bus Smart Node Set the switch to Yes Set the switch to Yes Set the switch to No Figure 4 For more information, contact your local Carrier Controls Expert ©2023 Carrier. All Rights Reserved. Cat. No. 11-808-964-01...
- Page 4 Installation Guide If you need help beyond that, please reach out to your local Carrier distributor for support. For more information, contact your local Carrier Controls Expert ©2023 Carrier. All Rights Reserved. Cat. No. 11-808-964-01...
Need help?
Do you have a question about the 7C-SE-C1X-DT and is the answer not in the manual?
Questions and answers