Table of Contents
Advertisement
Quick Links
Grandview Crystal Screen Canada Ltd.
#11- 3751 North Fraser Way,
Marine Way Business Centre,
Burnaby, BC, Canada V5J 5G4
Tel: 1-604-412-9777
Fax: 1-604-412-9796
Website: www.grandviewscreen.ca
Guangzhou Grandview Crystal Screen Co., Ltd.
No.43,Guomao Road South, Hualong Town,
Panyu District, Guangzhou City, China
Tel: +8620-8489-9499 Fax: +8620-8480-3343
Website: www.grandviewscreen.com
www.grandviewscreen.com.cn
Model:DI-Mxxx / DI-MRxxx (model C)/CY-Mxxx/CY-MRxxx
ISO9001:2000
International Certification
Before use, please read instructions carefully. After installation, store instructions for future reference.
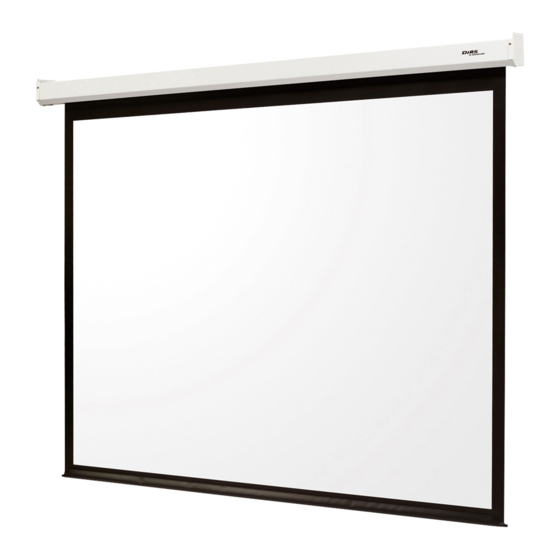
Mini DIAS/Crystal Motorized Screen
Thank you for purchasing a Grandview projection screen.
Instruction Manual of
Advertisement
Table of Contents

Related Manuals for Grandview DIAS DI-M Series


Summary of Contents for Grandview DIAS DI-M Series
- Page 1 Model:DI-Mxxx / DI-MRxxx (model C)/CY-Mxxx/CY-MRxxx Guangzhou Grandview Crystal Screen Co., Ltd. No.43,Guomao Road South, Hualong Town, Panyu District, Guangzhou City, China Thank you for purchasing a Grandview projection screen. ISO9001:2000 Tel: +8620-8489-9499 Fax: +8620-8480-3343 International Certification Before use, please read instructions carefully. After installation, store instructions for future reference.
- Page 2 Caution Warnings ■Please fully retract the screen after using to avoid the fabric exposing to the air and dust, which may cause the screen Please read the below attention points before using dirty lower down the projecting quality. ■Do not roll or retract screen until insure screen surface has no dust or dirt on. ■After using, please unplug screen or power off the outlet.
- Page 3 Instruction Product structure Ceiling installation hole 2.2 Use screen function buttons to control screen Function button Right end cap (only available for internal remote type) (Internal control type) Wall installation hole Hook If without remote, there’s still a small button on the left bottom to control Case Left end cap screen.
- Page 4 Framework and Dimension Operation Instruction Notes of using RF remote ● The product is using with 433MHz high ratio frequency, maximum effective control distance is within 15 meters, no Overall length L need pointing remote to screen while controlling. Installation distance C Details B ●Please use in try save environment Details A...
- Page 5 Operation Instruction Installation Instruction We have two serial numbers for normal motorized screen and internal wireless motorized screen Before installation, please ensure your wall or ceiling has enough strength to bear at least DI-Mxxx series: Normal motorized screen, controlled with inline switch 25KG weight.
- Page 6 Installation Instruction Installation Instruction 2. Ceiling hanging installation: 3. Ceiling fastening installation: Use the tape measure the two installation “D” holes distance (Figure 6) According to the length measurement, use drill 3-1. Use M8 x 14 screws Optional parts to connect casing hook through ceiling bracket, fasten ceiling brackets onto to open two appropriate holes in a level line.
Need help?
Do you have a question about the DIAS DI-M Series and is the answer not in the manual?
Questions and answers